13
36
36
19
Pin
“L”-Slot
20
2
Numbers
26
10
11
Resistance
Handle
A
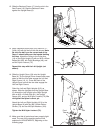
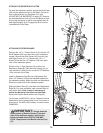
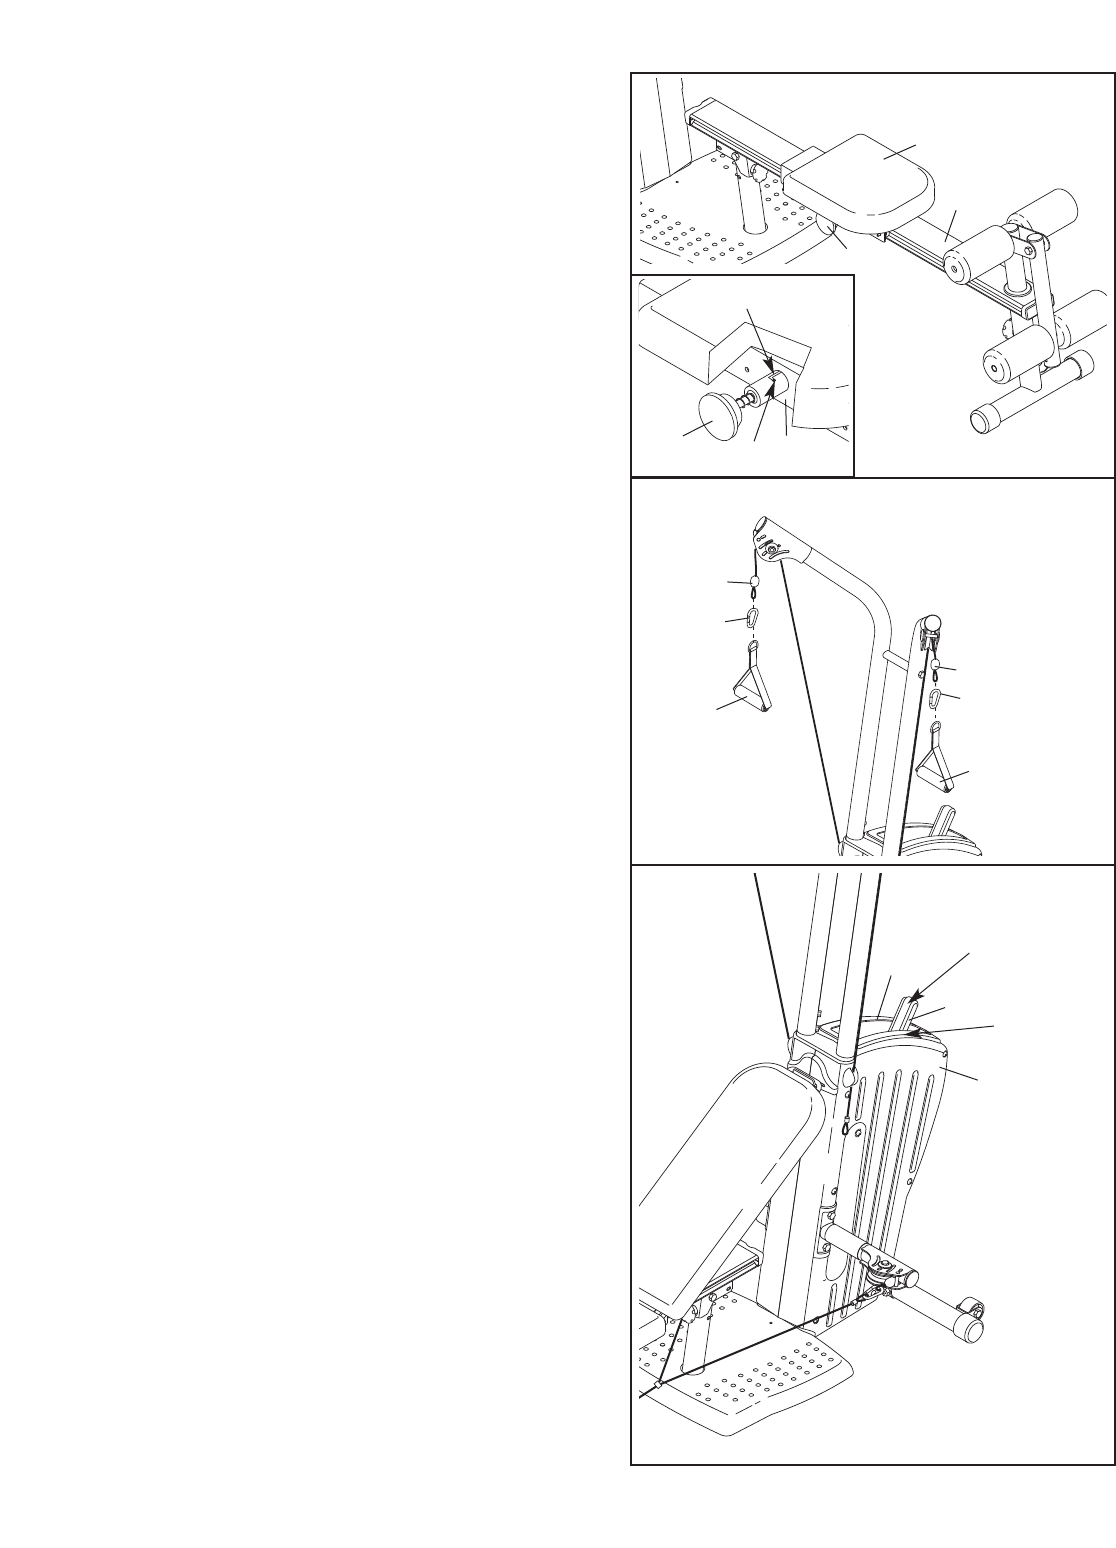
DJUSTING THE SEAT
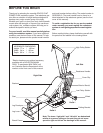
To allow the Seat (20) to roll up and down the Bench
F
rame (2), remove the backrest from the Seat Frame
(see REMOVING THE BACKREST on page 12). Pull
the Seat Knob (36) out as far as it will go, and turn
the Knob so that the pin rests at the end of the “L”-
slot (see the inset drawing).
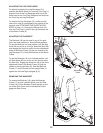
ADJUSTING THE RESISTANCE
To change the amount of resistance, squeeze the
resistance handle so that the pin on the Left Handle
(26) disengages the Resistance Bracket (not shown).
Line up the resistance handle with the number on the
Left Cover (10) corresponding to the desired amount
of resistance, and release the handle. Be sure that
the pin on the Left Handle engages a hole in the
Resistance Bracket.
Note: If you have purchased an optional GOLD’S
GYM MAX PACK, a decal should have been placed
on the Right Cover (11). This decal indicates the
amount of resistance at each resistance handle posi-
tion, when one or two sets of exterior bands have
been attached to the resistance system. (To attach
the exterior bands see ATTACHING EXTERIOR
BANDS, on page 14.)
Note: The resistance system uses progressive resis-
tance. As the bands begin to stretch, the amount of
resistance will increase gradually. As the bands
stretch further, the resistance will increase rapidly
.
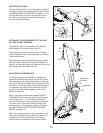
ATTACHING THE ACCESSORIES TO THE HIGH
OR LOW PULLEY STATIONS
The Handles (45) can be attached to the Medium
Nylon Ropes (52) with two Cable Clip (31).
The Handles (45) and the Ankle Strap (not shown)
can be attached to the Long Nylon Rope (not shown)
in the same manner.
When using the Leg Press Strap (not shown), attach
one side to the left end of the Long Nylon Rope (not
shown), and the other side to the right end of the Long
Nylon Rope, with two Cable Clips (31).
45
45
52
52
31
31


