


3
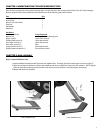
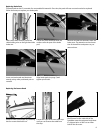
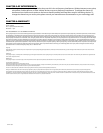
Place bracket onto the handlebars as
shown.
Insert screws through console bracket,
handlebar bracket, and tighten together.
Slide the console down completely down
onto the bracket. To ensure a solid con-
nection between the console and the
bracket make sure the contact points
between the console and bracket remain
clean and free from moisture or debris.
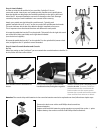
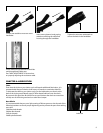
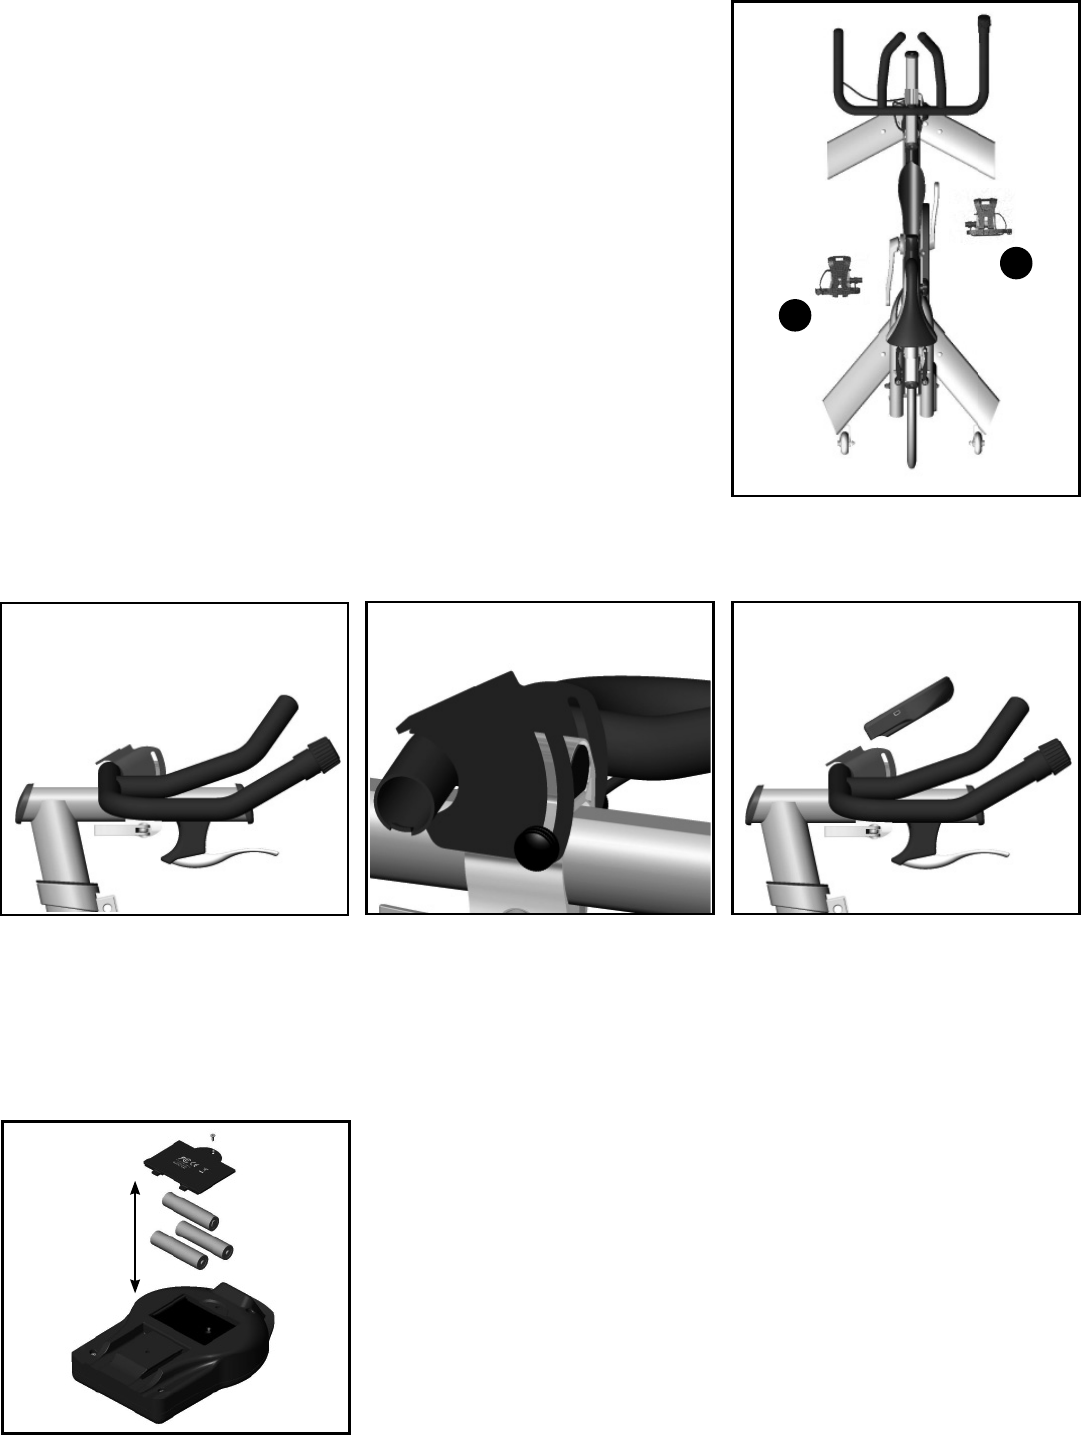
Batteries: The console ships with batteries. In the event the batteries need to be replaced over time, follow these simple steps:
Remove the back cover with a small Phillips-head screwdriver.
Remove batteries.
Replace with fresh AAA batteries, paying attention to properly line up the +/- poles.
Replace battery door and secure with small Phillips-head screwdriver.
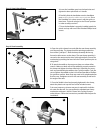
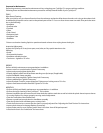
Step 4: Attach Pedals
In order to mimic the fi t and feel of your own bike, CycleOps IC do not
come with pedals. Attach your own pedals per the manufacturers’ specifi cations.
Note that pedals are designed to be installed specifi cally on the right or left-hand
side of the IC. Improper installation can result in damage to the crank. Damage
caused by improper crank installation is not covered under warranty.
Attach your pedals onto the bike with a pedal wrench. Typically, each
pedal is marked with an “R” or an “L” on the very end of the spindle past the threads.
This mark indicates which side of the bike the pedal is intended to mount on.
This is important since the thread directions are different for each pedal.
A. Locate the pedal that has the “R” on the spindle. This pedal is for the right side crank
arm of the bike (chain guard side) and is right hand threaded
(turn clockwise to tighten).
B. Locate the pedal that has the “L” on the spindle. Turn the spindle left (counter-clock-
wise) to tighten as the “L” spindle is reverse threaded.
Step 5: Attach Console Bracket and Console
Bracket
When fi rst setting up the CycleOps IC you must attach the console bracket to the bike. To
do this, follow the instructions below:
B
A