2
Assembly Instructions
You must review and follow the instructions in this Owner’s Manual. If you do not assemble and use the
PowerLIFT FID Bench according to these guidelines, you could void the Body-Solid warranty.
Assembly of the PowerLIFT FID Bench takes professional installers about 45 minutes to complete. If this is
the first time you have assembled this type of equipment, plan on significantly more time.
Professional installers are recommended.
However, if you acquire the appropriate tools and follow the assembly steps sequentially, the process will take
time, but is fairly easy.
•
•
•
•
•
•
•
•
•
•
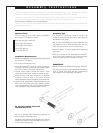
Required Tools
The tools that you must obtain before assembling
the PowerLIFT FID Bench include:
6mm Hex Key (you need two)
14mm Open-End Wrench
17mm Open-End Wrench
14mm Box Wrench
17mm Box Wrench
Installation Requirements
Follow these installation requirements when assembling
the PowerLIFT FID Bench:
Fill out and mail warranty card.
Set up the PowerLIFT bench on a solid, flat surface.
A smooth, flat surface under the bench helps keep it
level. A level bench has fewer malfunctions.
Provide ample space around the bench. Open
space around the bench allows for easier access.
Insert all bolts in the same direction. For aesthetic
purposes, insert all bolts in the same direction
unless specified (in text or illustrations) to do otherwise.
Leave room for adjustments. Tighten fasteners such as
bolts, nuts, and screws so the unit is stable, but leave
room for adjustments. Do not fully tighten fasteners
until instructed in the assembly steps to do so.
CAUTION: Obtain assistance! Do not attempt to assemble
the PowerLIFT Gym by yourself. Review the Installation
Requirements before proceeding with the following steps.
Assembly Tips
The PowerLIFT FID Bench comes in one box. Be
careful to assemble components in the sequence
presented in this guide.
With so many assembled parts, proper alignment and
adjustment is critical. While tightening the nuts and
bolts, be sure to leave room for adjustments.
Read all “Notes” on each page before beginning
each step.
While you may be able to assemble the PowerLIFT
bench using the illustrations only, important safety
notes and other tips are included in the text.
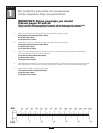
IMPORTANT!
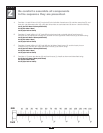
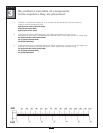
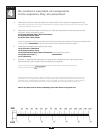
Before you begin you should fold out pages 42 and 43.
This is a quick reference guide that shows all hardware
parts (in actual size) along with the corresponding
key numbers on the assembly instructions.
Do not fully tighten bolts until
instructed to do so.
Note: Due to continuing product improvements, specifications and
designs are subject to change without notice.
Even though we have prepared this manual with extreme care, neither the
publisher nor the author can accept responsibility for any errors in, or
omission from, the information given.


