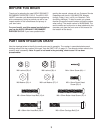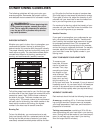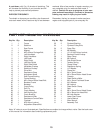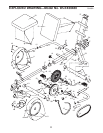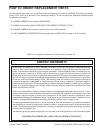
Place all parts of the exercise cycle in a cleared area and remove the packing materials. Do not dispose of the
packing materials until assembly is completed. Assembly requires the included allen wrench ,
a phillips screwdriver , and two adjustable wrenches .
4
ASSEMBLY
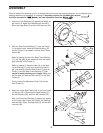
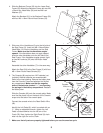
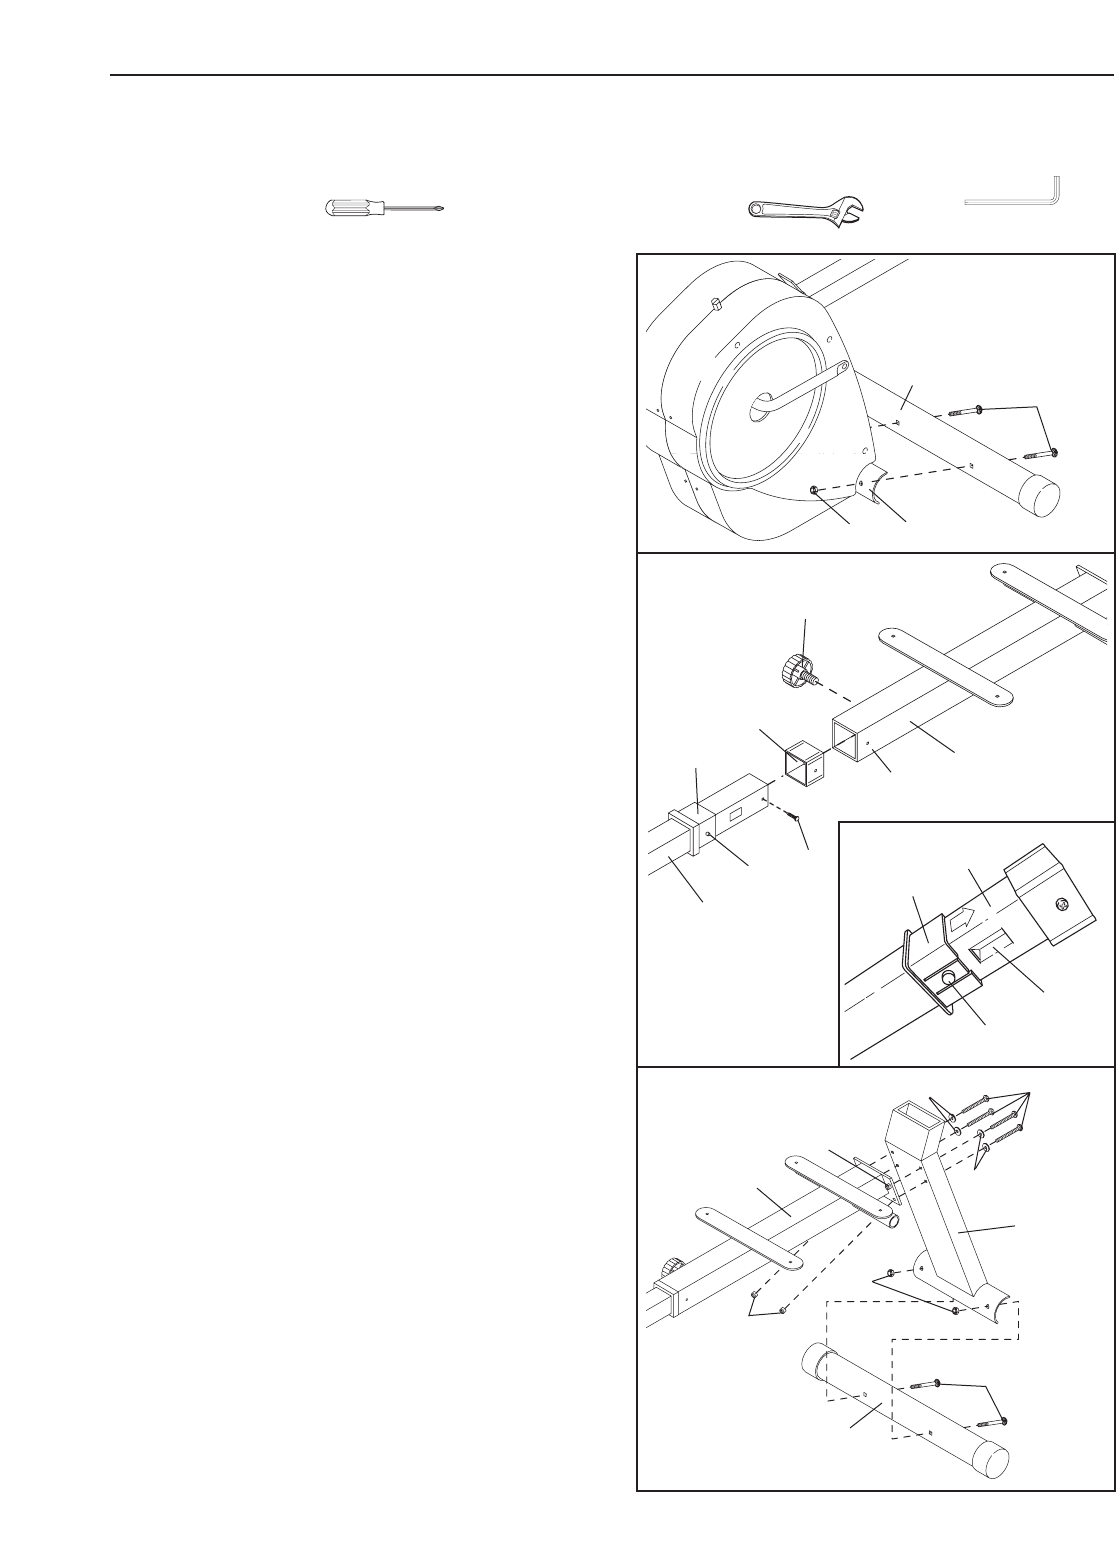
1. Hold one of the Stabilizers (2) against the saddle on
the Frame (1). Attach the Stabilizer with two M8 x
65mm Carriage Bolts (5) and two M8 Locknuts (39).
1
39
1
5
2
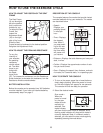
2. Slide the Seat Frame Bushing (17) onto the Frame
(1) as shown. Next, insert the Frame Bushing (18)
into the Frame (1) and attach it with an M4 x 16mm
Screw (46).
Refer to drawing 2a. Move the Seat Frame Bushing
(17) until the tabs (A) are positioned over the rectan-
gular slots (B) in the Frame (1).
Refer to drawing 2. Press the tabs (A) on the Seat
Frame Bushing (17) with your thumb and index fin-
ger, and carefully slide the Seat Frame (3) onto the
Frame (1) and the Seat Frame Bushing (17); be
careful to avoid pinching your fingers. Make sure
that the tabs (A) snap into the holes (C) in the Seat
Frame (3).
Finally, tighten the Adjustment Knob (16) into the
Seat Frame (3).
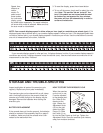
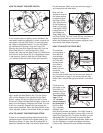
3. Attach the Lower Seat Frame (58) to the Seat Frame
(3) with four M6 x 52mm Button Head Screws (47),
four M6 Washers (35), and four M6 Locknuts (52).
Next, hold the other Stabilizer (2) against the saddle
on the Lower Seat Frame (58). Attach the Stabilizer
with two M8 x 65mm Carriage Bolts (5) and two M8
Locknuts (39).
3
5
35
47
58
39
3
52
35
52
2
2
46
1
A
C
16
17
3
18
2a
A
B
17
1


