


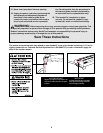


Plug in the power cord.
Follow the instructions on page 10 to plug in the
power cord. When the power cord is plugged in, the
displays on the console will flash once. (Note: If the
key is in the console when the power cord is
plugged in, the letters “PO” will
flash in the SPEED display. If
this occurs, remove the key.)
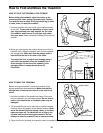
Next, press the on/off switch
on the front of the treadmill to
the “on” position.
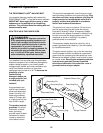
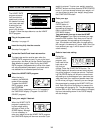
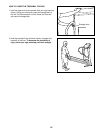
Insert the key fully into the console.
Stand on the foot rails of
the treadmill. Slide the
clip attached to the key
onto your waistband.
Next, insert the key fully
into the console. After
two seconds, various displays and indicators will
light. After another five seconds, a “P-1” will appear
in the TIME/PACE display and the current weight
setting will begin to flash in the SPEED display.
Note: When you are familiar with the console, you
may go directly to step 6 if desired. The first time
you use the console, please follow all steps.
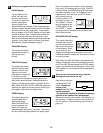
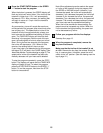
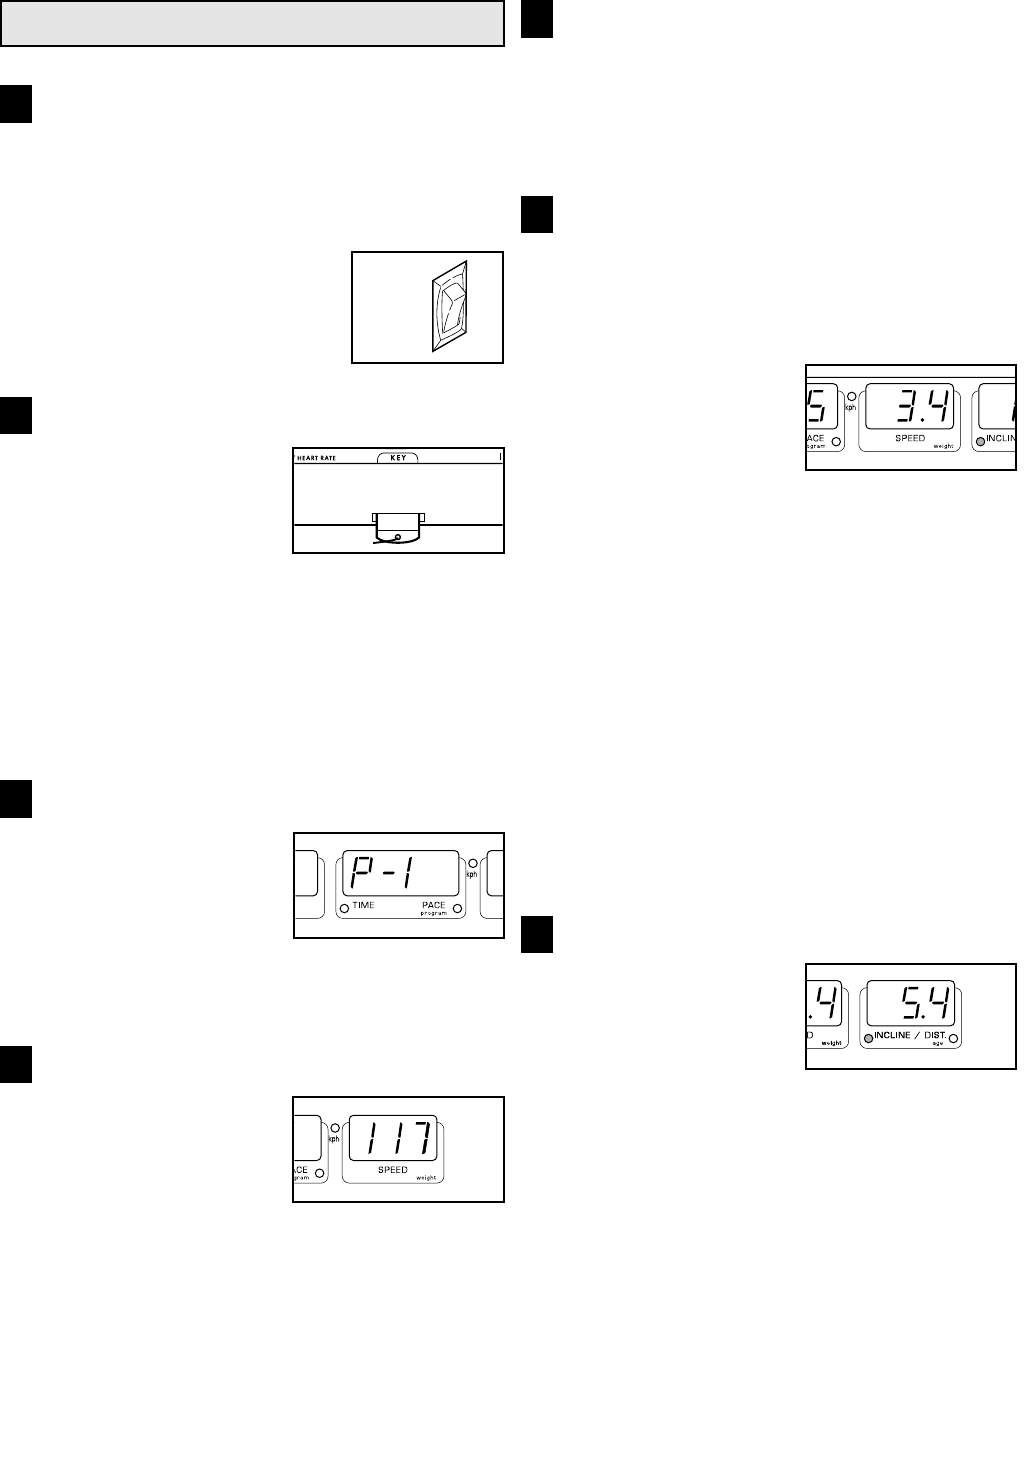
Select the MANUAL mode.
When the key is
inserted, the MANUAL
mode will be selected. If
a different program has
been selected, press
the PROGRAM SELECT
button repeatedly until a “P-1” appears in the TIME/
PACE display (program 1 is the MANUAL mode).
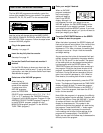
Enter your weight if desired.
For the CALORIES
display to be the most
accurate, your weight
should be entered into
the console. To enter
your weight, press the
WEIGHT buttons. Each time one of the buttons is
pressed, the weight setting will change by 1 pound.
If the buttons are held down, the weight setting will
change in increments of 5 pounds. Note: Once you
have entered your weight, it will be saved in the
console’s memory.
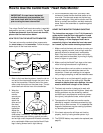
Put on the CARDIOTRACK heart rate monitor if
desired.
For the PULSE display to show your heart rate, the
heart rate monitor must be worn. To put on the
heart rate monitor, see How to Use the CardioTrack
Heart Rate Monitor on page 8.
Press the START/ENTER button or the SPEED
“+” button to start the walking belt.
After the button is pressed, there will be a brief
pause; the walking belt will then begin to move at
1.0 mph. Hold the handrails and begin walking.
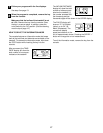
As you exercise,
change the speed of the
walking belt as desired
by pressing the SPEED
buttons. Each time one
of the buttons is
pressed, the speed will change by 0.1 mile per hour
(mph). If the buttons are held down, the speed will
change in increments of 0.5 mph. The speed range
is 0.5 mph to 10 mph. Note: When the SPEED
buttons are pressed, the SPEED display will show
the selected speed setting for six seconds. The
display will then show the actual speed of the
walking belt.
To stop the walking belt momentarily, press the
STOP button. The displays will pause and the
TIME/PACE display will begin to flash. To restart
the walking belt, press the START/ENTER button or
the SPEED “+” button. To stop the walking belt and
reset the displays, hold down the STOP button for
two seconds.
Change the incline of the treadmill if desired.
To change the incline of
the treadmill, press the
INCLINE buttons. Each
time one of the buttons
is pressed, the incline
will change by 0.5%.
The buttons can be held down to change the incline
quickly. The incline range is 1.5% to 10%. The
incline setting is shown in the DISTANCE/INCLINE
display.
Note: After the INCLINE buttons are pressed, it may
take a few seconds for the treadmill to reach the
selected incline setting. When you are finished
exercising, change the incline of the treadmill to
1.5%. The incline must be at 1.5% before the
treadmill is folded to the storage position or the
treadmill may be damaged.
HOW TO USE THE MANUAL MODE
2
1
3
4
5
6
7
O
F
F
ON
“On”
12