


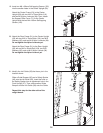
7
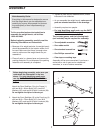
ASSEMBLY
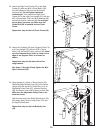
1.
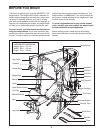
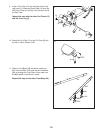
Attach the Rear Stabilizer (2) to the Frame (1)
with two M10 x 81mm Bolts (100), two M10
Washers (96), and two M10 Nylon Locknuts (94).
Do not tighten the Nylon Locknuts yet.
1
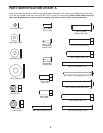
Before beginning assembly, make sure you
understand the information in the box
above. For help identifying small parts,
use the PART IDENTIFICATION CHART on
page 5.
100
1
94
94
96
2
To hire an authorized service technician to
assemble the weight bench, call toll-free
1-800-445-2480.
Before beginning assembly, carefully read the
following information and instructions:
• Because of its weight and size, the weight bench
should be assembled in the location where it will
be used. Make sure that there is enough clear-
ance to walk around the weight bench as you
assemble it.
• Place all parts in a cleared area and remove the
packing materials. Do not dispose of the packing
materials until assembly is completed.
• T
ighten all parts as you assemble them, unless
instructed to do otherwise.
• As you assemble the weight bench, make sure all
parts are oriented as shown in the drawings.
• Assembly requires two people.
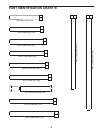
• For help identifying small parts, use the PART
IDENTIFICATION CHART on page 5.
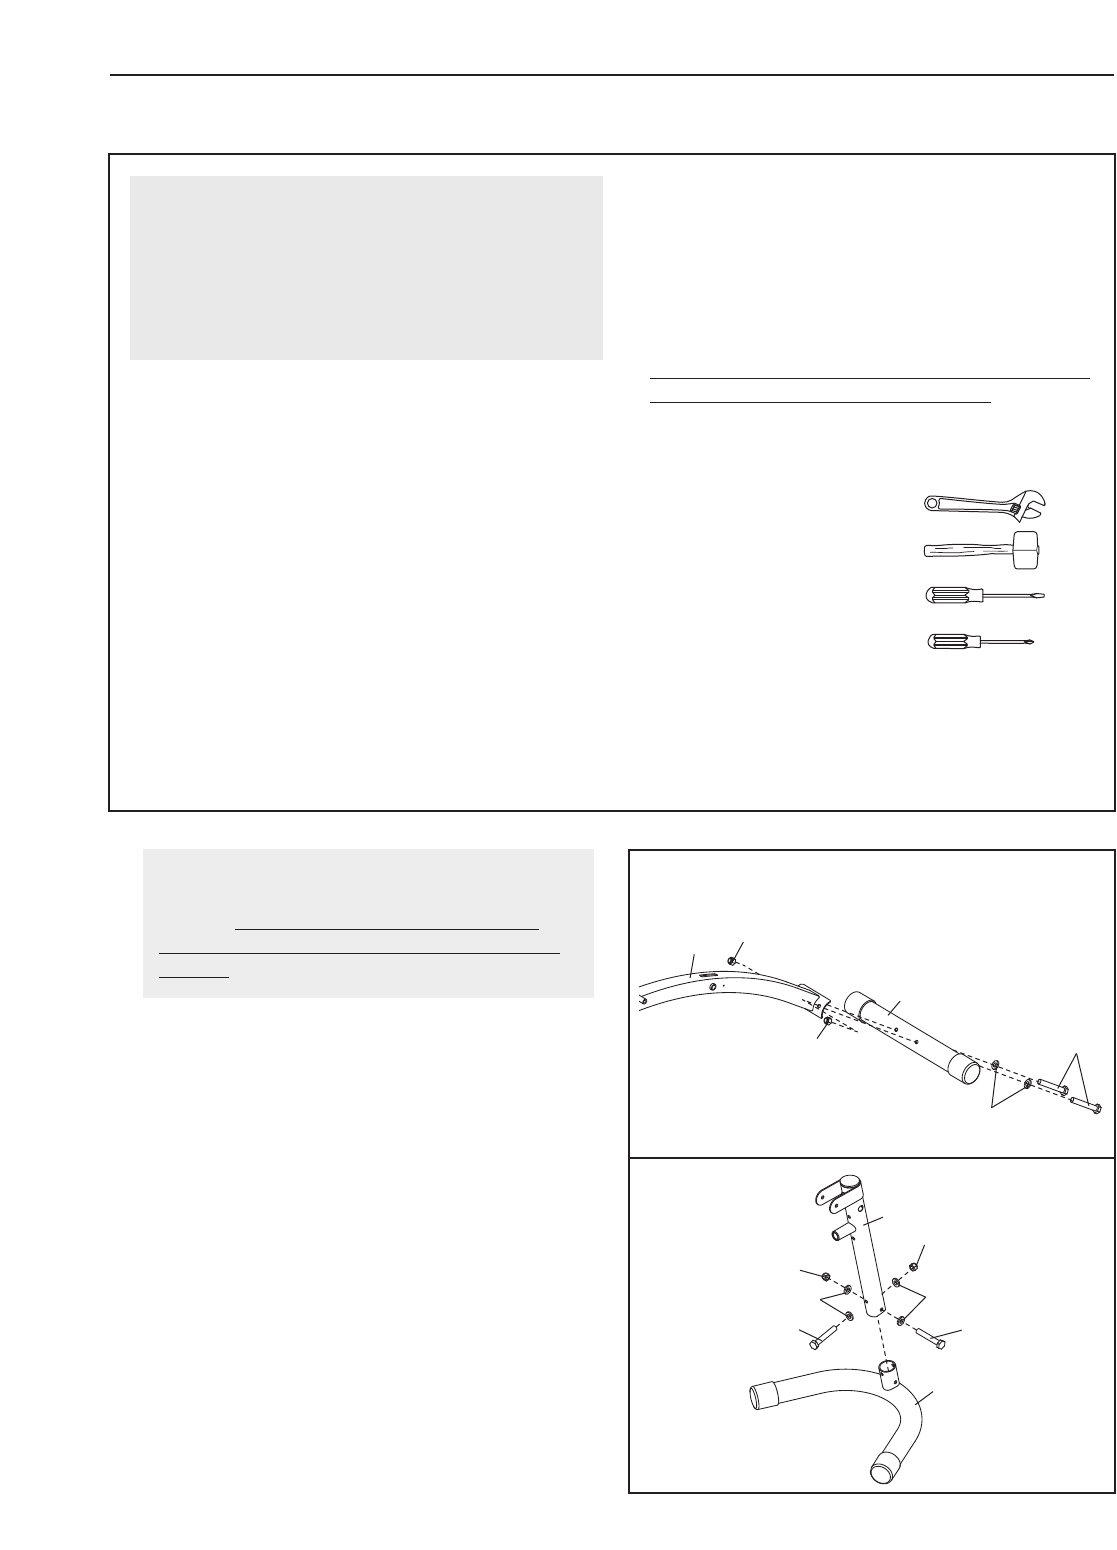
The included grease, and the following tools
(not included) may be required for assembly:
• Two adjustable wrenches
• One rubber mallet
• One standard screwdriver
• One Phillips screwdriver
• Clear tape or masking tape
Assembly will be more convenient if you have a
socket set, a set of open-end or closed-end
wrenches, or a set of ratchet wrenches.
Make Assembly Easier
Everything in this manual is designed to ensure
that the weight bench can be assembled suc-
cessfully by anyone. Most people find that set-
ting aside plenty of time helps assembly go
smoothly.
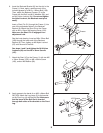
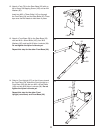
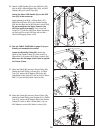
2. Attach the Front Stabilizer (3) to the Front Leg (4)
with two M10 x 73mm Bolts (101), four M10
Washers (96), and two M10 Nylon Locknuts (94).
Do not tighten the Nylon Locknuts yet.
2
4
94
94
96
96
101
101
3