26
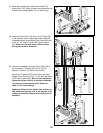
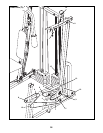
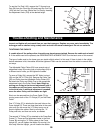
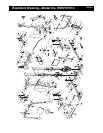
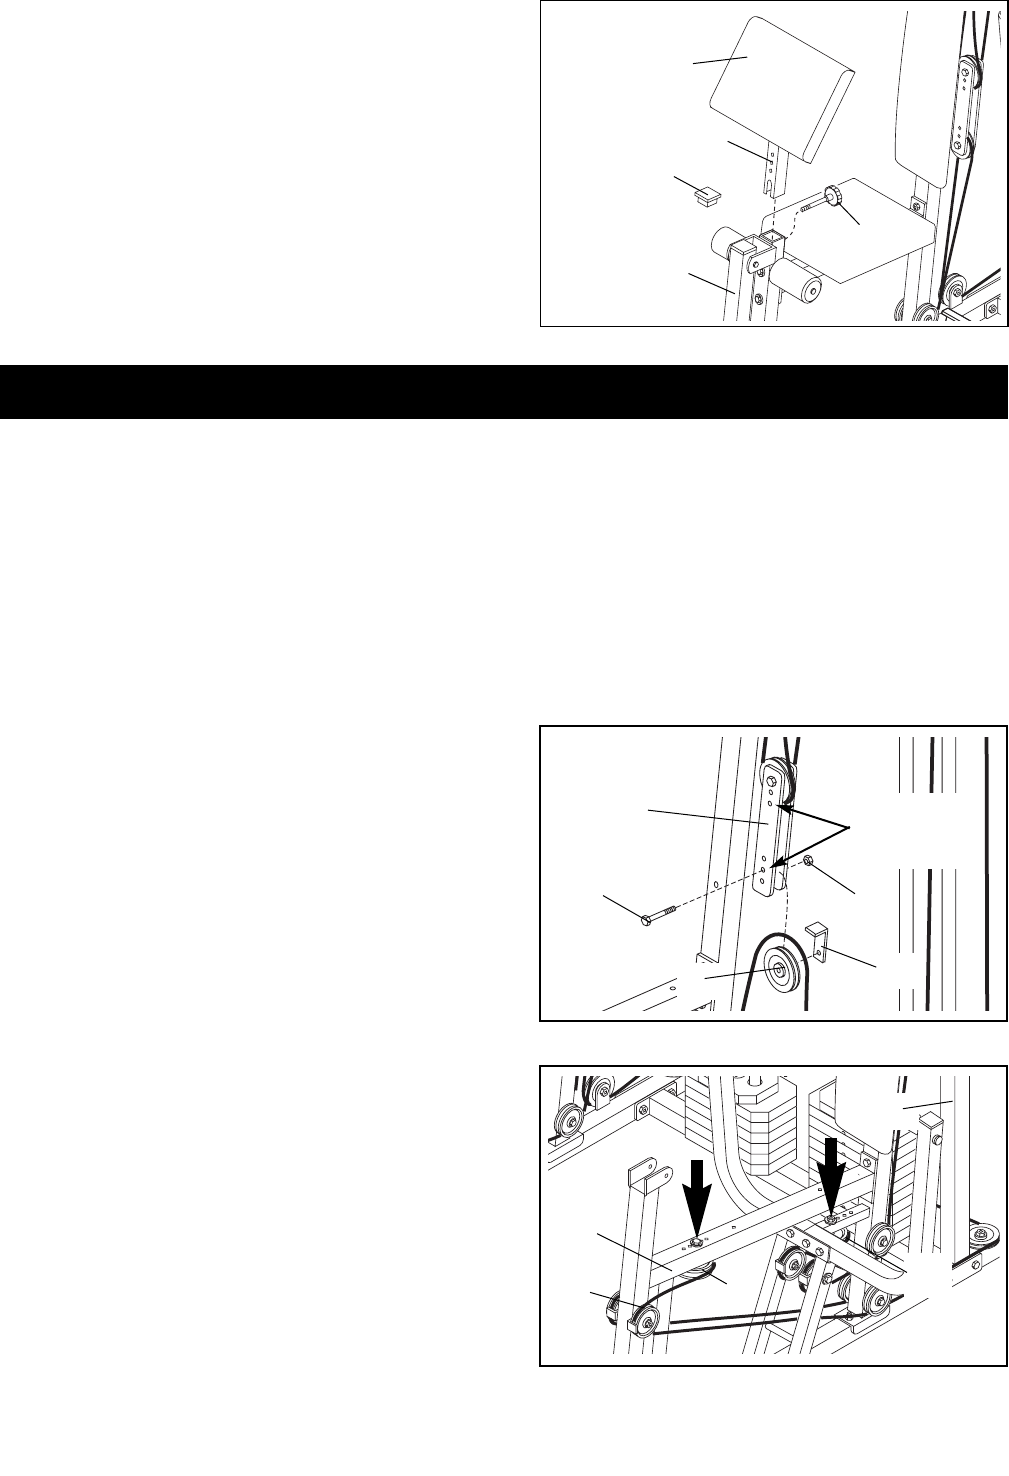
Slack can be removed form the Press Cable (72) by
moving one or both of the “V”-Pulleys (27) on the Press
Cable.
One “V”-Pulley (27) is attached to the small tube on the
Press Upright (2). There are three free holes in the small
tube, and you can move the “V”-Pulley to any one of
them to tighten the cables. Start by moving the “V”-
Pulley one hole, and then one more, as needed.
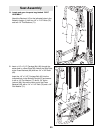
The second “V”-Pulley (27) is attached to the Press Seat
Frame (7). There are five adjustment holes in the Seat
Frame. By moving the “V”-Pulley closer to the Press
Upright (2), you will tighten the cables. By moving it fur-
ther away from the Upright, you will loosen the cables.
23
Adjustment
Holes
50
25
24
54
Trouble-shooting and Maintenance
Inspect and tighten all parts each time you use the home gym. Replace any worn parts immediately. The
home gym can be cleaned using a damp cloth and mild non-abrasive detergent. Do not use solvents.
TIGHTENING THE CABLES
If a cable slips off the pulleys often, the cable may have become twisted. Remove the cable and re-install
it. If the cables need to be replaced, see ORDERING REPLACEMENT PARTS on the back cover of this manual.
The type of cable used on the home gym can stretch slightly when it is first used. If there is slack in the cables
before resistance is felt, the cables should be tightened. Slack can be removed from the cables in several differ-
ent ways:
27
2
7
72
27
105
28
20
103
104
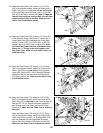
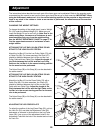
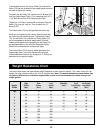
The Adjustable Pulley Plates (23) have several sets of
adjustment holes. By moving one or both pulleys (24) to
a different set of holes, you will tighten the cables.
To move a Pulley (24), remove the 3/8” Nylon Locknut
(50) and the 3/8” x 2” Bolt (54). Remove the Cable Trap
(25) and Pulley from the Adjustable Pulley Plates (23).
Re-attach the Pulley and Cable Trap to the appropriate
adjustment hole in the Pulley Plates. Note: Begin by
moving one Pulley to the second adjustment hole. If
the cables are still too loose, move the same Pulley
to the third hole. If additional adjustment is needed,
move the other Pulley until the cables are tight.
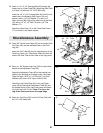
To use the Curl Pad (105), remove the 2” Square Inner
Cap (28) from the Front Leg (20) and insert the Curl Post
(104) into the Front Leg. Secure the Curl Pad by inserting
the Adjustment Knob (103) at the desired height.


