


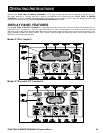

26
STAR
TRAC
S
SERIES
TREADMILLS
O
WNER
’
S
M
ANUAL
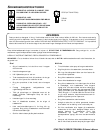
CONTACT HEART RATE MONITORING
You may use the heart rate contact grips to automatically check your heart rate. Just follow these steps.
1. Grasp the stainless steel heart rate contact grips; you do not have to squeeze tightly.
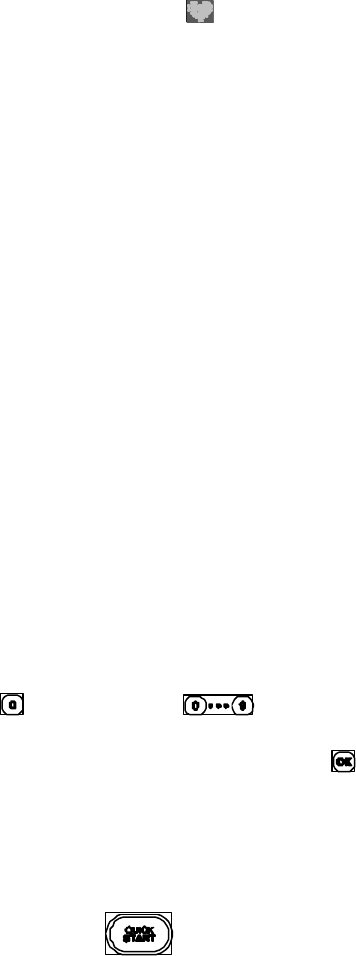
2. It may take from 30 to 60 seconds for the heart rate system to acquire and display your heart rate. While your heart
rate is acquired, a pulsing heart displays in the Profile Window.
3. Once your heart rate has been acquired, the Profile Window returns to its normal display mode, and your current
heart rate in beats-per-minute (BPM) displays in the HEART RATE Window.
4. Release the Heart Rate grips if you wish to remove your heart rate reading from the display.
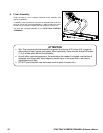
CHEST STRAP HEART RATE MONITORING
You may use the heart rate strap to automatically check your heart rate. Just follow these steps:
1. Before beginning your workout, or during a pause, moisten the back of the transmitter on the heart rate strap (not
included). Place the strap snugly around your chest with the transmitter resting directly over your sternum.
2. When your heart rate has been acquired, your heart rate in beats-per-minute (BPM) displays in the HEART RATE
Window.
3. Remove the heart rate strap, if you wish to remove your heart rate reading from the display.
NOTE: The performance of the transmitter may be affected by body types, body oils, metal in clothing, and outside electrical
interference. Always be sure that the transmitter and skin are in good contact. Avoid operating other electrical equipment near
your treadmill when you use the heart rate strap.
LOCKOUT ID PROCESSING
When the Lockout Enable has been set in Manage / Maintenance Mode (see “Manager Mode” or “Maintenance Mode”, as
appropriate), users must enter a Lockout ID number to enable the treadmill for operation.
To enter a Lockout ID:
1. Stand on the running belt and press the desired program key.
• If Lockout Enable is set, the message “TREADMILL LOCKED; PRESS 0 TO ENTER ID” scrolls across the
Profile Window.
2. Press the key, then use the keys to enter the three-digit Lockout ID. Entered digits will show in the
Profile Window.
3. When the Lockout ID has been entered, press the key.
• If you enter the correct Lockout ID, the message “VALID ID” scrolls once across the Profile Window. You may
continue with normal operation of the bike (see “Quick Start” or “Preset Programs”, as desired).
• If you enter an incorrect Lockout ID, the message “INVALID ID” scrolls once across the Profile Window. Make
sure you have the correct Lockout ID, then repeat steps 1 through 3 to re-enter.
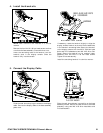
QUICK START
QUICK START lets you begin your workout by simply pressing one key. QUICK START uses a default weight of 155 pounds (70
kg) and a time limit of 99 minutes. YOU control the treadmill speed, incline and distance for up to the maximum allowed
program time.
NOTE: The default time and weight are adjustable through Manager / Maintenance Mode.
To operate the QUICK START program:
1. Stand on the running belt and press the QUICK START key. The running belt slowly accelerates to its minimum speed
as defined in Manager / Maintenance Mode.
• If necessary, enter the Lockout ID to enable the treadmill for operation (see “Lockout ID Processing”).
2. If desired, you can use the personal fans during your workout (see “Using the Personal Fans” for details).