


20
STAR
TRAC
S
SERIES
TREADMILLS
O
WNER
’
S
M
ANUAL
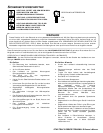
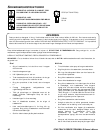
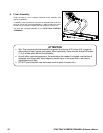
CAUTION: To ensure proper routing of display cables, have one person hold and position the display console while a
second person feeds the display cable through the treadmill neck.
DISPLAY
CONSOLE
NECK
M10X20 ALLEN HEAD BILTS
D=10 LOCKWASHER
NECK
SPACER
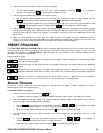
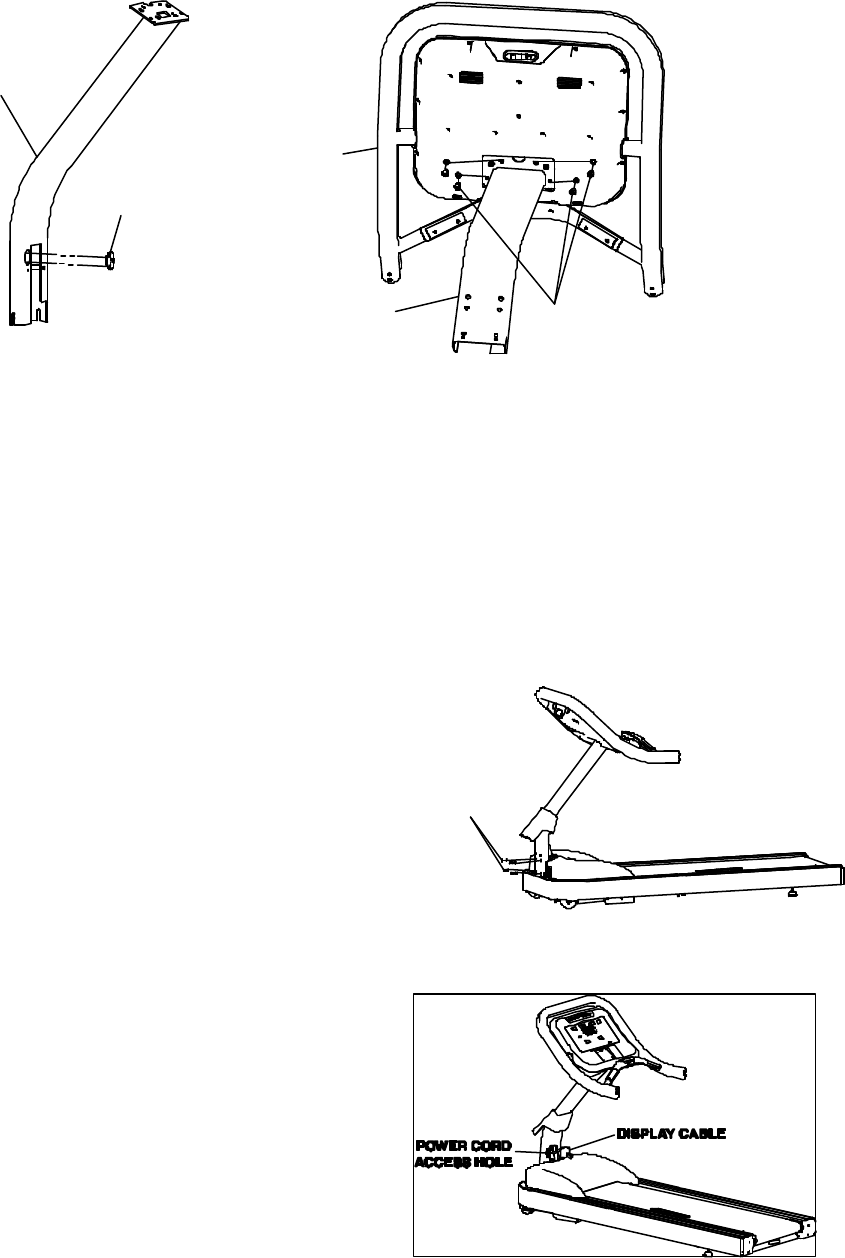
Remove the cover from the power cord access hole in the treadmill neck. If not preassembled, slide the neck shroud
onto the treadmill neck.
With one person supporting the display console, carefully feed the display cable into the neck. Reposition the display
console as needed during this step to ensure the display cable does not bunch or kink in the neck. Ensure the
display cable feeds completely through the neck and out the power cord access hole.
Position the display console on the neck, taking care not to pinch the display cable between the neck and the console.
Once the console is properly positioned, secure the console to the neck using four M10 X 20 Allen head bolts and
D=10 lockwashers. Tighten the screws securely
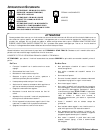
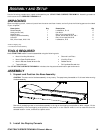
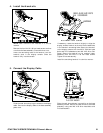
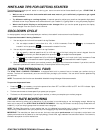
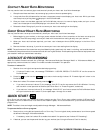
3. Install the Neck
Position the neck in place on the motor end of the
base assembly, and secure with four M10 X 20 Allen
bolts and D=10 lockwashers. Tighten the screws
securely.
Slide the neck shroud down into position on the base
assembly shroud to cover the display cable.
M10X20 ALLEN HEAD BOLTS
D=10 LOCKWASHERS