STAR TRAC PRO BIKES O
WNER
’
S
G
UIDE
15
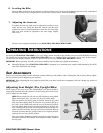
6. Leveling the Bike
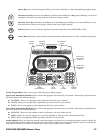
Place the bike on the floor in the position in which it will be used. Use the leveling adjusters (located on the underside of
the front and rear feet) to compensate for uneven floor surfaces and to eliminate wobbling.
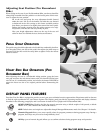
7. Adjusting the Armrests
If needed, the arm rest angle may be adjusted by turning a screw
under the arm rest. Using the 4mm hex wrench, turn the screw
clockwise to lower or counterclockwise to raise the arm rest angle.
Both arm rests should be adjusted to the same angle, slightly
above level.
You have now completed assembly of your STAR TRAC PRO RECUMBENT BIKE.
O
PERATING
I
NSTRUCTIONS
Operating the STAR TRAC PRO BIKE is very easy. Simply mount the bike, begin pedaling, and press QUICK START. Learning
the features and incorporating the STAR TRAC PRO BIKE into your members' fitness programs is just as easy. In this chapter,
you will learn the display function and how to get the most out of every STAR TRAC PRO BIKE workout.
IMPORTANT: Before operating the bike, you must be familiar with the following equipment limitations:
■ Maximum Weight: Your STAR TRAC PRO BIKE is designed for a maximum user weight of 350 lbs/159 kg. DO NOT
exceed the maximum user weight.
S
EAT
A
DJUSTMENTS
Proper seat positioning helps ensure maximum exercise efficiency and comfort, while reducing the risk of injury. Always adjust
the seat position prior to beginning your workout.
IMPORTANT: When adjusting the seat height for either bike, your knee should never completely “lock out” during any portion of
the cycle pattern.
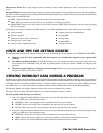
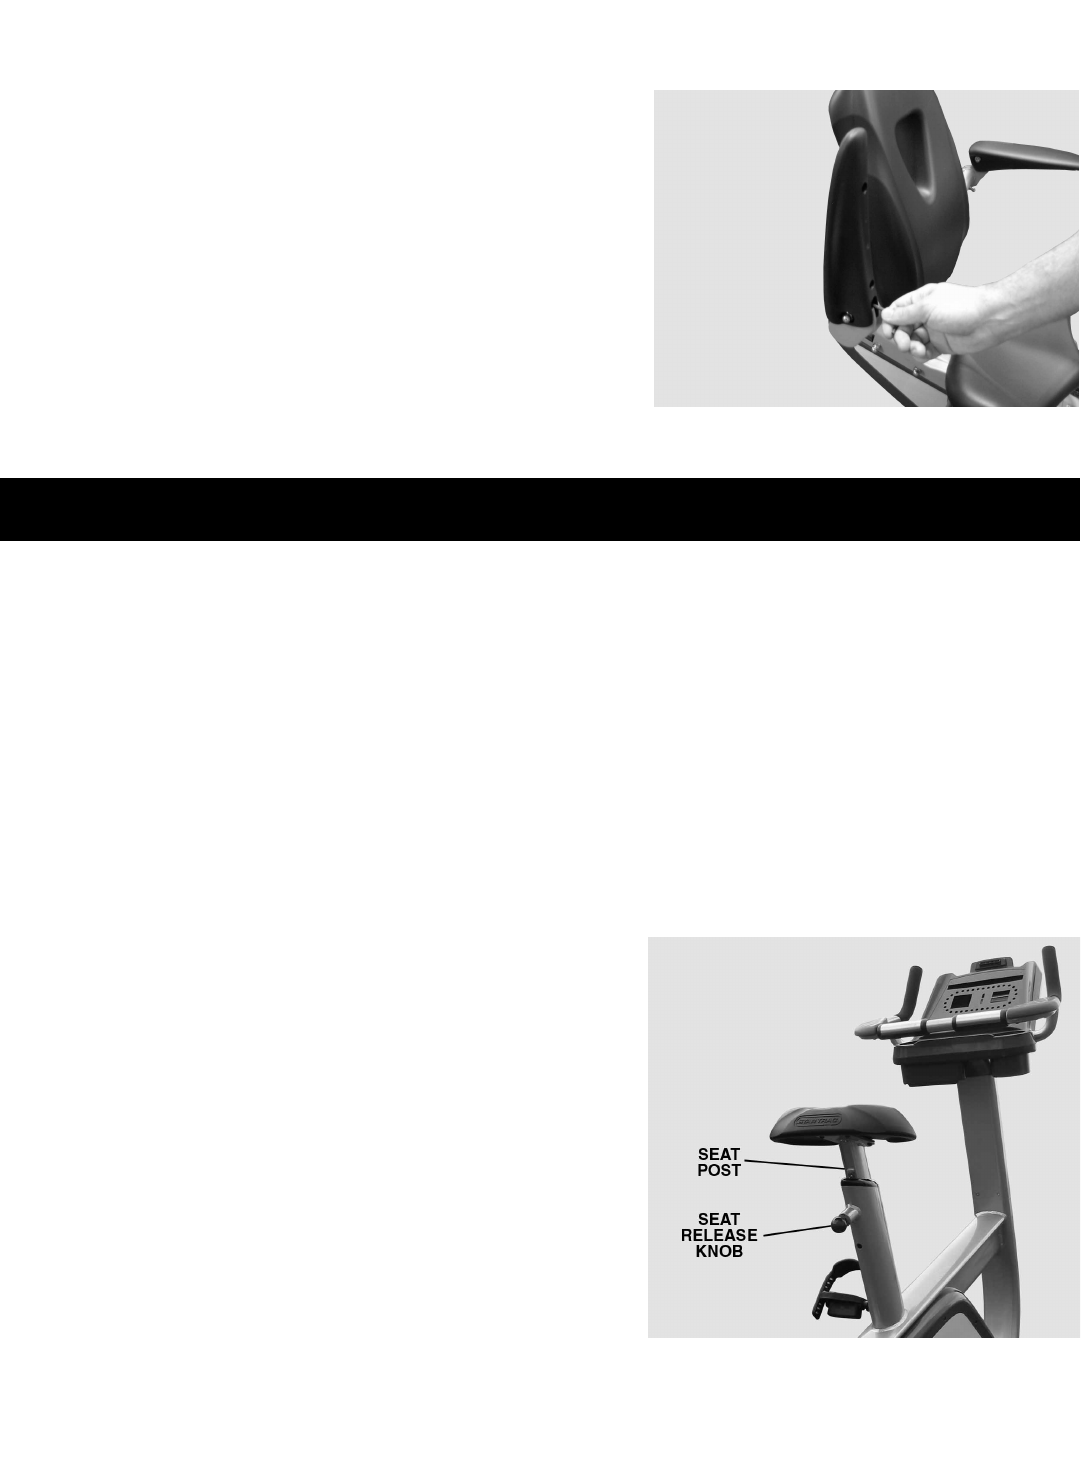
Adjusting Seat Height (Pro Upright Bike)
When sitting on the seat of your Pro Upright Bike, your knees should be
almost fully extended when the pedals are at the lowest point of their rota-
tion. To adjust the seat height:
NOTE: When raising the seat, the seat will ratchet up when pulled.
When lowering the seat, you must use the seat release knob.
With the pedal at its lowest point of rotation, stand on the pedal
with your knee slightly bent. To raise the seat, carefully lift up on
the “nose” of the saddle and raise the seat to the desired position
(the seat release knob does not need to be pulled out). To lower the
seat, carefully pull out on the seat release knob (located at the rear
of the seat tube) and lower the seat to the desired position. Release
the knob, ensuring that the spring retracts to its original position,
and that the seat stays firmly in place.
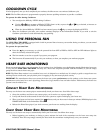
Note your height adjustment (shown on the front of the seat post)
for future reference. This number is the highest number visible on
the seat post.


