


14 STAR TRAC PRO BIKES O
WNER
’
S
G
UIDE
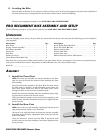
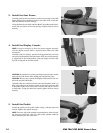
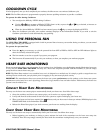
3. Install the Seat Frame
Carefully position the seat frame over the seat carriage on the bike
frame, aligning the attachment holes in the sides of the seat frame
with the holes in the seat carriage.
Using the 6mm hex wrench and four M10 X 10 socket head screws,
secure the seat frame to the seat carriage. Tighten all four screws
securely.
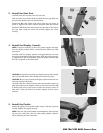
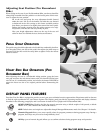
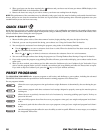
4. Install the Display Console
NOTE: It may be necessary to have one person support and posi-
tion the display console while a second person makes the cable
connection.
Carefully slide the display console neck approximately one inch
onto the neck brackets of the bike frame. With the console partial-
ly supported by the neck brackets, plug the display console cable
into the receptacle on the bike frame.
CAUTION: Be careful not to pinch your fingers between the console
neck and the bike frame when sliding the console into place.
CAUTION: Be sure not to pinch the display cable between the con-
sole neck and the bike frame.
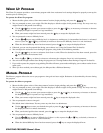
Carefully slide the console neck onto the neck brackets until it is
fully seated. Secure the display console to the frame with four M6
X 16 socket head screws (two screws in front side and two screws
in back side). Using the 4mm hex wrench, tighten all four screws
securely.
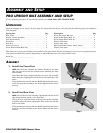
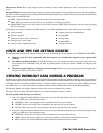
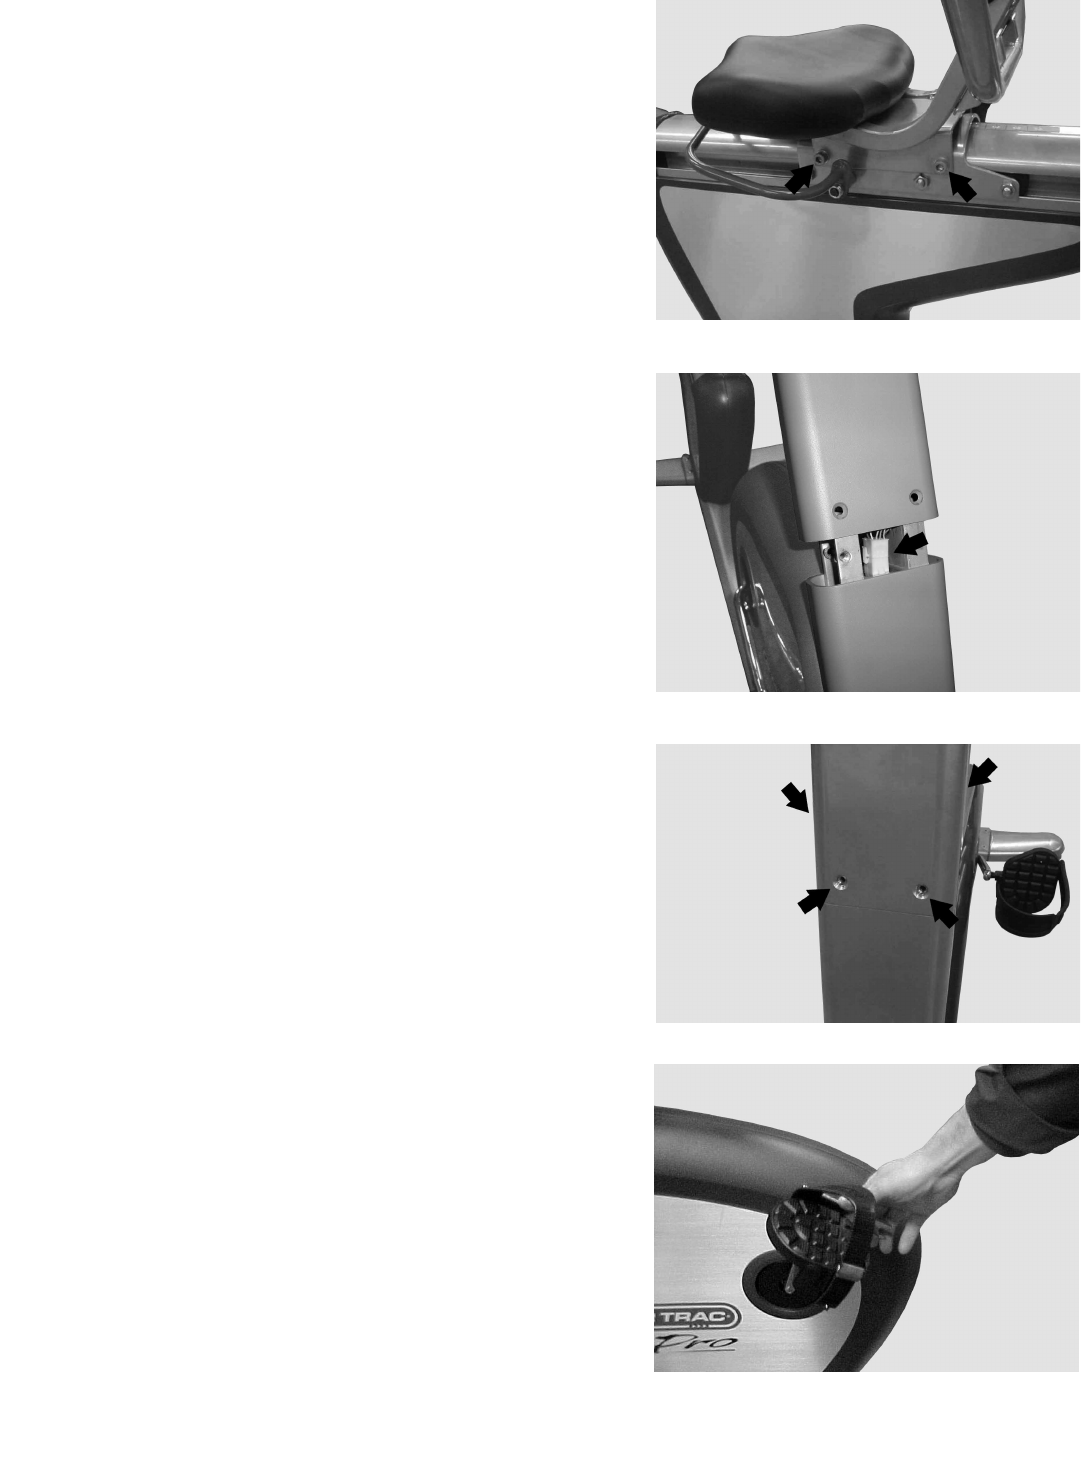
5. Install the Pedals
Install the pedals on the pedal cranks using a 5/8-inch open-end
wrench. Tighten the pedals securely.
NOTE: Turn the left pedal spindle counterclockwise when thread-
ing into the crank arm; turn the right pedal spindle clockwise
when threading into the crank arm.
Step 3
Step 4A
Step 4B
Step 5