


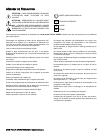

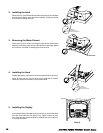
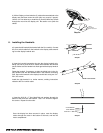
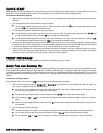
2. Installing the Neck
Remove the (4) pre-installed Socket Head Cap Screws and washers
from the motor shroud end of the frame assembly. Retain the screws
for use when installing the neck.
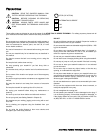
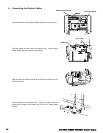
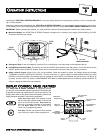
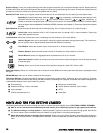
3. Removing the Motor Shroud
Remove the (4)10-24 screws securing the motor shroud to the frame
assembly, and lift the motor shroud off of the frame assembly. Retain
the screws for use when re-installing the motor shroud.
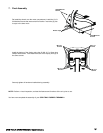
4. Installing the Neck
Position the bottom of the neck over the 4 threaded hole in the lower
frame, an then use the 1/4” Hex Allen Key to install the (4) Socket
Head Cap Screws and washers you removed earlier.
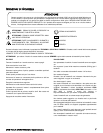
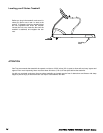
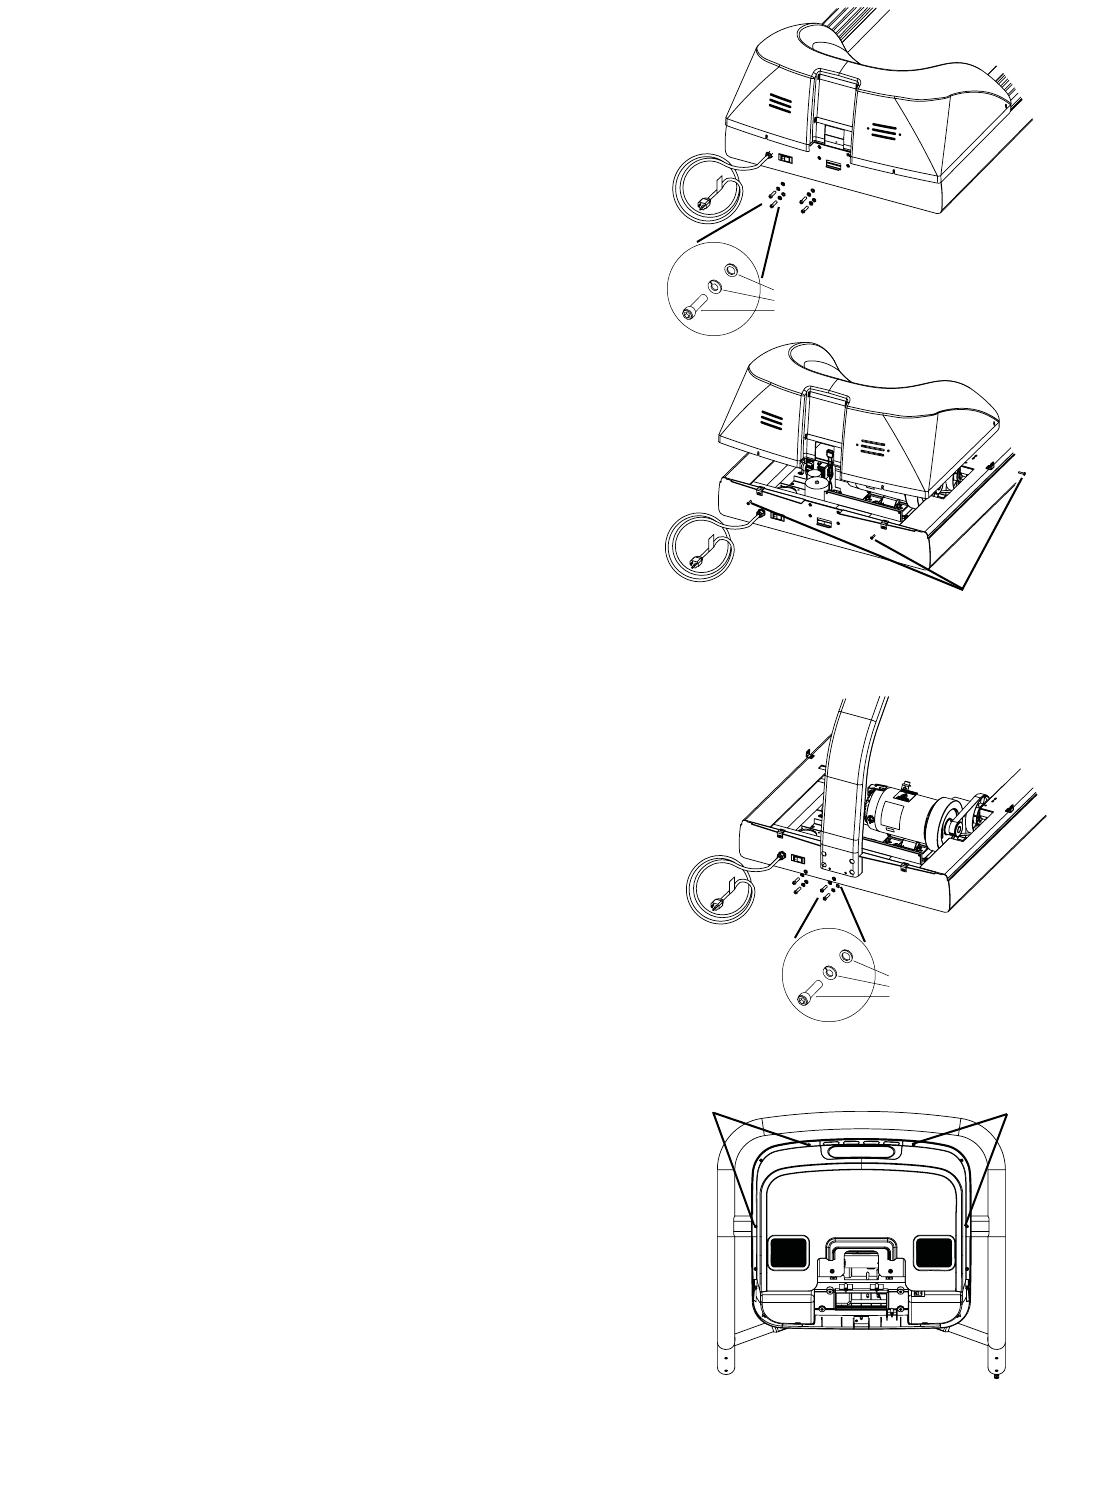
5. Installing the Display
a) Use the #2 Phillips Screwdriver to remove the (4) screws that hold
the back of the shroud to the display unit. Retain screws for later
use. Place the back shroud aside to be installed later. Be careful not
to damage the plastic.
12
STAR TRAC E SERIES TREADMILL O
WNER’S MANUAL
10-24 Screws
Washer
Lock Washer
Socket Head Screw
Washer
Lock Washer
Socket Head Screw
Screws
Screws
Step 5a