40
Table of Contents Menu Lists Index
GB
Creating a disc with
one touch
(Disc Burn)
Movies and photos recorded on this
product that have not yet been saved with
Disc Burn function can be saved on a disc
automatically. Movies and photos are saved
on a disc with their recorded image quality.
Notes
2D movies (the default setting) will make an
AVCHD recording disc.
You cannot create AVCHD recording discs:
from 3D movies
from movies recorded with [Highest Quality
] or [60p Quality ]
([50p Quality
]) mode of [ REC
Mode].
Creating a Blu-ray disc is not available with
Disc Burn.
To create a standard definition image quality
disc from high definition image quality movies,
im
port movies to a computer first (p. 39), and
then create a standard definition image quality
di
sc (p. 41).
Install “PMB” beforehand, however, do not start
“PMB.”
Connect this product to the wall outlet (wall
socket) using the supplied AC Adaptor for this
o
peration (p. 14).
1
Turn on your computer, and place
an unused disc on the DVD drive.
See page 38 for the type of discs you can
use.
If any other software than “PMB” starts
automatically, shut it down.
2
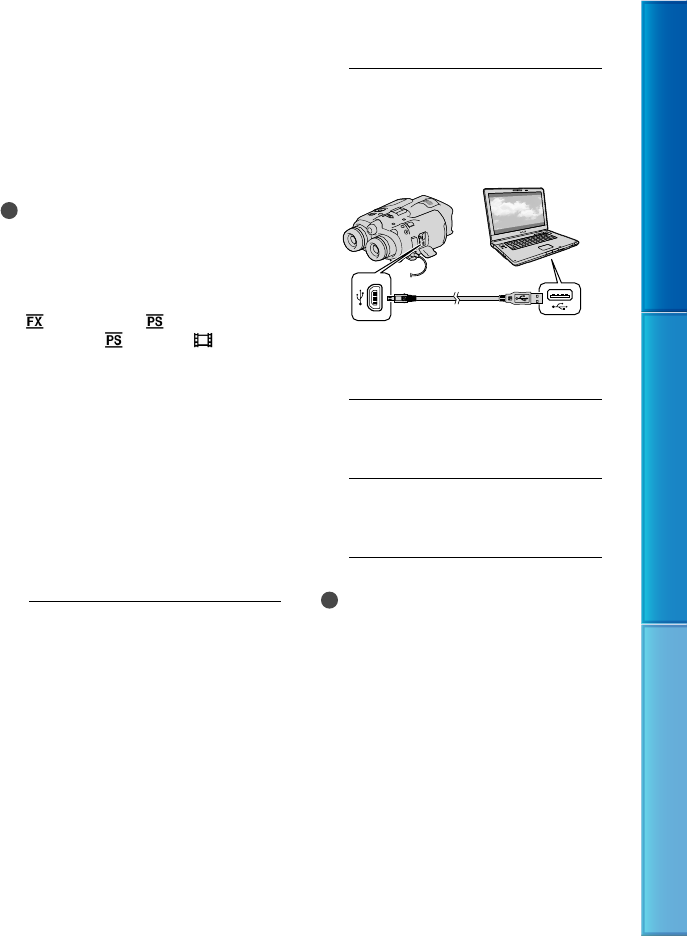
Turn on this product, then
connect this product to the
computer using the USB cable
(supplied).
The [USB Select] screen appears on the
screen of this product.
3
Select [Disc Burn] using
/// and press Enter.
4
Follow the instructions on the
computer screen.
Notes
Movies and photos are not saved on the
computer when you perform Disc Burn.
In the Disc Burn procedure, the words
“Handycam” may be displayed on the computer
screen. That does not have any effect on this
product.
USB cable (supplied)


