ASSEMBLY
A
ssembly requires two persons.
S
et the treadmill in a cleared area and remove all packing materials. Do not
dispose of the packing materials until assembly is completed. Note: The underside of the treadmill walking belt is
coated with high-performance lubricant. During shipping, a small amount of lubricant may be transferred to the
top of the walking belt or the shipping carton. This is a normal condition and does not affect treadmill perfor-
mance. If there is lubricant on top of the walking belt, simply wipe off the lubricant with a soft cloth and a mild,
non-abrasive cleaner.
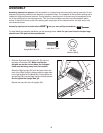
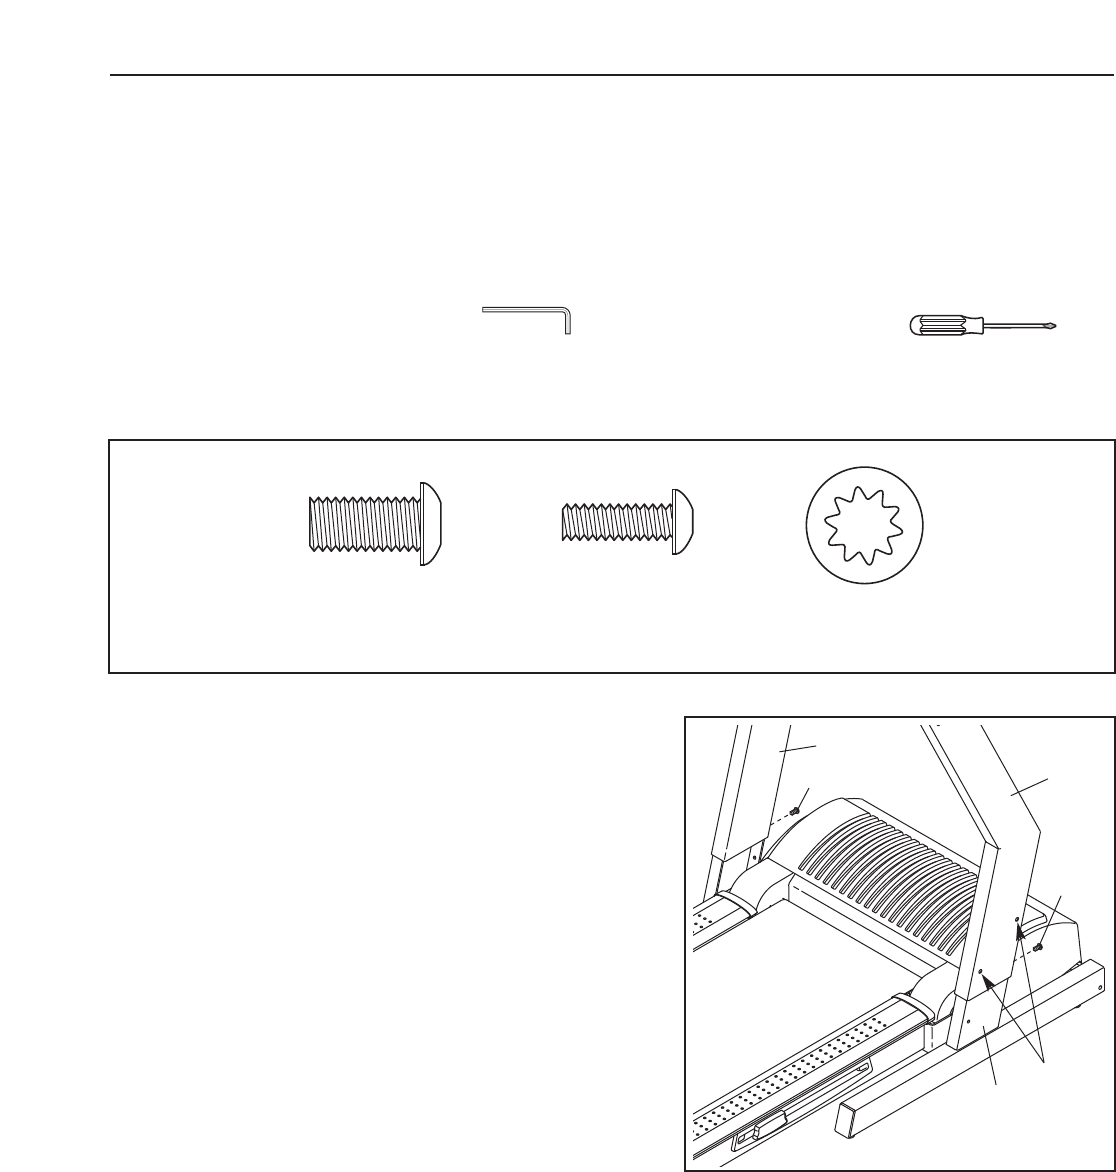
Assembly requires the included allen wrench and your own phillips screwdriver .
For help identifying assembly hardware, see the drawings below. Note: If a part is not found in the part bags,
check to see if the part has been preattached.
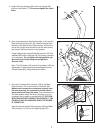
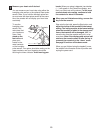
1. Slide the Right and Left Uprights (90, 95) onto the
brackets on the Base (99). Make sure that the
Uprights are on the correct sides; the indicated
holes must be facing away from the treadmill.
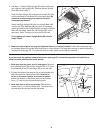
Raise the Right Upright (95) until the lower hole in the
front of the Right Upright is aligned with the upper hole
in the right bracket on the Base (99). Finger tighten an
Upright Bolt (86) into the Right Upright and the bracket.
Do not tighten the Upright Bolt yet.
Repeat this step with the Left Upright (90).
95
90
99
86
Holes
86
1
Latch Bolt (77)–2
1
Upright Bolt (86)–16
1
3/8” Star
Washer (88)–8
5
6


