


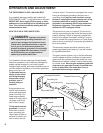


HOW TO TURN ON THE POWER
Plug in the power cord (see HOW TO PLUG IN
THE POWER CORD on page 8).
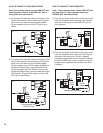
Locate the on/off
s
witch on the front of
the treadmill near the
p
ower cord. Make
sure that the on/off
switch is in the on
position.
Stand on the foot rails
of the treadmill. Find
the clip attached to the
key and slide the clip
onto the waistband of
your clothing. Next, in-
sert the key into the console. After a moment, the
displays and various indicators on the console will
light.
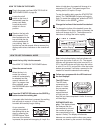
HOW TO USE THE MANUAL MODE
Insert the key fully into the console.
See HOW TO TURN ON THE POWER above.
Select the manual mode.
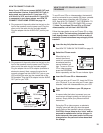
When the key is in-
serted, the manual
mode will automatically
be selected and the
manual indicator will
light. If a program has
been selected, press
the PROGRAM button repeatedly to select the
manual mode.
Press the START/STOP button or the SPEED
▲
▲
button to start the walking belt.
A moment after the button is pressed, the walking
belt will begin to move at 1.0 mph. Hold the
handrails and carefully begin walking.
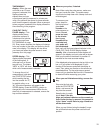
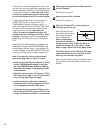
As you exercise,
change the speed of
the walking belt as de-
sired by pressing the
SPEED buttons. Each
time one of the buttons
is pressed, the speed will change by 0.1 mph. If a
button is held down, the speed will change in in-
crements of 0.5 mph. The speed range of the
w
alking belt is 0.5 mph to 10 mph.
To stop the walking belt, press the START/STOP
button. The TIME/MIN/MILE display will begin to
flash. To restart the walking belt, press the START/
STOP button or the SPEED
▲
▲
button.
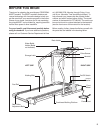
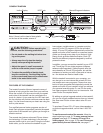
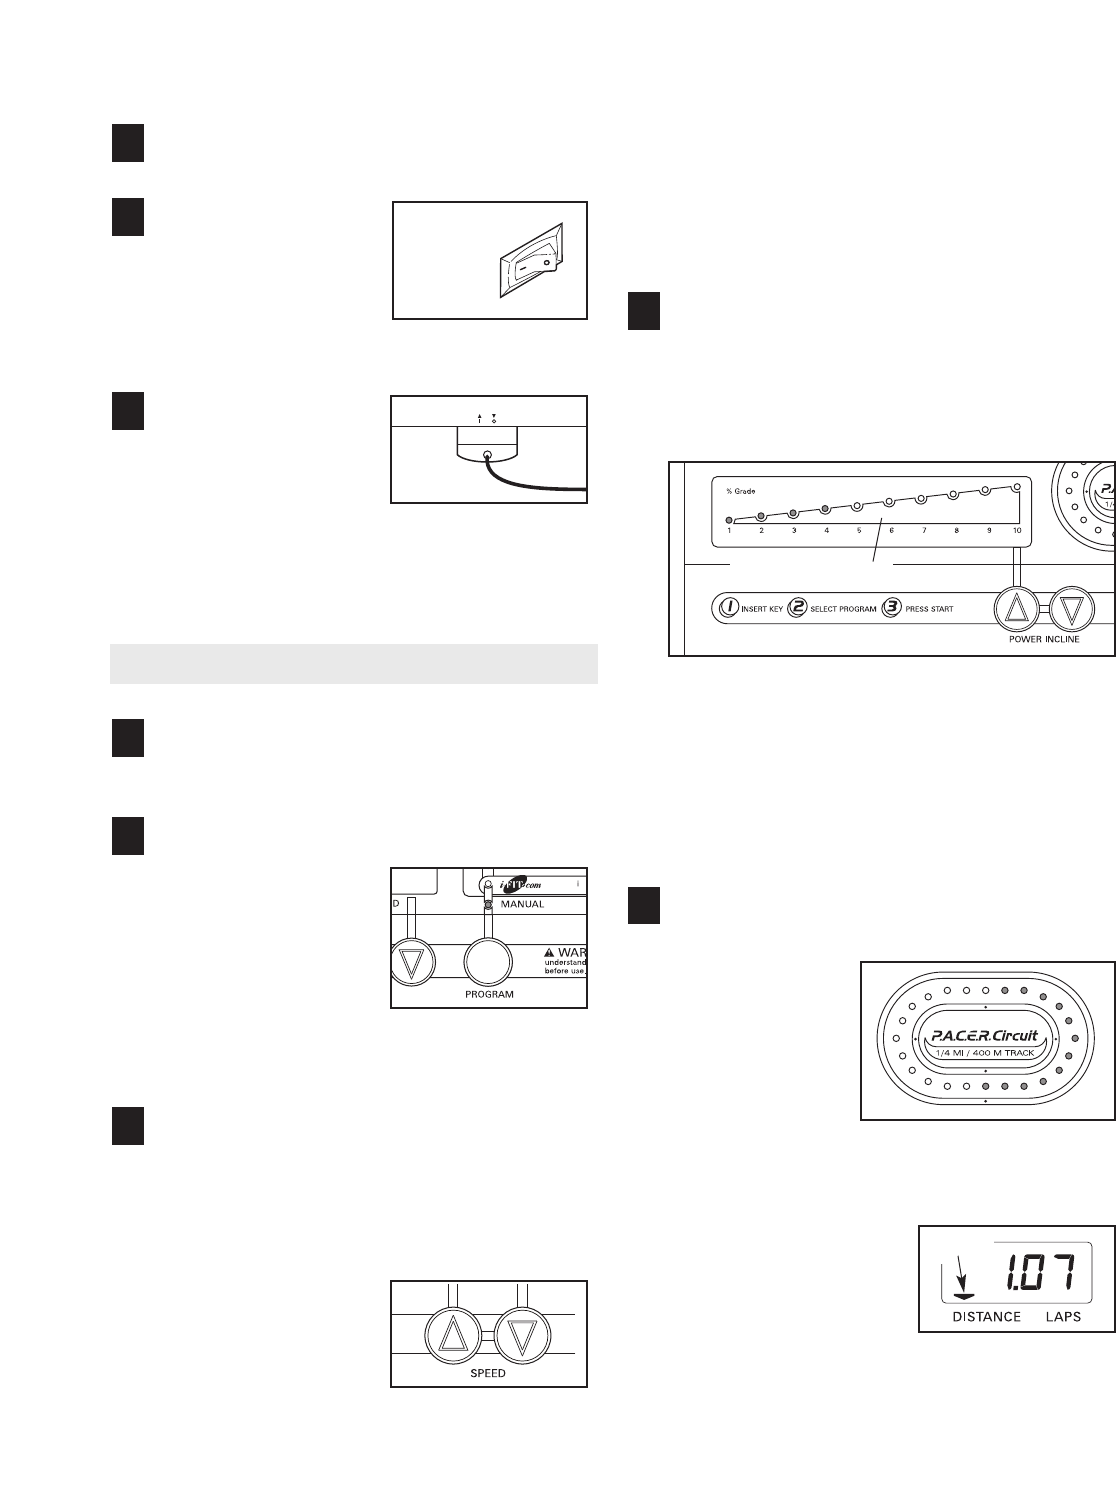
Change the incline of the treadmill as desired.
To change the incline of the treadmill, press the
incline buttons. Each time a button is pressed, the
incline will change by 0.5%. The buttons can be
held down to change the incline rapidly.
Note: In the incline display, the first indicator will
light when the incline is set at 1.5%. The second
indicator will light when the incline is set at 2% or
2.5%, the third indicator will light when the incline
is set at 3% or 3.5%, and so forth. After the incline
buttons are pressed, it will take a moment for the
treadmill to reach the selected incline setting.
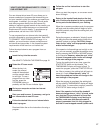
Follow your progress with the LED track and
the four displays.
The LED Track—
The LED track
represents a dis-
tance of 1/4 mile.
As you exercise,
the indicators
around the track
will light one at a
time until you have completed 1/4 mile. A new lap
will then begin.
DISTANCE/LAPS dis-
play
—This display shows
the distance that you
have walked or run and
the number of laps you
have completed (one lap
equals 1/4 mile). The display will alternate
between
one number and the other every seven
seconds, as shown by the arrows in the display.
5
4
3
2
1
3
2
1
Arrow
Incline Display
10
On
Position