Page 14
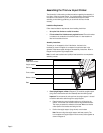
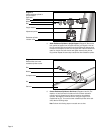
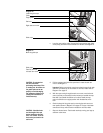
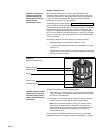
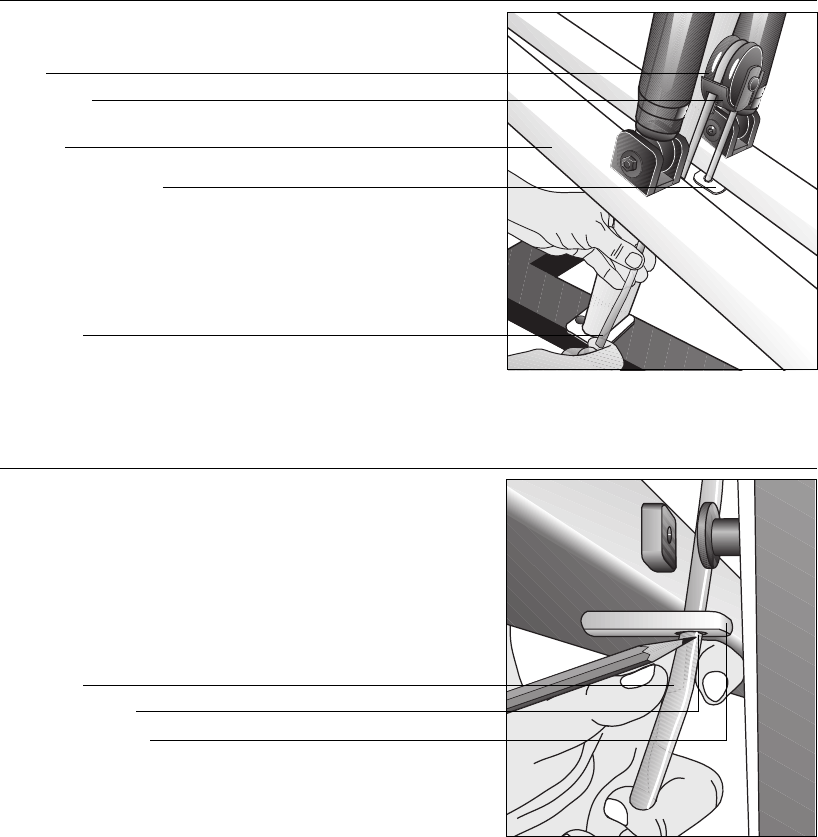
c. Loop the rope over the pulley (through the finger guard on both sides
of the pulley) and down into the left stair arm mount. See Diagram 16.
Guide rope
Diagram 16
Install the guide rope
Stair arm
Pulley
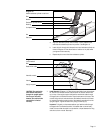
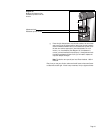
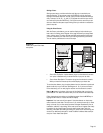
Pencil or pen mark
Guide rope
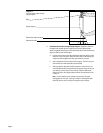
Diagram 17
Mark the guide rope
d. Pull the rope taunt and mark the rope where it meets the stair arm
mount. See Diagram 17.
Important: Before you mark the rope, be sure that the top of both stair
arms line up with the top of the red box on the Precor label. Refer to
Diagram 15 on page 13.
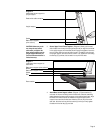
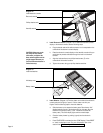
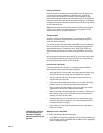
d. With the rope running through the stair arm mount, move both stair
arms up so that you can easily tie a knot where you marked the rope.
Note that if you placed the climber on its side to install the rope,
return the climber to an upright position with the base flat on the
floor.
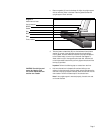
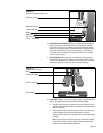
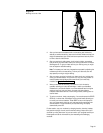
e. Check the length of the guide rope by returning the stair arms to an
even position shown in Diagram 15 on page 13. The top of both stair
arms should line up with the red box located on the Precor label.
f. Step onto the stair arms. Test the stair stroke by moving your legs up
and down a few times.
CAUTION: Do not stand on
the stair arms while
performing these steps. Prior
to working out, the tension on
the guide rope must be set
properly to avoid damaging
the resistance cylinders and
voiding the manufacturer’s
limited warranty.
CAUTION: Check the knots
and the length of the rope
before standing on the stair
arms. You cannot re-tie the
knots once you stand on the
stair arms.
Finger guard
Right stair arm mount
Left stair arm mount


