13
C
ENTERING THE BELT
After installing and levelling the treadmill, check the belt to ensure that it is tracking properly. First,
plug the power cord into an appropriate outlet. See Electrical Power Requirements at the beginning
of this section for details. Then, turn the treadmill ON.
Have one person stand on the platforms on either side of the treadmill frame. Do not stand on the
belt at this time. Press the QUICK START key, and increase the speed to 4.0 miles per hour (MPH),
or 6.4 kilometers per hour (KPH), using the SPEED UP arrow.
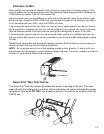
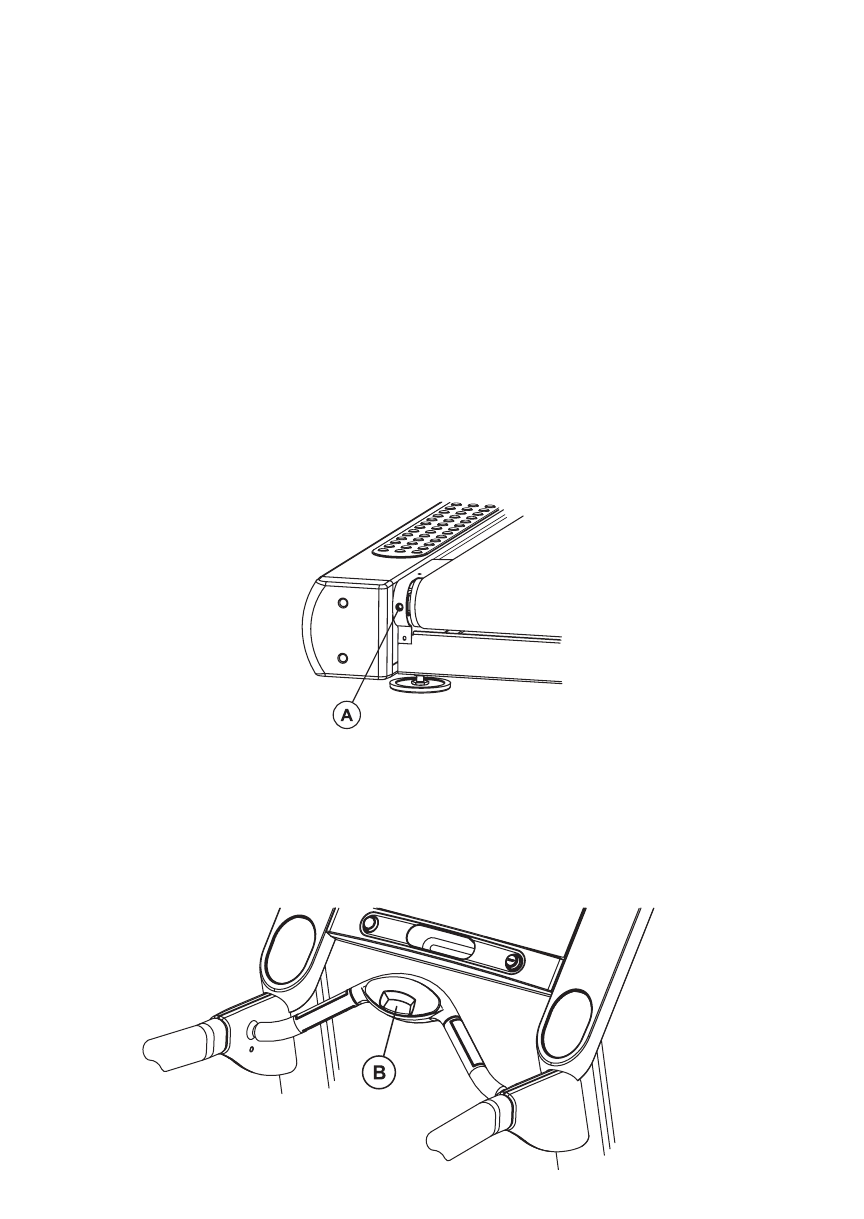
If the striding belt moves to the right while it is running, have a second person turn the right tension
bolt a quarter-turn clockwise, and then turn the left tension bolt (A) a quarter-turn counter-clockwise.
See the illustration below. This action sets the striding belt tracking back to center of the roller.
If the striding belt moves to the left, turn the left tension bolt a quarter-turn clockwise and then turn
the right tension bolt a quarter-turn counter-clockwise to start the striding belt tracking back to center
of roller.
Repeat these adjustments until striding belt appears centered. Allow the belt to continue running for
several minutes to be sure that the tracking is stabilized.
NOTE: Do not exceed one full turn of the adjusting screws in either direction. If, after one full turn,
the belt does not track properly, contact Customer Support Services. The phone numbers are listed in
Section 6.7, titled How to Obtain Product Service.
S
MART STOP
TM
B
ELT STOP SYSTEM
The Smart Stop
TM
belt stop system (B) senses that a user is standing on the belt. If the user
steps off while the striding belt is in motion, after a brief delay, the system automatically pauses
the workout. (During the FIT TEST, the workout is aborted.) To continue the workout, press the
ENTER key.


