


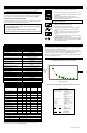
990-7062 Revision 1, 10/98
BayStack UPS45
Uninterruptible Power Supply
User’s Manual
English
204458-A
Installation
To obtain warranty coverage, please fill out and
return the warranty registration card now.
Inspection
Inspect the BayStack UPS45 Uninterruptible Power
Supply (UPS) upon receipt. Notify the carrier and
dealer if there is damage. The packaging is
recyclable; save it for reuse or dispose of it properly.
Warning! Changes or modifications to this unit
not expressly approved by the party responsible
for compliance could void the warranty.
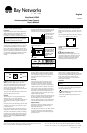
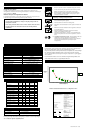
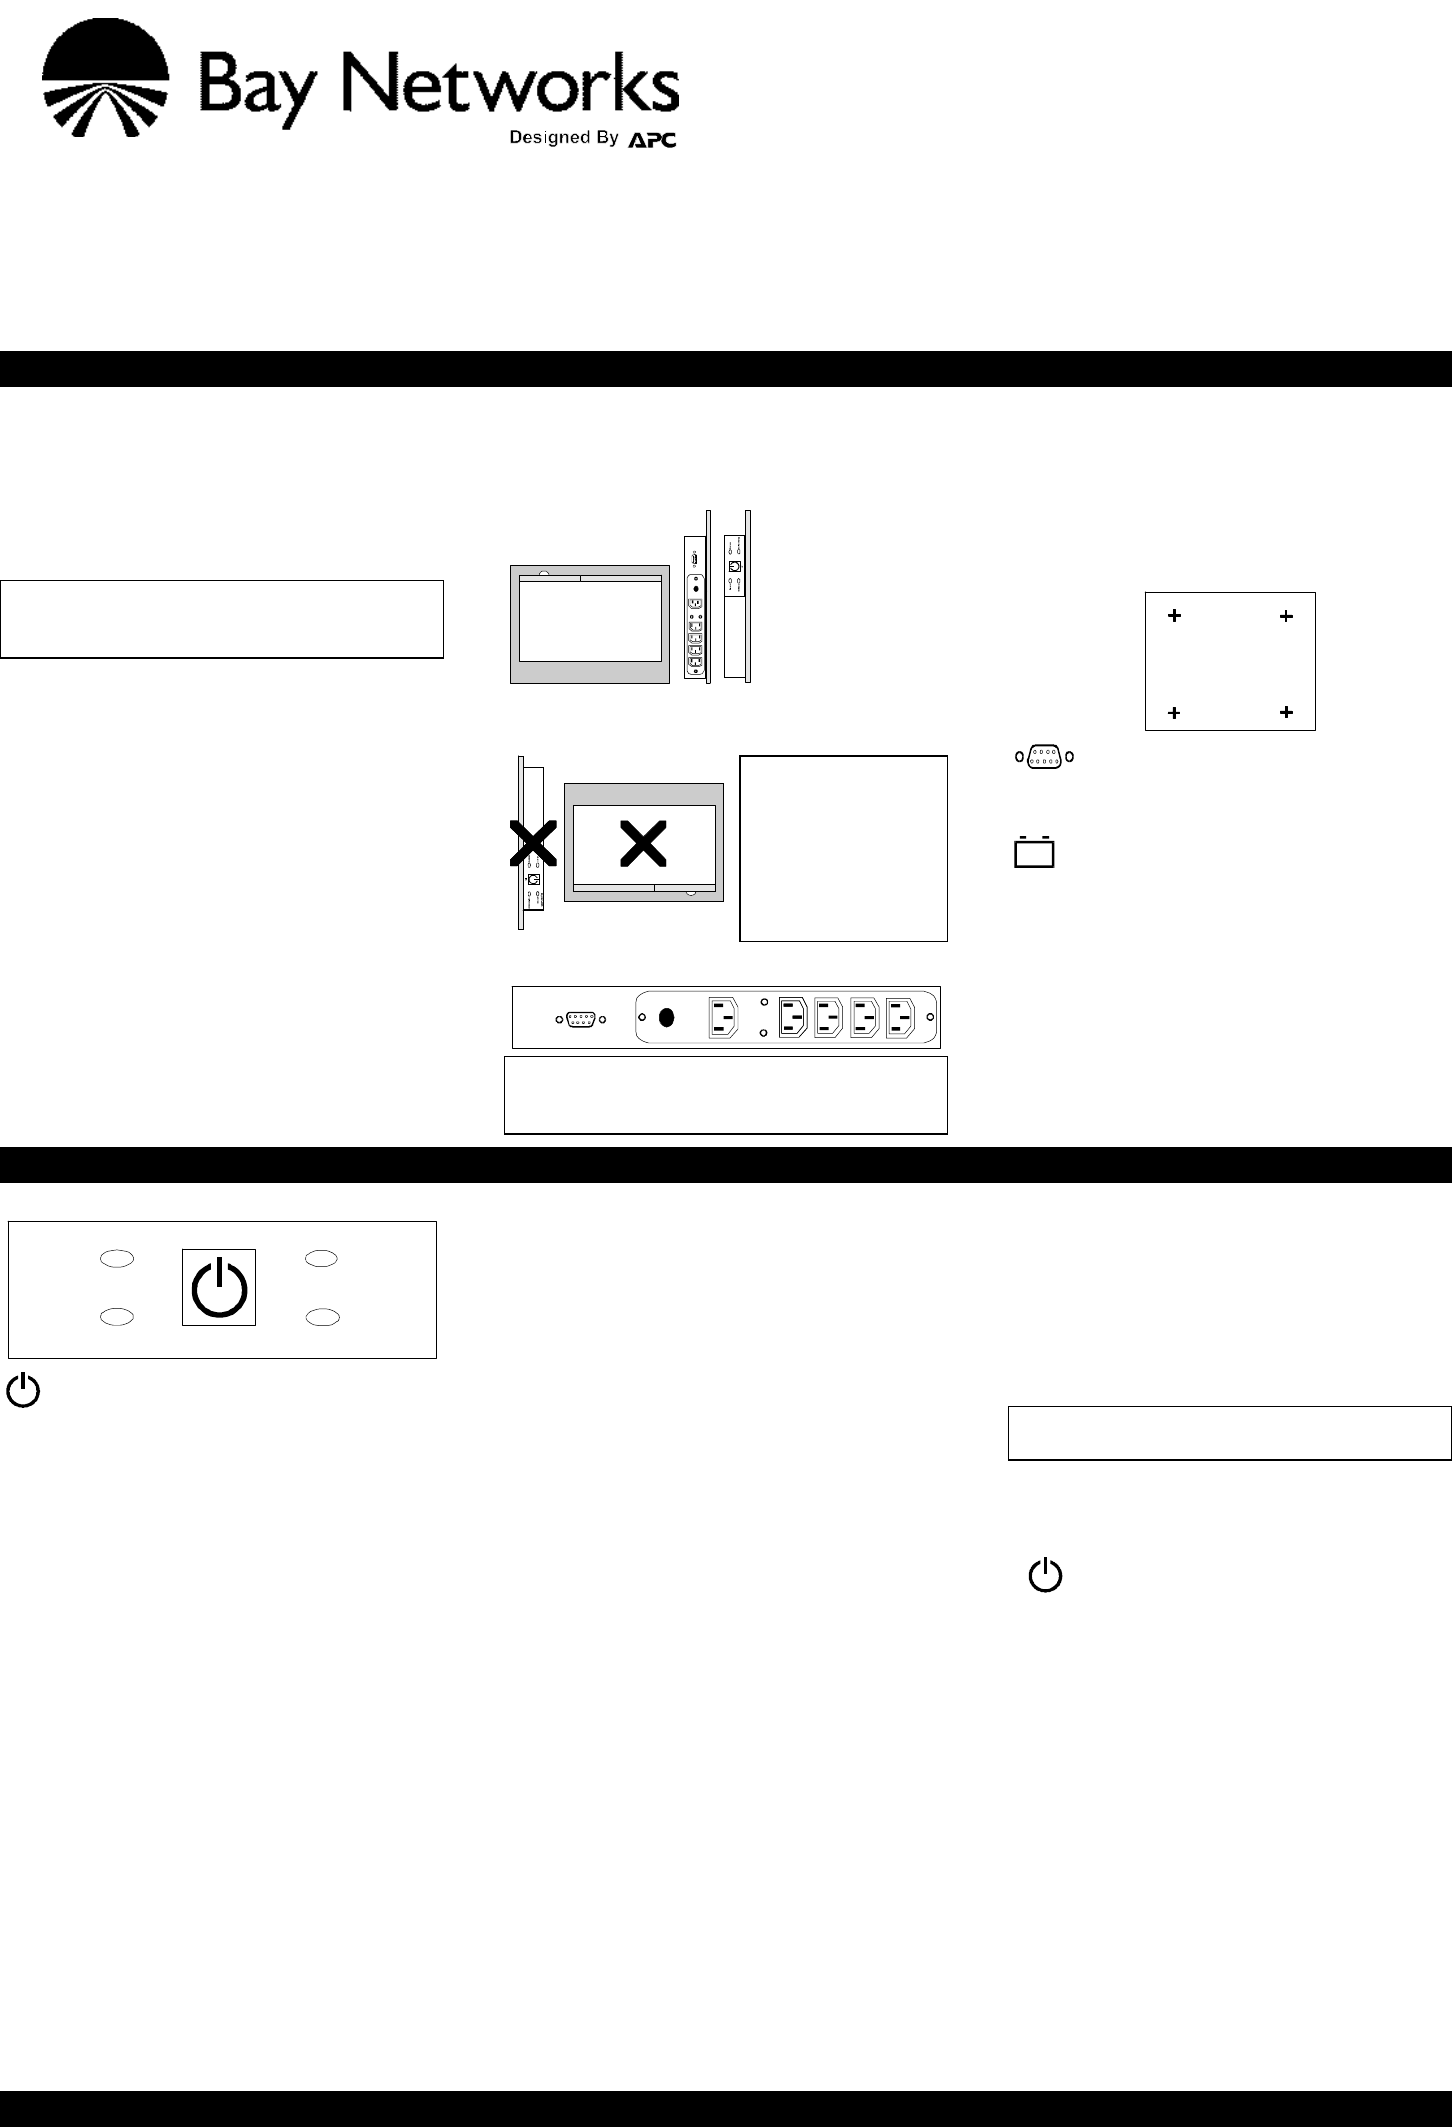
Rack Mounting
The UPS comes with standard 46.5 cm (19") rack
mount brackets. It is supplied with four (4) screws to
attach the mounting brackets (ears) to the chassis.
Select a rack location with adequate air flow that is
free from excessive dust. Ensure that the air vents on
the sides of the UPS are not blocked. Do not operate
the UPS where temperature or humidity are outside
the limits in the Specifications section of this
manual.
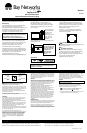
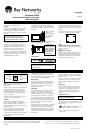
Wall Mounting
The brackets on the UPS can be rotated 90° for wall
mounting. Remove the screws, rotate the brackets,
and insert the screws in the appropriate holes.
BayStack UPS 45
Wall-mount the unit
with the controls
towards or at the
top, not at the
bottom of the unit.
The illustrations above show the proper positions for
wall mounting the unit.
45
Warning!
Do not mount the unit
on the wall as shown
in the illustrations at
left. Doing so could
result in a safety
hazard.
Rear View
Once the UPS is mounted, please follow the
installation instructions in the BayStack Quick
Reference Guide.
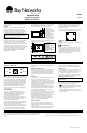
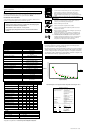
Desktop Use
This UPS is provided with four adhesive-backed
rubber “feet” for desktop use. Attach the feet to the
bottom of the unit and remove the ears to use it on a
desktop.
The recommended placement of the feet is shown by
a small + on the bottom corners of the unit:
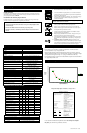
Computer Interface Port
The interface port is used for factory test and
calibration.
Charge the battery pack
The UPS charges its battery pack whenever it is
connected to utility power. The battery pack will
charge fully during the first 4 hours of normal
operation. Do not expect full battery back-up
runtime during this initial charge period.
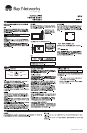
Operating Instructions
Switch On — Switch Off
On- Line
On Battery
I/O
Overload
Replace Battery
BayStack UPS 45
With the UPS plugged in, press and release the
on/off/test button to supply power to the loads.
The loads are immediately powered while the UPS
performs a self-test. Press and release the button
again to turn off power to the loads. It may be
convenient to use the UPS as a master on/off switch
for the protected equipment.
The green on-line LED illuminates when the UPS is
supplying utility power to the loads.
Self-test
The UPS performs a self-test automatically when
turned on, and every two weeks thereafter.
Automatic self-test eases maintenance requirements
by eliminating the need for periodic manual self-
tests.
During the self-test, the UPS briefly powers the loads
on-battery. If the UPS passes the self-test, it returns
to on-line operation.
If the UPS turns off during the self-test and emits a
fading tone, the batteries are not connected properly.
The loads are not affected by a failed test. Recharge
the battery pack overnight and perform the self-test
again. If the replace battery LED is still on, replace
the battery pack using the Replacing the Battery
Pack procedure.
On Battery
During on-battery operation, the yellow on-battery
LED illuminates and the UPS sounds an audible
alarm consisting of 4 beeps every 30 seconds. The
alarm stops when the UPS returns to on-line
operation.
Overload
When loads exceed the UPS’s capacity, the red
overload LED illuminates and the UPS emits a
sustained tone. The alarm remains on until the
overload is removed. Disconnect nonessential load
equipment from the UPS to eliminate the overload.
If the overload is severe, the input circuit breaker
may trip (the resettable center plunger of the circuit
breaker pops out). Disconnect nonessential load
equipment from the UPS to eliminate the overload
and press the plunger back in.
If there is AC power and the circuit breaker does not
trip during overload, the loads are still powered. If
the circuit breaker trips or the UPS attempts to
transfer to battery, the loads’ power will be shut off.
Turn the UPS off then back on to power the loads.
Replace Battery
If the battery pack fails a self-test, the UPS emits
short beeps for one minute and the red replace
battery LED illuminates.
The UPS repeats the alarm every five hours. Perform
the self-test procedure to confirm replace battery
conditions. The alarm stops when the battery pack
passes the self-test.
Low Battery
When the UPS is operating on-battery and the
energy reserve of the battery pack runs low, the UPS
beeps continuously until the UPS shuts down from
battery pack exhaustion or returns to on-line
operation, if the utility power returns before the
battery pack is exhausted.
Cold Start
Note: Cold start is not a normal operating
condition.
When the UPS is off and there is no utility power, it
is possible to cold start the UPS to power the loads
from the UPS’s battery pack.
· Press and hold the on/off/test button until the
UPS emits a constant tone.
· Release the on/off/test button during the tone to
start the UPS.
Storage
Storage Conditions
Before storing, charge the UPS for at least 8 hours. Cover the UPS and store it lying
flat in a cool, dry location, with its battery pack fully charged.
Extended Storage
At -15 to +30 °C (+5 to +86 °F), charge the UPS’s battery pack every 6 months.
At +30 to +45 °C (+86 to +113 °F), charge the UPS’s battery pack every 3 months.