TL-R4000 Enterprise Broadband Router User Guide
17
necessary for your ISP.
¾ Service Name/AC Name - The service name and AC (Access Concentrator) name,
this should not be done unless you are sure it is necessary for your ISP.
¾ ISP Specified IP Address - If you know that your ISP does not automatically
transmit your IP address to the router during login, click “Use the IP Address
specified by ISP” check box and enter the IP address in dotted-decimal notation,
which your ISP provided.
¾ Detect Online Interval - The default value is 0, you can input the value between 0
and 120. The router will detect Access Concentrator online at every interval between
seconds. If the value is 0, it means do not detect.
¾ DNS IP Address - If you know that your ISP does not automatically transmit DNS
addresses to the router during login, click “Use the following DNS servers”
checkbox and enter the IP address in dotted-decimal notation of your ISP’s primary
DNS server. If a secondary DNS server address is available, enter it as well.
Click the Save button to save your settings.
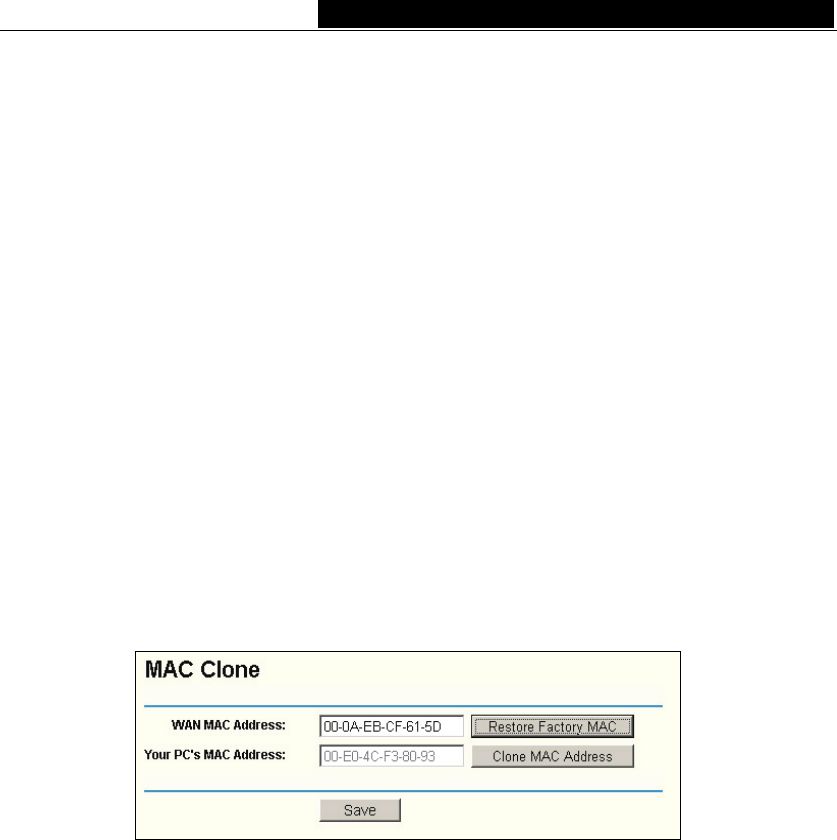
4.4.3 MAC Clone
You can configure the MAC addr
ess of the WAN port on this page, Figure 4-10:
Figure 4-10 MAC Address Clone
Some ISPs require that you register the MAC address of your adapter, which is
connected to your cable, DSL modem or Ethernet during installation. You do not
generally need to change anything here.
¾ WAN MAC Address - This field displays the current MAC address of the WAN port,
which is used for the WAN port. If your ISP requires that you register the MAC
address, please enter the correct MAC address into this field. The format for the
MAC address is XX-XX-XX-XX-XX-XX (X is any hexadecimal digit).
¾ Your PC's MAC Address - This field displays the MAC address of the PC that is
managing the router. If the MAC address is required, you can click the Clone MAC
Address button and this MAC address will fill in the WAN MAC Address field.
Click Restore Factory MAC to restore the MAC address of WAN port to the factory
default value.
Click the Save button to save your settings.
