20 Using the Document Camera
Adjusting the Image
Once you see your image, you may need to make certain adjustments:
■
To zoom or focus your image, see the next section.
■
If the image is too high or too low, you can reposition it. If the
image is too large or too small, you can resize it. See page 21.
■
If the image is too light or dark, see page 22.
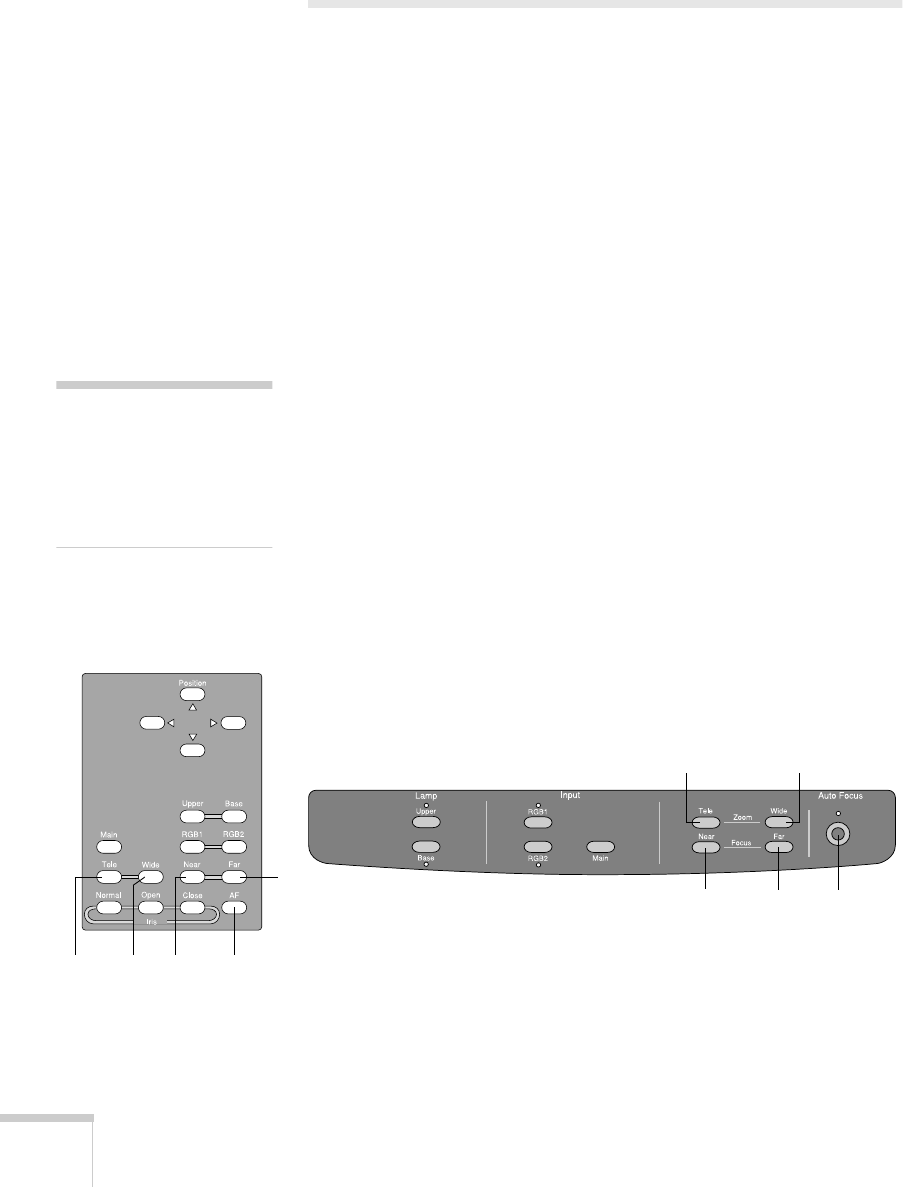
Zooming and Focusing Your Image
Use the
Tele
button on the control panel or remote control to enlarge
the image, and use the
Wide
button to reduce it. The document
camera will automatically focus the image.
If you change items on the stage, press the
Auto Focus
button to
focus the image. The indicator light flashes until the image is focused.
The following objects may not focus well using the auto focus feature:
■
Objects with little contrast
■
Objects with a bright background or excessive contrast
■
Objects with fine repeated patterns or stripes
■
Objects that glitter or reflect bright light
■
Objects with varying depths of field
To manually focus these objects, use the
Near
or
Far
button.
note
The auto focus function
works up to a height of
approximately 3.9 in.
(10 cm) above the stage
surface
.
Remote control
Tele Wide Near
Far
Auto
Focus
Control panel WideTele
Auto FocusFarNear


