


GB
O W N ER ’ S M AN U AL
•
E 2 5
5
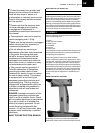
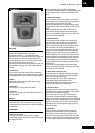
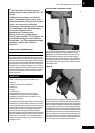
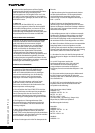
SEAT
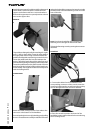
Loosen the seatholder locking screw and turn the upper
locking lever so that it is aligned with the equipment.
Place the seat into position on the grooves of the lower
locking lever. Turn the upper locking lever towards the
top of the seat rails and lock the seat by tightening the
locking screw.
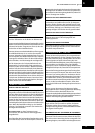
pOWER CORD
Plug the socket end of the transformer cord into the
connector, just above the rear support in the centre of
the frame, and the other end into the wall socket. To
prevent damage to the connector, we recommend you
tie the cord to the transportation wheel support next to
the connector.
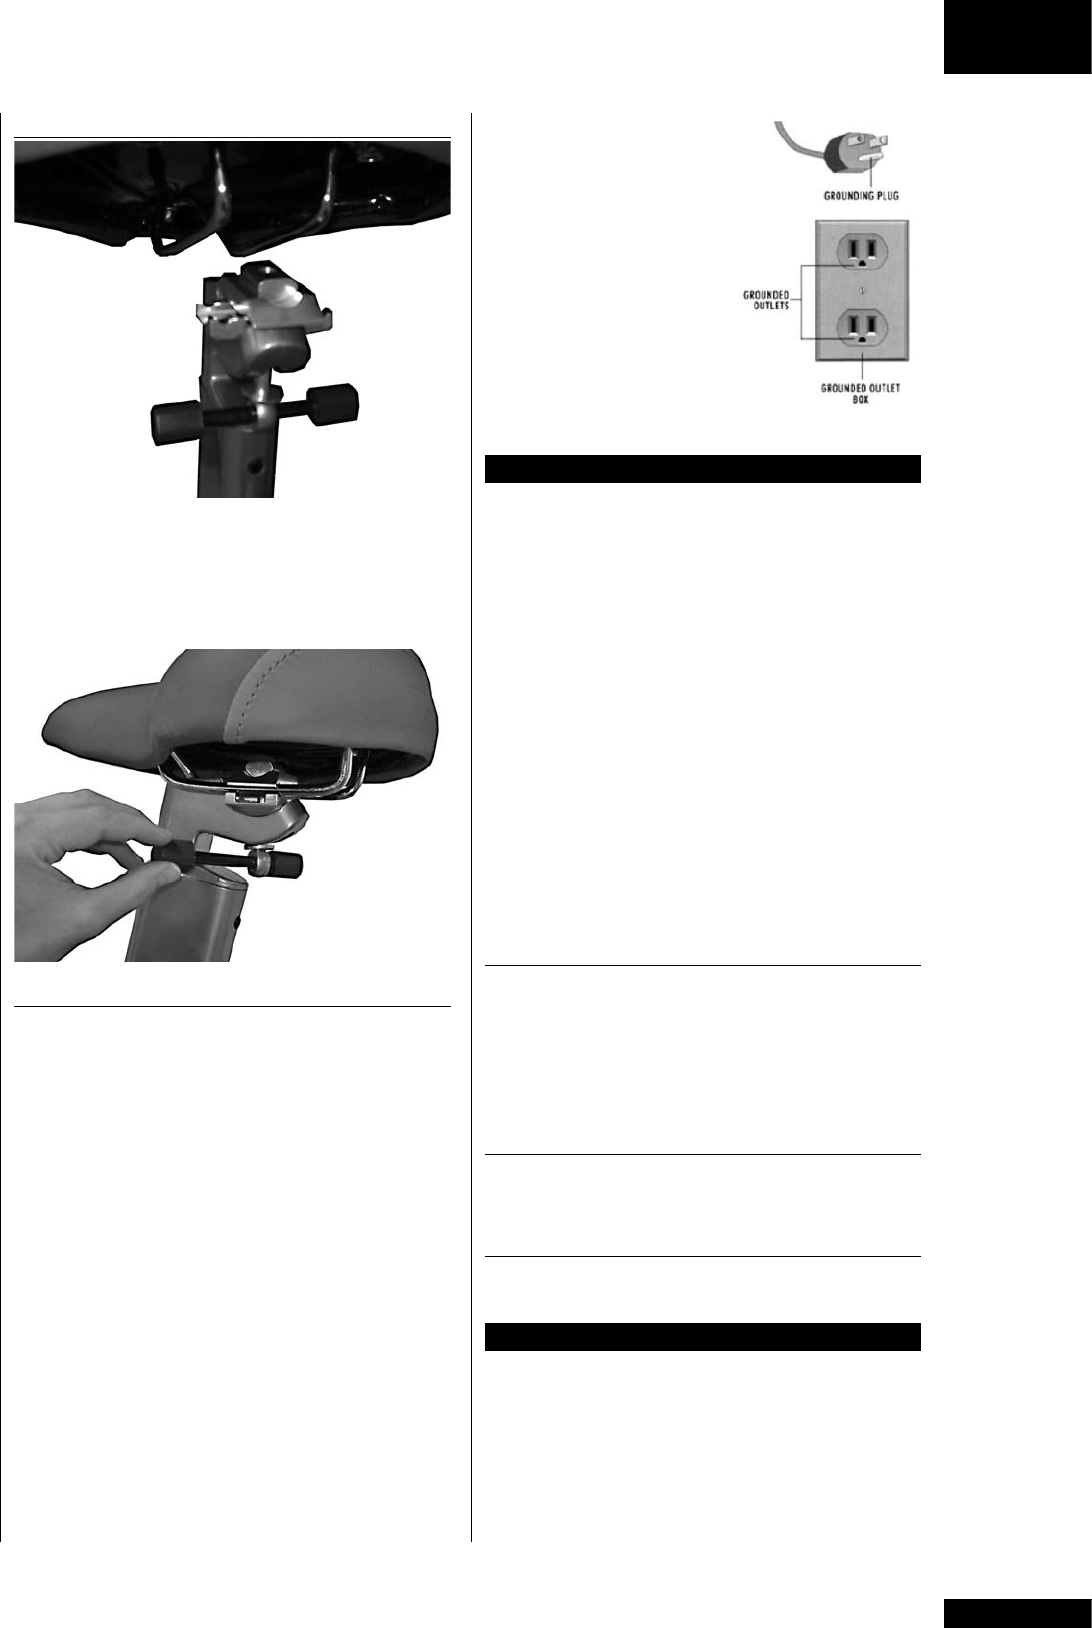
Always remove the mains cable from the fitness
equipment first, and only then remove it from the
power source. Always connect the mains cable to the
power source first, and only then connect it to the
fitness equipment. Inverted order resets the meter clock
display.
Behind the console there is a battery case. The cycle can
be used with batteries or with electric current. If the
device is used solely with batteries, please note that the
servo brakes exhaust the batteries rather quickly. Hence,
we recommend the use of electricity as the main power
source.
The clock in the console uses always batteries, even
when the device is not connected to any power source.
Otherwise the clock would reset to zero.
NOTE!
The device must be
connected to a grounded wall
socket. Do not use extension
wires when connecting the
device to the power source.
Make sure the power cord
does not run underneath the
device.
Always switch off the power
and uplug this appliance
from the electrical outlet
immediately after using.
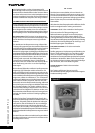
ADJUSTMENTS
Set the right height for you; the basic rule is that the
arch of the foot reaches reaches the the pedal at its
lowest point with the leg almost straight. Adjust the
seat height by loosening the seat locking knob. Hold on
to the seat with one hand and, using your other hand,
pull the locking knob outwards in order to enable free
seat tube movement upwards and downwards. Once the
height is right, let go of the knob and the seat locks into
place. Turn the locking knob clockwise to tighten.
NOTE! Always make sure that the locking knob is
properly fastened before starting to exercise!
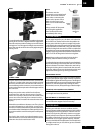
To adjust the horizontal seat position forward and back,
loosen the locking screws under the seat. You can also
adjust inclination from here. Release the seat lock by
turning the locking lever located under the seat anti-
clockwise. Adjust the seat to the desired position and
tighten the locking lever by turning it clockwise.
HANDLEBAR SETUp
Loosen the locking screws on the front of the handlebar
support and find the right angle at which to position
the handlebar. Tighten the locking screws. The design of
the handlebar allows you to exercise either in an upright
position or with the upper body leaning forward.
Remember, however, always to keep your back straight.
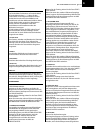
CONSOLE INCLINATION ADJUSTMENT
Set the inclination of the meter so that it corresponds to
your height and exercise position.
ADJUSTMENT OF SUppORT FEET
If the equipment is not stable, adjust the adjustment
screws below the support feet as necessary.
EXERCISING
Working out with this device is excellent aerobic
exercise, the principle being that the exercise should be
suitably light, but of long duration. Aerobic exercise
is based on improving the body’s maximum oxygen
upteke, which in turn improves endurance and fitness.
The ability of the body to burn fat as a fuel is directly
dependent on its oxygen-uptake capacity. Aerobic
exercise should be above all pleasant. You should work
up a light sweat but you should not get out of breath
during the workout.