


8
Major Project – The Escape Wheel “Nut”
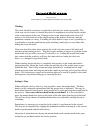
After the pivot polishing process was complete for all eight pivots, I progressed to
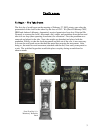
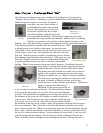
“bushing” the pivot holes. A bushing is a small cylinder of brass with a hole in the
middle designed to replace a worn hole. To replace a
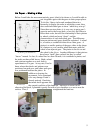
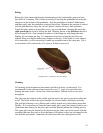
worn hole, one uses a hand reamer (a
small handheld tool that when twisted,
can cut a hole quickly to an exact size)
to ream the original hole into a larger
one while keeping it centered and round
to accommodate the bushing. The bushing is tapped into the newly
expanded hole using a punch and a hammer, which secures it, assuming
the hole was reamed to a size slightly smaller than the diameter of the
bushing. Now, with the bushing secured in the original pivot hole, the replacement hole
in the bushing should be centered where the original hole was. With
a cutting broach (a tool similar to the reamer, yet provides more
control and a slower cutting rate) the hole can be resized to the pivot,
which creates a round, true, and centered hole where the old, worn
hole was. With this process in mind, I checked the gears by feeling
their tightness when placed in their pivot holes. If the gears were too
loose and “flopped” around too much, I put them back in the plate
to signify that those holes were worn or too loose, and needed
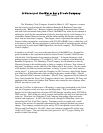
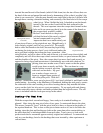
bushing. When I came around to the escape wheel, however, I found that it became
impossible to continue with out first repairing that pseudo
hand nut that acts as the pivot hole for the escape wheel.
The threads were bad, and the nut couldn’t be screwed on
tightly or far enough to determine how loose the escape
wheel pivot actually was, so it had to be fixed immediately.
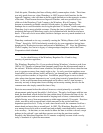
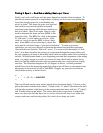
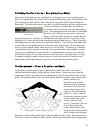
The first step to repairing the threads was to discover what
the pitch, or number of threads per inch, was for that
particular screw and the diameter of the threads. With this in
mind, we consulted the Machinery’s
Handbook for the proper tap and die set
to use in order to create the new threads. We determined the diameter
to be nearly the equivalent of a size 6 die, with a pitch of 40 threads
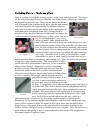
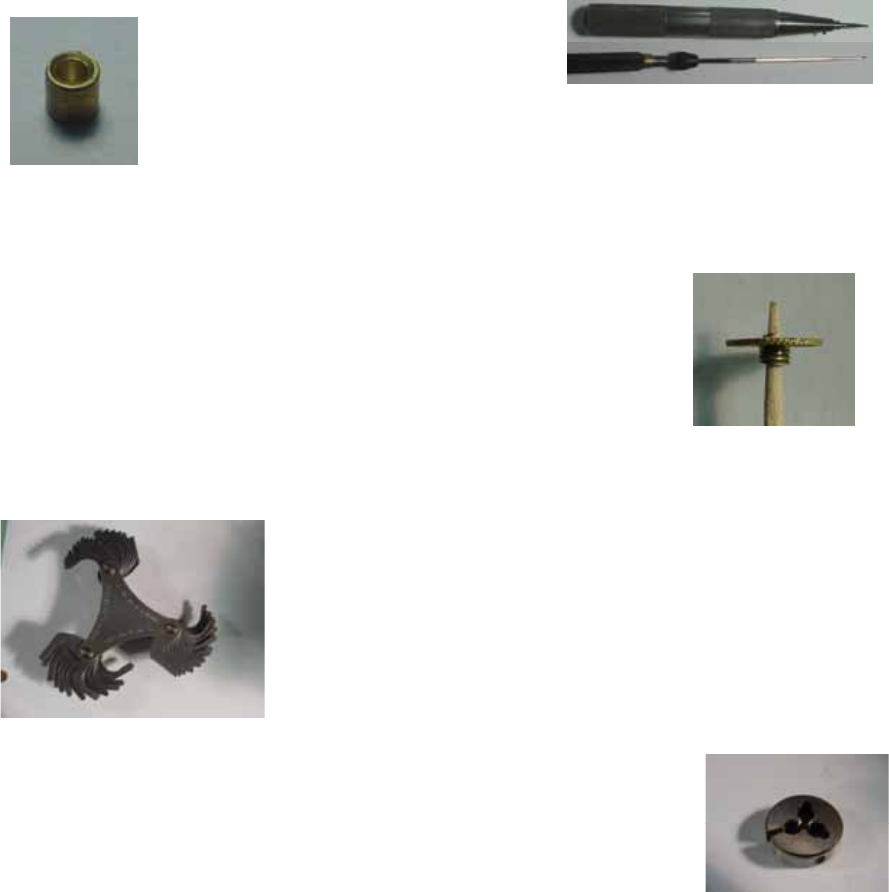
per inch. This meant that the optimum set to use was the 6-40 die, but
the diameter of the screw was still slightly too small for the hole it
screwed into. This forced us to use a split round die, which allowed
us to create an oversized 6-40. After discovering the correct die and
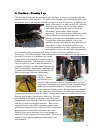
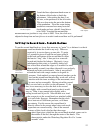
the diameter of the new screw, I chose a piece of round brass stock and filed it down to
the correct diameter. Then, I took the oversized 6-40 die and essentially screwed the
piece of brass into the die. When it was unscrewed again, the die had cut threads into the
brass. Now, with the new threads on the end of the brass, I set about cutting them off of
the rod so I could use them in the nut. I cut the threads off successfully, so we were left
with the old nut and new threads. First, I had to cut off the old threads from the nut.
Then, we drilled a hole as though we were bushing the nut itself. Having done this, I
A Bushing
That ol’ Hand Nut Again
Pitch Finde
r
Split, Round 6-40 Die
Hand Reamer vs.
Cutting Broach