CAUTION: Be sure not to pinch the display cables between the console neck and the bike frame.
While gently pushing the display cables up into the display console neck, carefully slide the console neck onto the neck brackets
until it is fully seated. Secure the display console to the bike frame with four M6 X 16 button head screws (two screws in front side
and two screws in back side). Tighten all four screws securely.
4. Install the Seat Post
Carefully slide the seat post and seat tube into the seat tube on the bike
frame. Make sure the seat tube is fully bottomed against the frame.
Install the M6 X 10 socket head screw into the hole in the back of the
seat tube. Tighten the screw securely.
Pull out on the seat release knob, and slide the seat post fully into the
seat tube. Release the seat release knob.
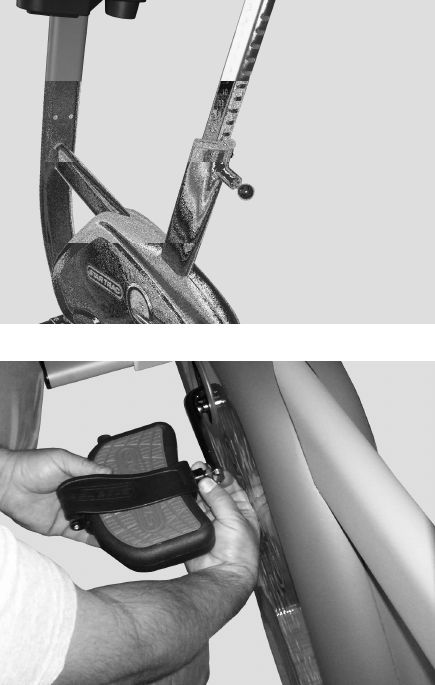
5. Install the Pedals
NOTE: Turn the left pedal spindle counterclockwise when
threading into the crank arm; turn the right pedal spindle
clockwise when threading into the crank arm.
Install the pedals on the pedal cranks using a 5/8-inch open-end
wrench. Tighten the pedals securely.
6. Leveling the Bike
Place the bike on the floor in the position in which it will be used. Use the leveling adjusters (located on the underside of
the front and rear feet) to compensate for uneven floor surfaces and to eliminate wobbling.
You have now completed assembly of your STAR TRAC S-UB / S-UBx UPRIGHT BIKE.
Step 4
Step 5


