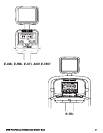
The Star Trac Personal Viewing Screen is different for each of your Star Trac E-Series Cardio prod-
ucts. Make sure you have the proper kit for the E-Series product you are installing. The E-UBi, E-RBi,
E-TBTi, and the E-STi will follow the same basic steps for installation. For the E-TRi turn page 18 in
this section.
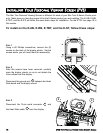
To install on the E-UB, E-RB, E-TBT, and the E-ST, follow these steps:
STEP 1
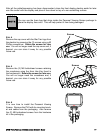
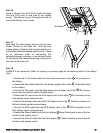
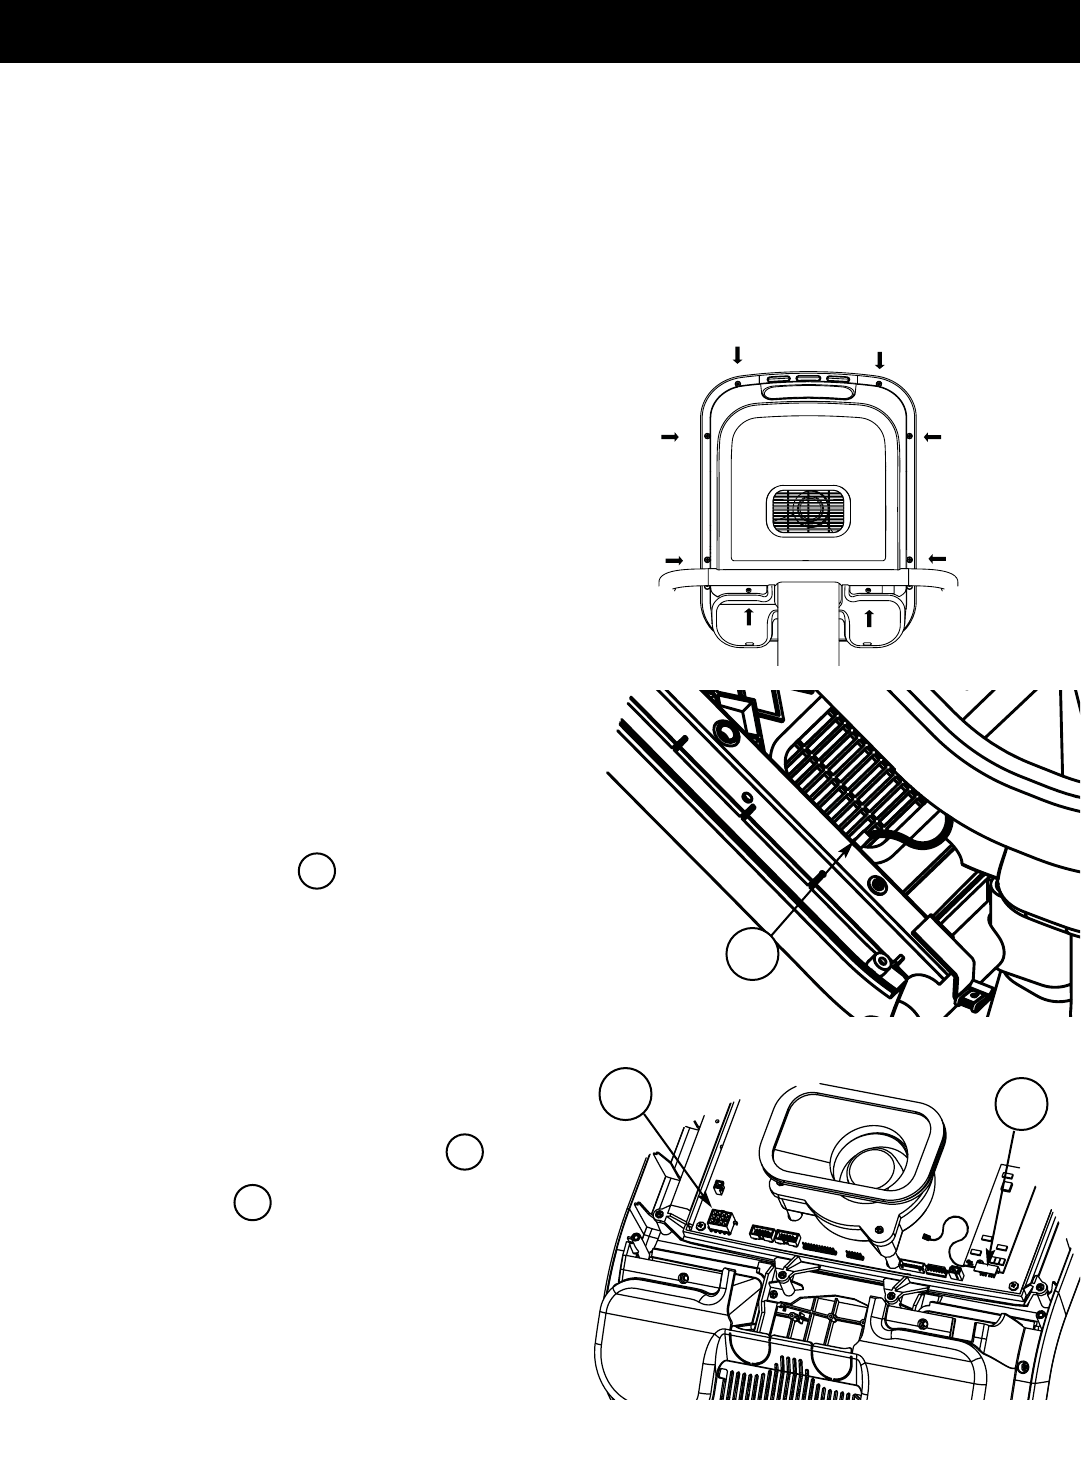
Using a #2 Phillips screwdriver, remove the (8)
screws on the back of the display plastic. Set the
screws aside, you will need them for reassembly.
S
TEP 2
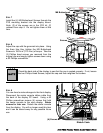
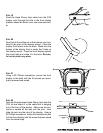
After the screws have been removed, carefully
open the display plastic, so as to not detach the
inner cables from the display.
Disconnect the ground wire between the Heart
Rate board and the display mount.
S
TEP 3
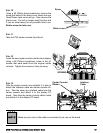
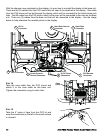
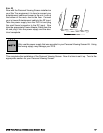
Disconnect the 12-pin serial connector and
the Heart Rate cable from the display.
1
2
3
10 STAR TRAC P
ERSONAL
V
IEWING
S
CREEN
O
WNER
’
S
M
ANUAL
I
NSTALLING
Y
OUR
P
ERSONAL
V
IEWING
S
CREEN
(PVS)
1
2
3


