SG3.5 User Guide
13
3.4 Advanced Menu
As you familiarize yourself with the SkyCaddie, you may further custom-
ize the information displayed during play using the “Target Settings”
option within the Advanced Menu. To access the Advanced Menu, press
the Menu button, scroll to “Advanced Menu” and select. A number of
menu items will appear within the Advanced Menu. Scroll UP/DOWN
to select “Target Settings”.
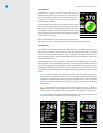
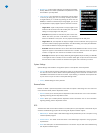
Target Settings allows you to configure the SkyCaddie to display targets
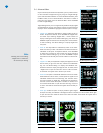
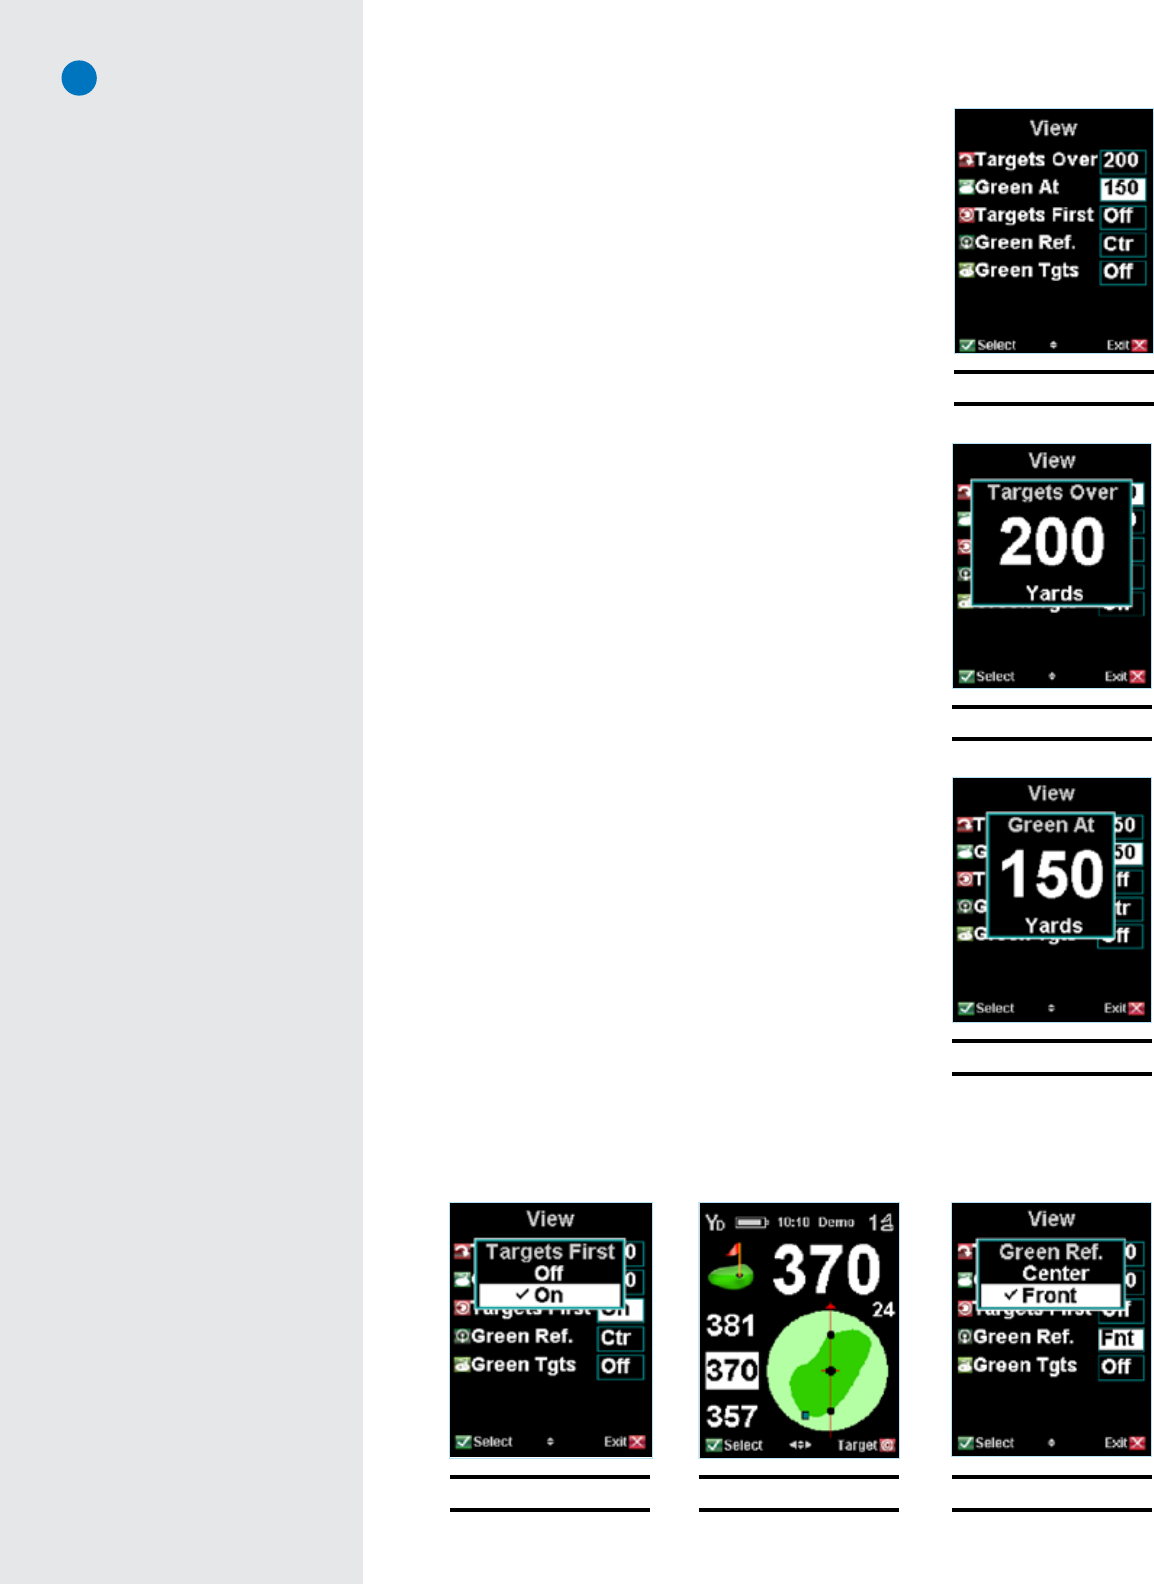
at preset distances. A list of menu options as shown in Figure 29 will be
displayed. Scroll UP/DOWN to highlight the desired option to change.
• TargetsOver: Adjust the SkyCaddie to display targets at set dis-
tances. To adjust the distance, scroll UP/DOWN to “Targets Over”
and select. Upon selecting “Targets Over”, a small window will
display indicating the current distance setting (Fig. 30). Scroll UP/
DOWN to adjust the distance from 50-500 yards. Choose “Select”
to save the setting. The default setting is to display targets over
150 yards.
• GreenAt: The SkyCaddie will automatically switch to the Intelli-
Green view when you reach a set distance. The default to switch to
IntelliGreen is 150 yards. To adjust the distance, scroll UP/DOWN
to “Green At” and select. A small window will display indicating
the current distance setting (Fig. 31). Scroll UP/DOWN to adjust
the distance from 50-500 yards. Choose “Select” to save the set-
ting.
• TargetsFirst: Sets your SkyCaddie to display the target list from the
tee first when you go to the next hole, instead of the IntelliGreen
(Fig. 32). The default setting is to display the IntelliGreen first.
Enable this feature to display the target list first. To enable, select
“Targets First” to open the menu item. Scroll to “ON” and select.
A checkmark will appear next to the item you choose.
• GreenRef: This option is sometimes referred to as Pro-Front. When
Green Reference is set to “Front”, a small square will appear on the
IntelliGreen where the front is marked (Fig. 33). The word “Front”
will replace “Center” on target lists. The distance will be based on
the Front (location where the square is marked). To enable, scroll
to and select “Green Ref.” to open the menu item (Fig. 34). Scroll
to “Front” and select. A checkmark will appear next to the item you
choose.
• GreenTgts:Enable this option to display additional green targets
(Example: Grn-RtCy, Grn-BackRt) in the target list views. To enable, scroll to and select “Green Tgts”
to open the menu item. Move the Scroll Pad to “ON” and select. A checkmark will appear next to
the item you choose.
Note
Choosing “Exit” while viewing
“Targets Over” or “Green At”
will not save your setting.
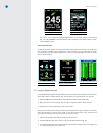
Fig. 29: Target settings
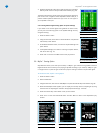
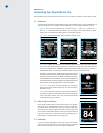
Fig. 32: Targets First setting Fig. 33: Green Ref set to “Front” Fig. 34: Green Ref setting
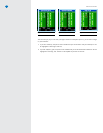
Fig. 30: Targets Over setting
Fig. 31: Green At setting


