OPERATION
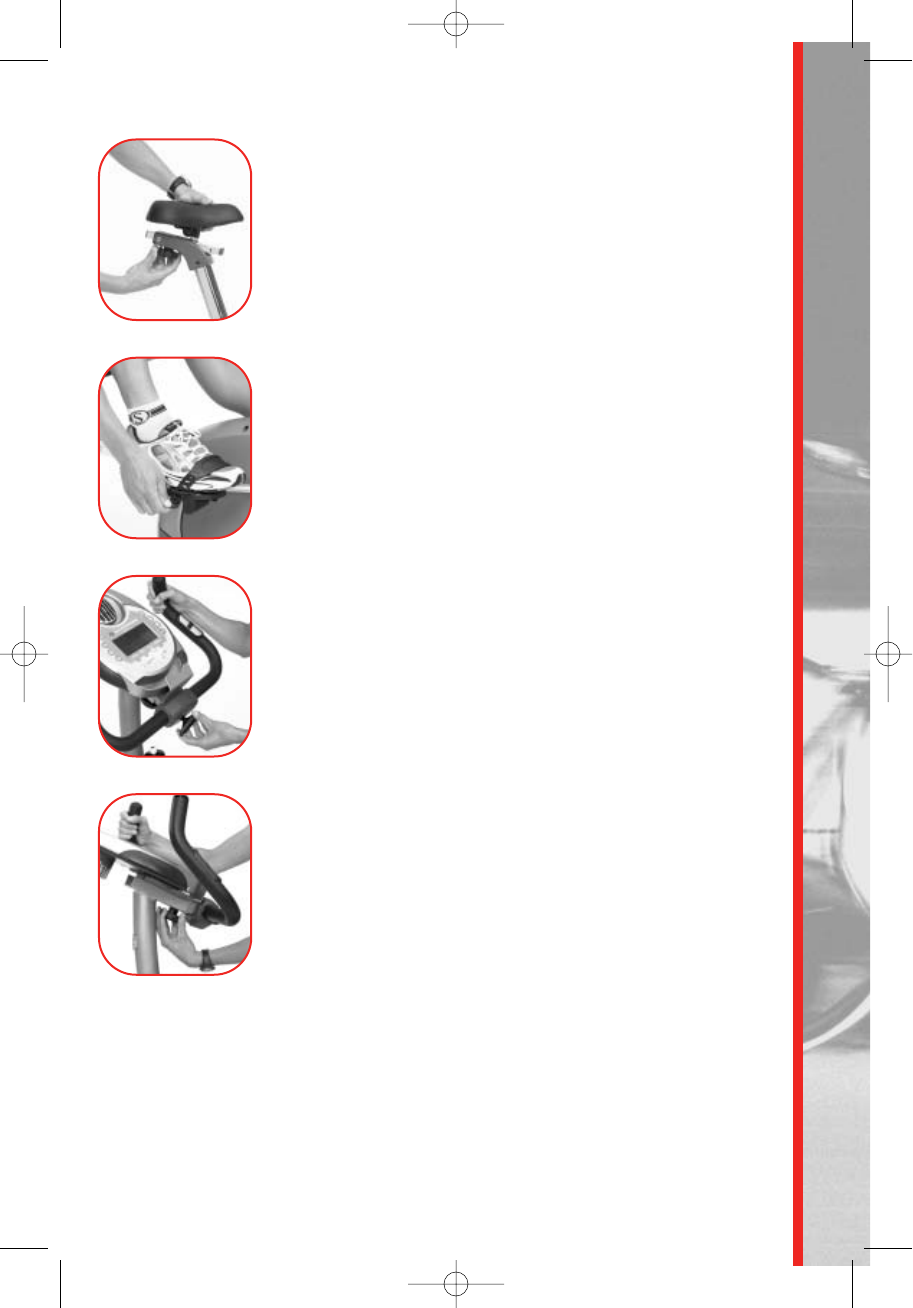
■ Foot positioning/pedal strap adjustment
Place the ball of each foot on the pedals. Rotate the pedals
until one foot is within arms reach. Then, reach down carefully
and fasten the rubber strap over your shoe and secure it to
the pedal by slipping the nub at the end of the pedal
through one of the slots in the strap. Pull down on the strap
until it snaps into place (Fig. 6). Repeat for the other foot.
Point your toes and knees directly forward to ensure maximum
pedal efficiency. Pedal straps can be left in place for
subsequent workouts.
■ Handlebar Adjustment
The upright bike offers an adjustable handlebar to ensure a
variety of comfortable hand positions. To adjust the angle
of the handlebars, loosen knob, adjust the handlebars to the
desired position and re-tighten (Fig. 7).
■
Console Adjustment
The upright and recumbent bike both feature a console position
adjustment that enables you to position the console closer or
farther away from your body to make the console buttons
easier to reach, the LCD screen easier to view, and your body
position more comfortable so you don’t feel too cramped or
too stretched out while exercising. To adjust the console
position, loosen the knob, adjust the console to the desired
position and re-tighten (Fig. 8). Experiment by moving the seat
and console sliders closer together or farther apart to totally
customize the most comfortable exercise position possible.
■ Resistance adjustment
Using the console, you have control over the levels of
resistance integrated into your workout. Typically, lower
resistance levels enable you to move at a faster pace, placing
increased demand on your cardiovascular system. Higher
resistance levels will typically deliver more of a muscle /
endurance workout at lower RPMs. But everyone is different!
So experiment and find the beginning of resistance that is
comfortable for you.
■ Lower body workout
Once you are in position and sitting comfortably, slowly
begin pedaling, with your arms relaxed and with your hands
resting on the hand grips. Pedal at an easy pace, at a low
resistance level until you feel comfortable and secure. As
you feel more comfortable, experiment with the range of
resistance levels available via the console.
10
Fig. 5
Fig. 6
Fig. 7
Fig. 8
122-123_ENGL 24.06.2006 8:53 Uhr Seite 11


