


14
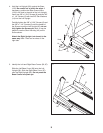
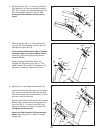
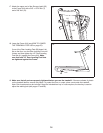
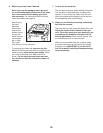
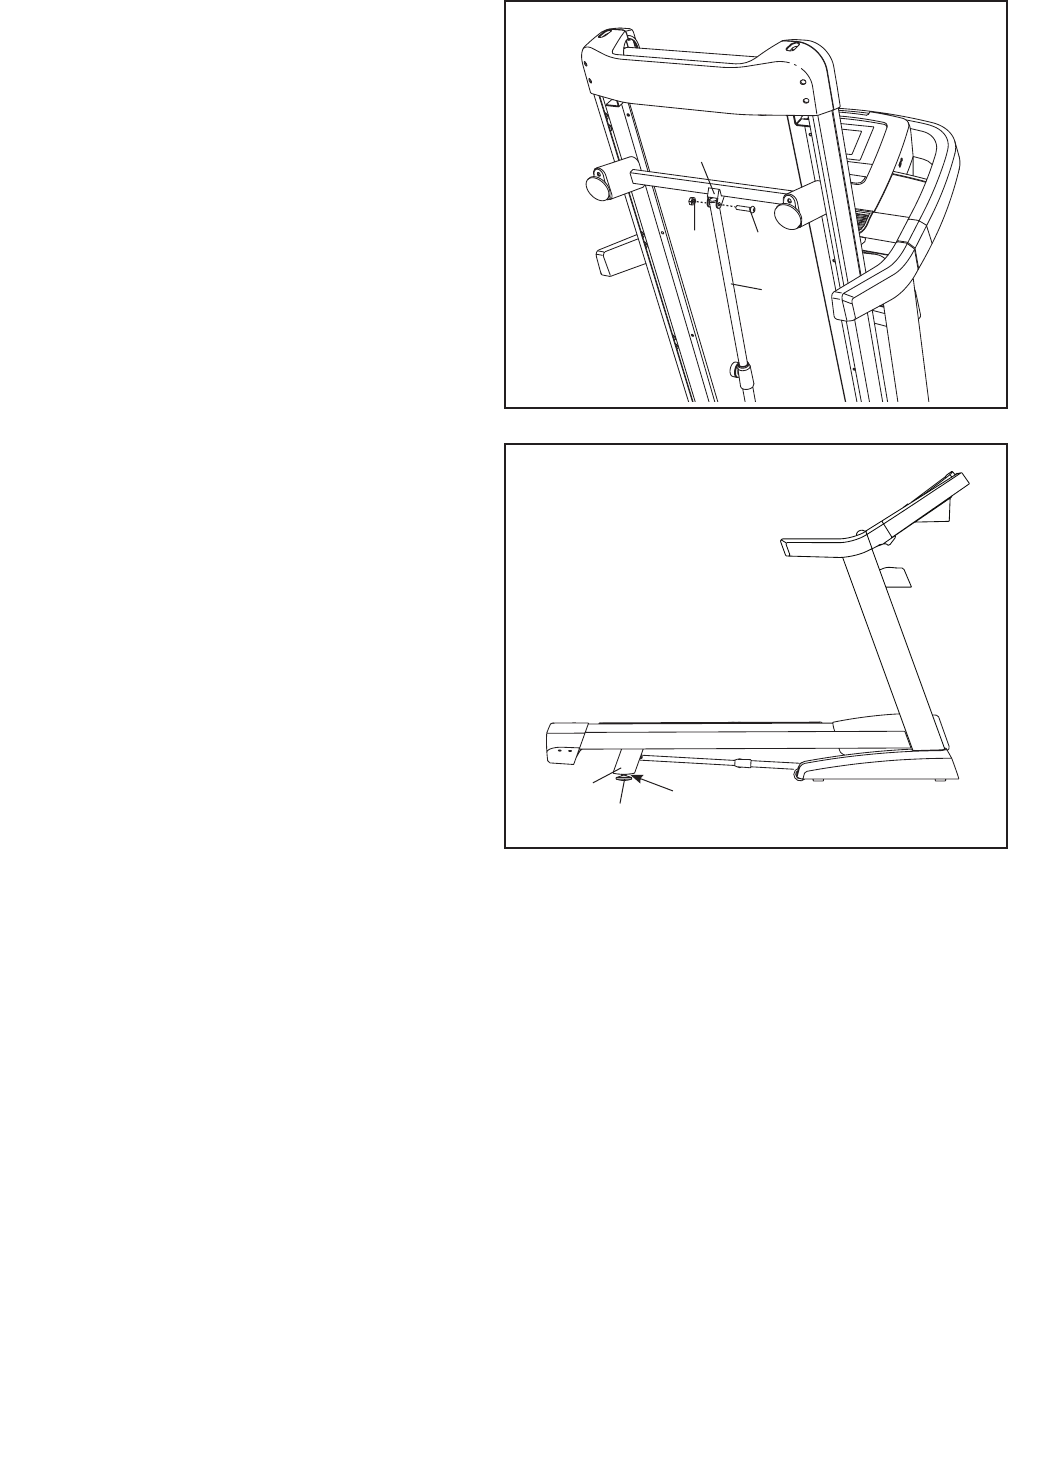
18. Lower the Frame (64) (see HOW TO LOWER
THE TREADMILL FOR USE on page 25).
If one of the Rear Leveling Feet (69) doesn’t sit
at on the oor, turn the Rear Leveling Foot until
it does, and then tighten the 1/2" Rear Leveling
Foot Nut (41) against the Frame (64). Make
sure that both 1/2" Rear Leveling Foot Nuts
are tightened against the Frame.
18
64
69
41
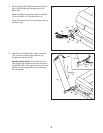
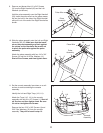
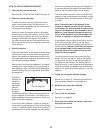
17. Attach the upper end of the Storage Latch (65)
to the Frame (64) with a 3/8" x 1 3/4" Bolt (7)
and a 3/8" Nut (13).
17
65
13
64
7
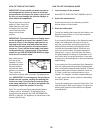
19. Make sure that all parts are properly tightened before you use the treadmill. If there are sheets of plastic
on the treadmill decals, remove the plastic. To protect the oor or carpet, place a mat under the treadmill.
Note: Extra hardware may be included. Keep the included hex key in a secure place; the hex key is used to
adjust the walking belt (see pages 27 and 28).