


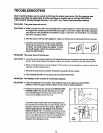
PROBLEM:Thewalkingbeltslowswhenwalkedon
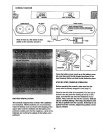
SOLUTION:a. Useonlyasingle-outletsurgesuppressorthatmeatsallofthespecificationsdescribedonpage7.
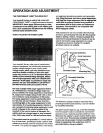
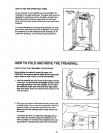
b. Ifthewalldngbeltisovertightened,treadmillperfor-
maneamaydecreaseandthewalkingbeltmaybe-
comedamaged.RemovethekeyandUNPLUGTHE
POWERCORD.Usingtheallenwrench,turnboth
rearrolleradjustmentboltscounterclockwise,1/4ofa
turn.Whenthewalkingbeltispropedytightened,you
shouldbeabletolifteachsideofthewalkingbelt2to
3Inchesoffthewalkingplatform.Becarefulto keep
thewalkingbeltcentered.Pluginthepowercord,in-
sertthekeyandrunthetreadmillfor a few minutes.
Repeat untilthe walking belt is properlytightened.
b
Rear Roller Adjustment Bolts
c. If the walking belt stillslows when walked on, please call our toll-free HELPLINE.
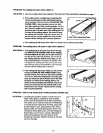
PROBLEM: The walking belt Is off-center or slips when walked on
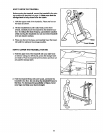
SOLUTION: a. If the walking belt is off-center, firstremove the key
and UNPLUG THE POWER CORD. If the welMng
belt has shifted to the left, use the allenwrench to
turnthe left rear rollerboltclockwise 1/2 of a turn; if
the walking belt has shifted to the right, turn the
boltcountemiockwise1/2 of a turn. Be careful not to
overtighten the walking belt. Plug inthe power cord;
insert the key and run the treadmill for a few minutes.
Repeat untilthe walking belt is centered.
a
b. Ifthe walkingbelt slips when walked on, first remove
the key and UNPLUG THE POWER CORD. Using
the allen wrench, turnboth rear roller boltsclockwise,
1/4 ofa turn. When the walking belt is correctlytight-
ened, you shouldbe able to lifteach side of the walk-
ing belt 2 to 3 inchesoff the walking platform. Be
careful to keep the walldng belt cantered. Plug in the
power cord, insert the key and carefullywalk on the
treadmill for a few minutes.Repeat untilthe walking
belt is properlytightened.
PROBLEM: ONE OF THE UPPER BODY ARMS SQUEAKS DURING USE
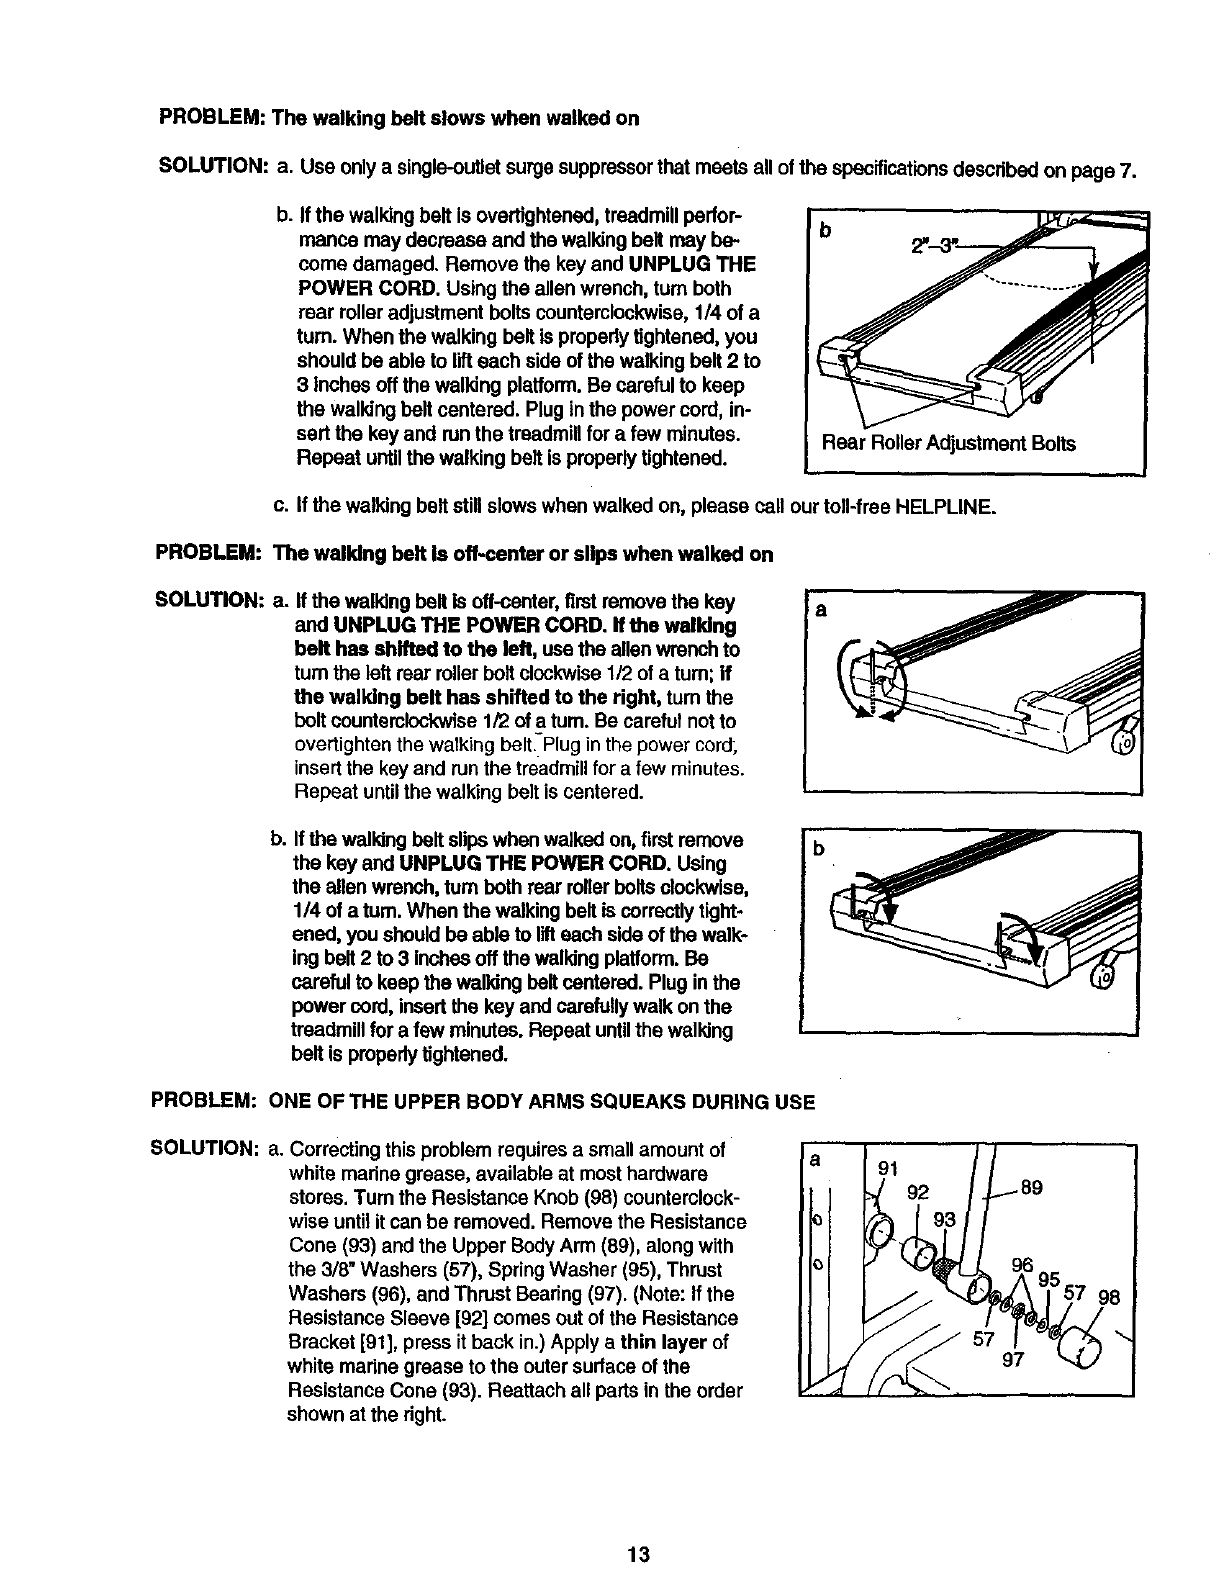
SOLUTION: a. Correcting this problem requires a small amount of
white marine grease, available at most hardware
stores. Turn the Resistance Knob (98) counterclock-
wise untilit can be removed. Remove the Resistance
Cone (93) and the Upper Body Arm (89), along with
the 3/8" Washers (57), Spring Washer (95), Thrust
Washers (96), and Thrust Bearing (97). (Note: If the
Resistance Sleeve [92] comes out ofthe Resistance
Bracket [91], press itback in.) Apply a thin layer of
white marine grease to the outer surface of the
Resistance Cone (93). Reattaeh all parts in the order
shown at the right.
91
92
13