


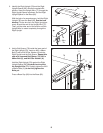
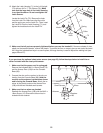
16
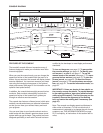
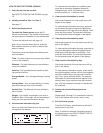
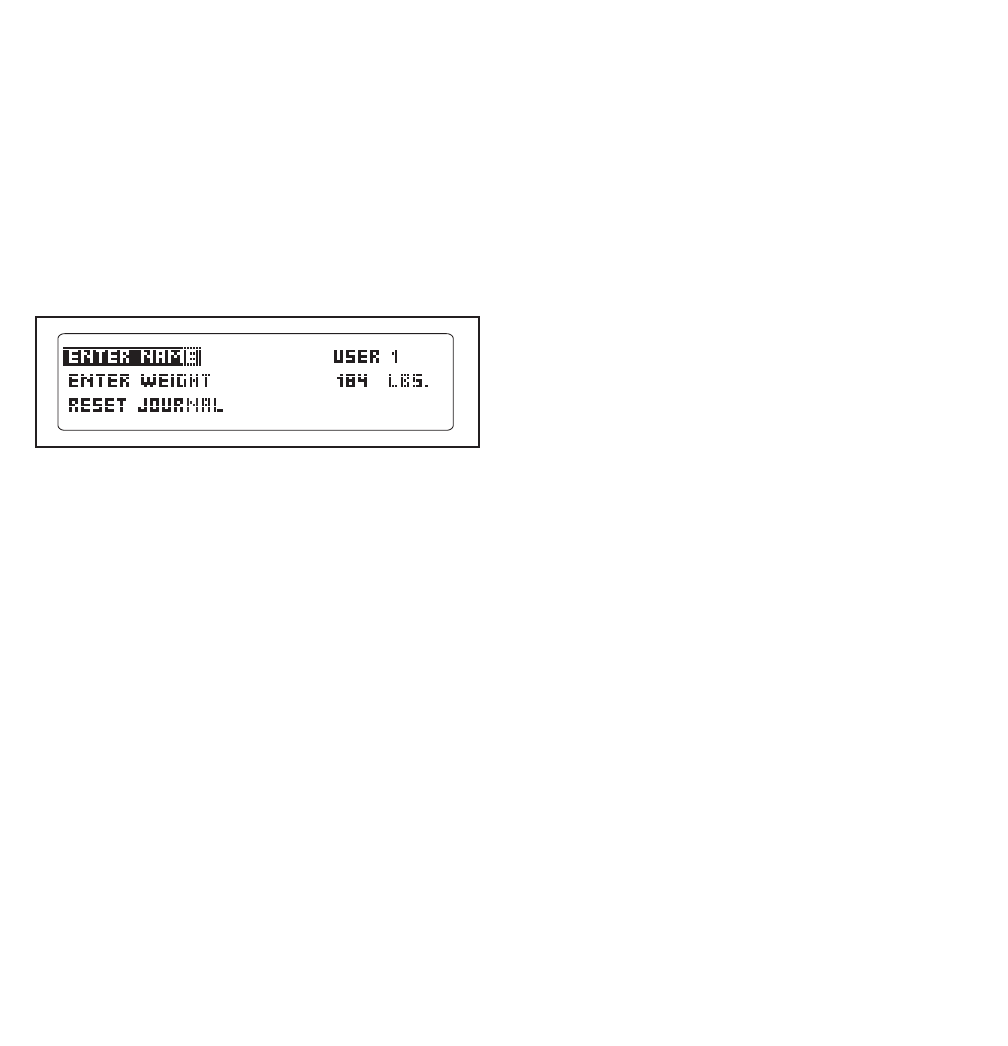
You can now enter your name and your weight.
Highlight the desired option in the menu and press
the Enter button. A cursor will appear in a field in
t
he display. To enter a number or letter above the
cursor, press the up and down Navigation buttons.
T
o move the cursor, press the left and right
Navigation buttons. When you have finished enter-
ing the desired numbers or letters in the field,
press the Enter button. Repeat this action to enter
all the desired user information. Note: For more in-
formation about the RESET JOURNAL option, see
page 21.
To exit the user information menu, highlight the
SAVE AND EXIT option and press the Enter but-
ton.
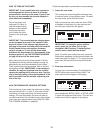
3. Select a default user setting.
The console can record, store, and load informa-
tion for two different users. The default user setting
allows you to choose the user information that will
be loaded and recorded when you turn on the con-
sole at the beginning of a workout session.
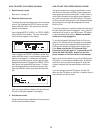
To select a default user setting, first highlight the
SELECT DEFAULT USER option in the setup
menu and press the Enter button. A list of default
user options will then appear in the display.
To select a default user option, press the up and
down Navigation buttons until an arrow appears
next to the desired option. Then, press the Enter
button. When you select an option, an “x” will ap-
pear in the box next to the selected option.
Note: You can also turn on or turn off the welcome
screen from this menu. If the SHOW WELCOME
SCREEN option is selected, then a welcome mes-
s
age with the name of the selected user will ap-
pear in the display each time you turn on the con-
s
ole. To turn on or turn off the welcome screen,
highlight the SHOW WELCOME SCREEN option
and press the Enter button.
To exit the default user menu, press the Back but-
ton. The setup menu will then appear in the dis-
play.
4. Set the date and time.
Setting the date and time will allow the console to
record your workout history accurately in the fit-
ness journal.
To set the date and time, first highlight the
CHANGE DATE OR TIME option in the setup
menu and press the Enter button. The date setting
will then appear in the display.
To set the date, first press the left and right
Navigation buttons to highlight the month, day, or
year field. Then, press the up and down Navigation
buttons to select the desired month, day, or year.
When you have finished setting the date, press the
Enter button. The time setting will then appear in
the display.
To set the time, first press the left and right
Navigation buttons to select the hour or minute
field. Then, press the up and down Navigation but-
tons to select the desired hour or minute; make
sure to select the correct AM or PM time in the
hour field. When you have finished setting the
time, press the Enter button. The console will then
exit the user mode.