


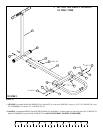
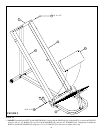
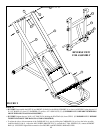
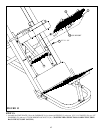

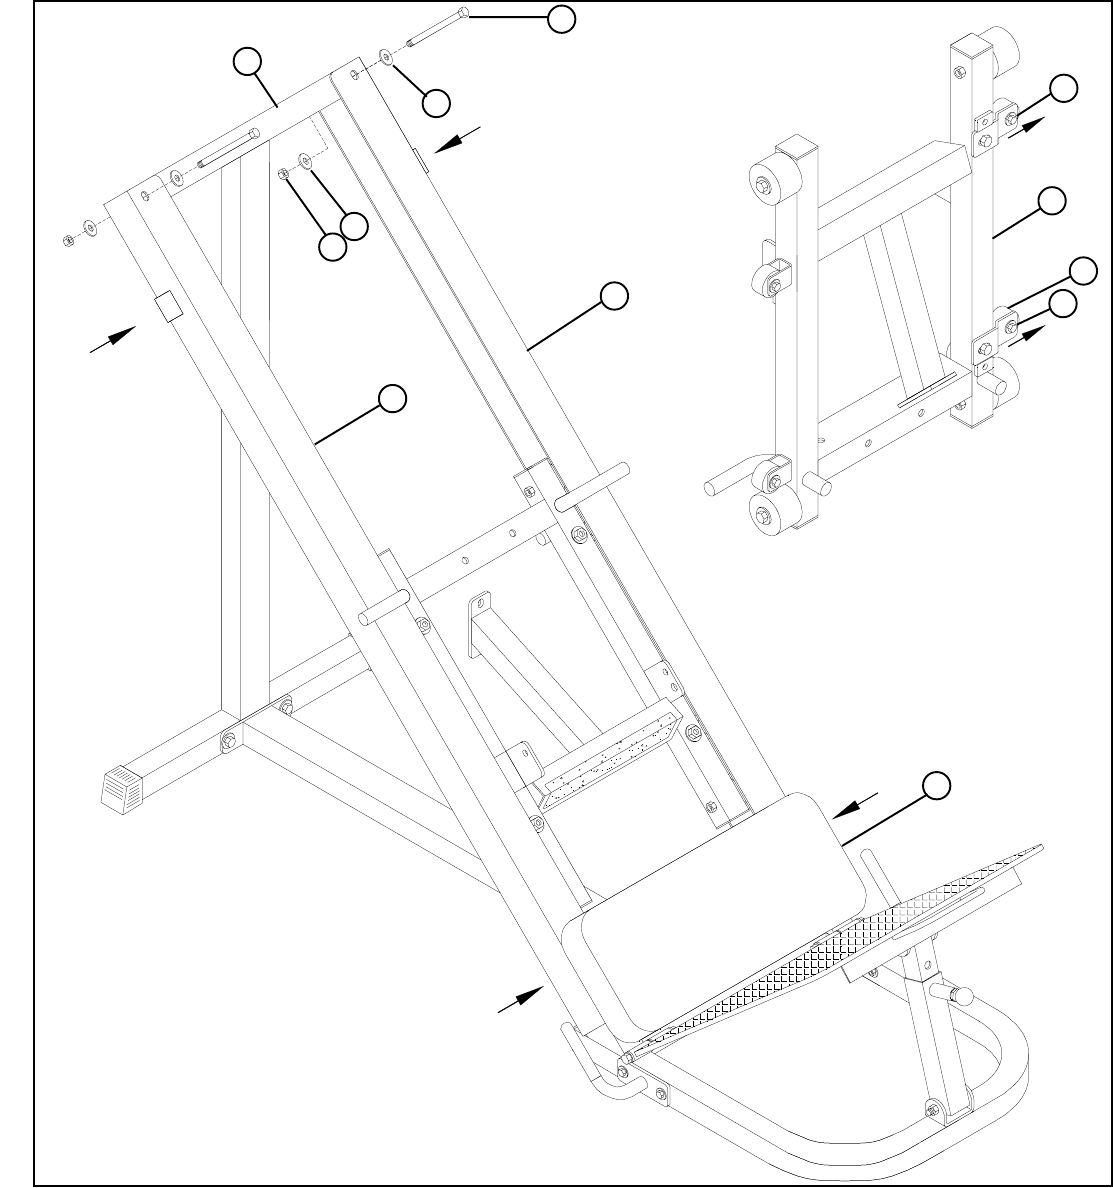
FIGURE 9
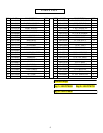
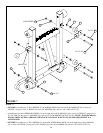
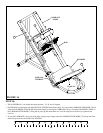
13
• SECURELY reassemble the LEFT (8) and RIGHT (9) RAILS to the REAR UPRIGHT (6) as shown in FIGURE 9 using the two 1/2
X 4-1/2” BOLTS (43), four 1/2” WASHERS (32), and two 1/2” LOCK NUTS (33). (!!! IMPORTANT !!! BEFORE TIGHTENING
MOVE THE RAILS IN AS FAR AS POSSIBLE)
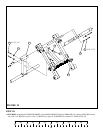
STEP 9:
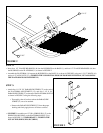
• SECURELY tighten the two 3/8 X 4-1/2” BOLTS (38) holding the SEAT PAD (18) from STEP 5. (!!! IMPORTANT !!! BEFORE
TIGHTENING MOVE THE RAILS IN AS FAR AS POSSIBLE)
• To adjust the side to side movement of the CARRIAGE (16), start by sliding the CARRIAGE (16) as far to the left as possible
inside the RAILS (8 & 9). Adjust the ADJ. WHEEL BRACKETS (14) out until the 2” DIA. WHEELS (21) contact the RIGHT
RAIL (9). SECURELY tighten bolt connection. See FIGURE 9 and REVERSE CARRIAGE VIEW.
43 1/2 X 4-1/2”
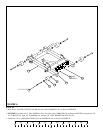
14
32
32
33
14
16
6
8
9
6
21
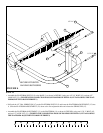
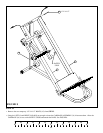
REVERSE VIEW
FOR ASSEMBLY