


2
2. When folding or moving the treadmill, make
sure that the storage latch is fully closed.
2
3. When using iFIT programs, an electronic
“chirping” sound will alert you when the
s
peed and/or incline of the treadmill is about
to change. Always listen for the “chirp” and
b
e prepared for speed and/or incline changes.
In some instances, the speed and/or incline
may change before the personal trainer de-
scribes the change.
24. When using iFIT programs, you can manually
override the speed and incline settings by
pressing the speed and incline buttons.
However, when the next “chirp” is heard, the
speed and/or incline will change to the next
settings of the program.
25. Always remove iFIT CDs and videos from your
CD player or VCR and disconnect your MP3
player when you are not using them.
2
6. Inspect and properly tighten all parts of the
treadmill regularly.
2
7. Never insert or drop any object into any
opening.
28.
DANGER: Always unplug the power
c
ord immediately after use, before cleaning
the treadmill, and before performing the main-
tenance and adjustment procedures de-
scribed in this manual. Never remove the
motor hood unless instructed to do so by an
authorized service representative. Servicing
other than the procedures in this manual
should be performed by an authorized service
representative only.
29. This treadmill is intended for in-home use
only. Do not use this treadmill in any commer-
cial, rental, or institutional setting.
WARNING: Before beginning this or any exercise program, consult your physician. This
is especially important for persons over the age of 35 or persons with pre-existing health problems.
Read all instructions before using. ICON assumes no responsibility for personal injury or property
damage sustained by or through the use of this product.
SAVE THESE INSTRUCTIONS
4
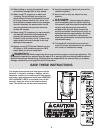
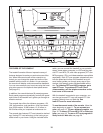
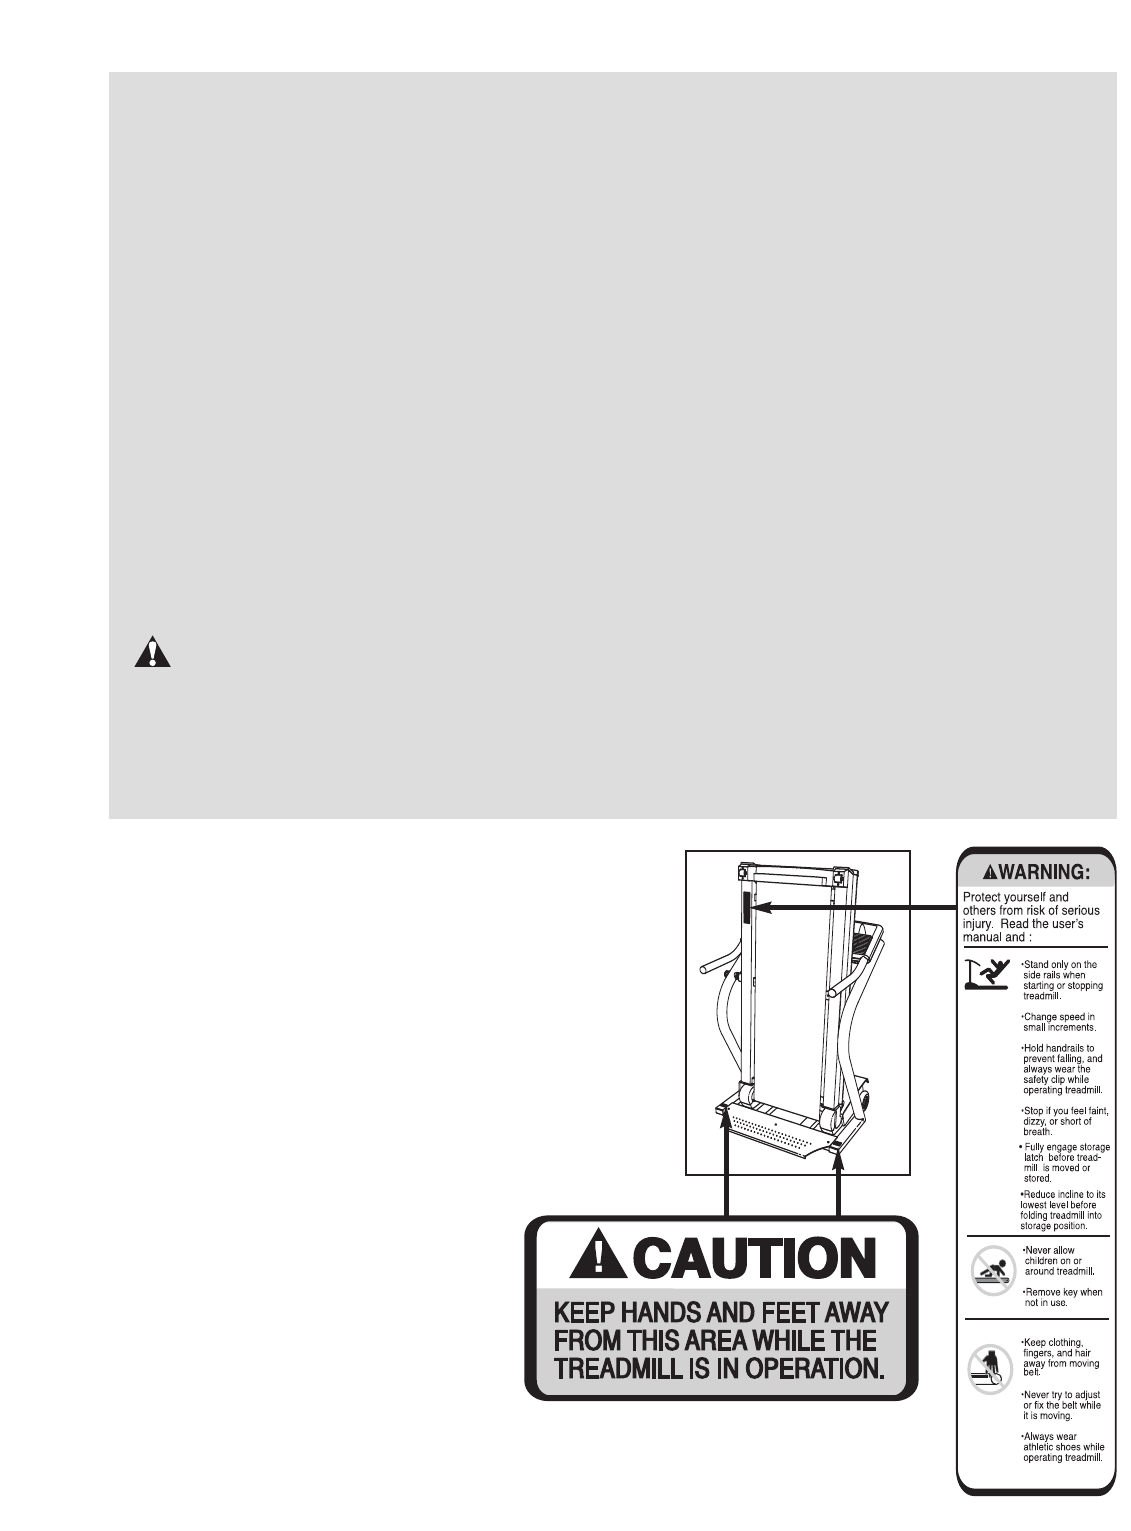
The decals shown below have been placed on the
treadmill. If a decal is missing or illegible, call the
telephone number on the front cover of this manual
and order a free replacement decal (see ORDERING
REPLACEMENT PARTS on the back cover of this
manual). Apply the decal in the location shown.
Note: The decals may not be shown actual size.