


19
HOW TO CREATE A LEARN WORKOUT
1.
I
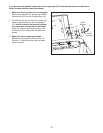
nsert the key into the console.
S
ee HOW TO TURN ON THE POWER on page
14.
2.
Select the workout menu.
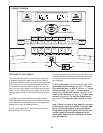
To select the workout menu, press the Classic
Workouts Enter/Exit button. The workout menu will
then appear in the display.
3. Select a learn workout.
To select one of the two learn workouts, first press
the left and right Navigation buttons to highlight the
LEARN WORKOUTS option, and then press the
Select button.
Then, press the left and right or the up and down
Navigation buttons until the name of the desired
learn workout appears in the display. Note: To re-
turn to a previous menu, press the Back button. To
return to the manual mode, press the Classic
Workouts Enter/Exit button.
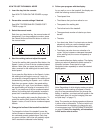
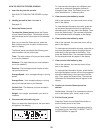
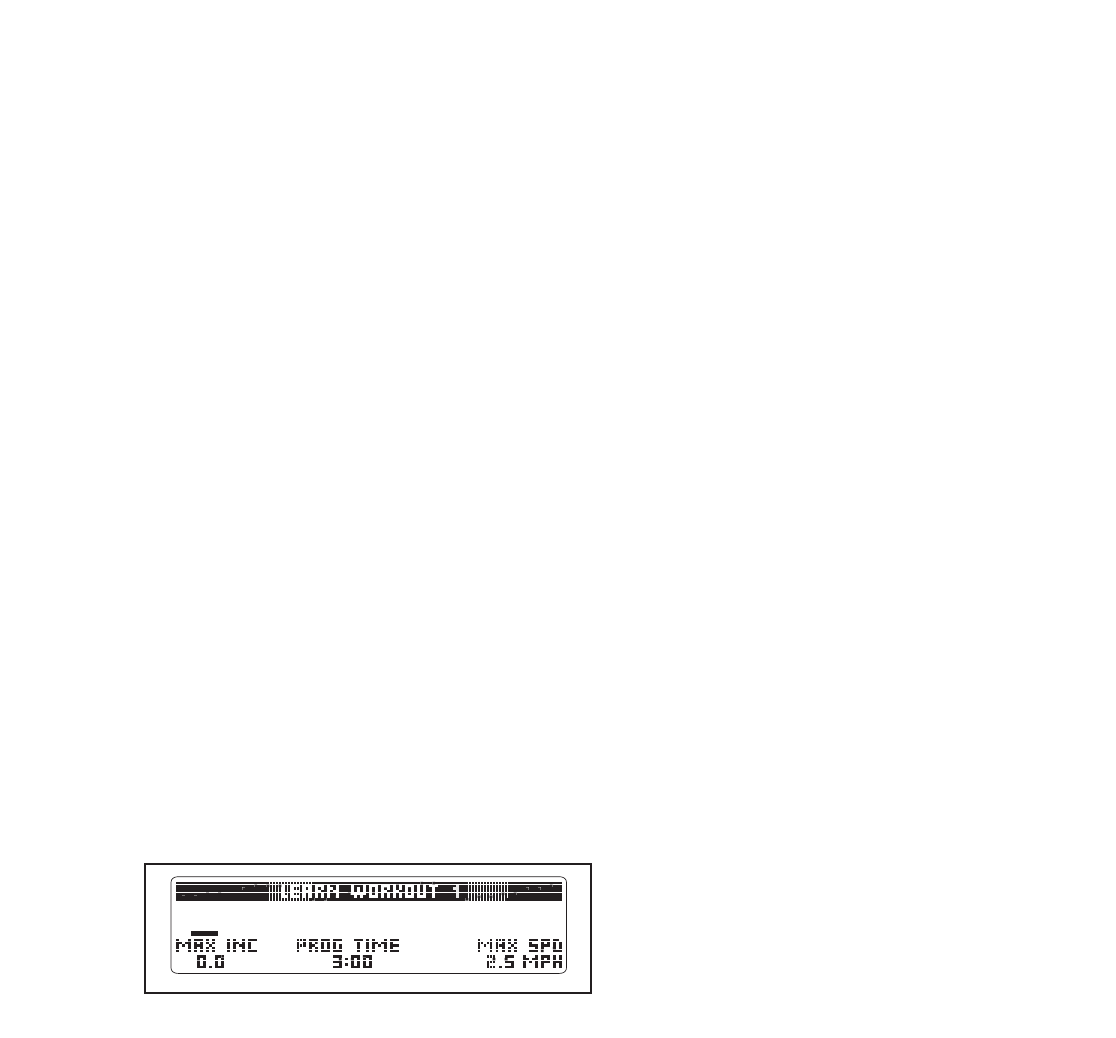
When you select a learn workout, the display
will show the name of the workout, the workout
time, the maximum incline, and the maximum
speed setting. In addition, a profile of the speed
settings of the workout will appear in the display.
4.
Press the Start button to start the workout, and
program the desired settings.
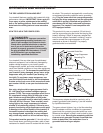
Each learn workout can have up to 40 one-minute
s
egments. You can program one speed setting and
one incline setting for each segment.
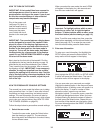
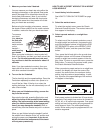
To program a speed setting for the first segment,
press the Speed + and – buttons or one of the
numbered speed buttons. To program an incline
setting for each segment, press the Incline in-
crease or decrease buttons, or one of the six num-
bered percent grade buttons.
At the end of the first segment, the program will
store the current speed setting and the current in-
cline level in memory. Program a speed setting
and incline level for the second segment as de-
scribed above.
Continue exercising and programming speed and
incline settings for up to forty minutes. Press the
Stop button twice and then press the Classic
Workouts Enter/Exit button when you are finished
with your workout. The workout you created will
then be stored in memory.
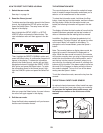
5.
When you are finished exercising, remove the
key from the console.
See step 9 on page 17.