23
MODELS 97TI, 95TI, 93T TREADMILLS
TOOLS REQUIRED: Standard Screwdriver, Phillips Screwdriver, Metric Hex Key Set, Side Cutters
NOTE: Proceed with the following steps immediatle after attaching the DISPLAY CONSOLE as described in the Assembly
Instructions. Do not install the ACCESSORY TRAYS.
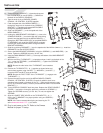
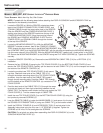
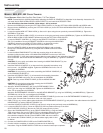
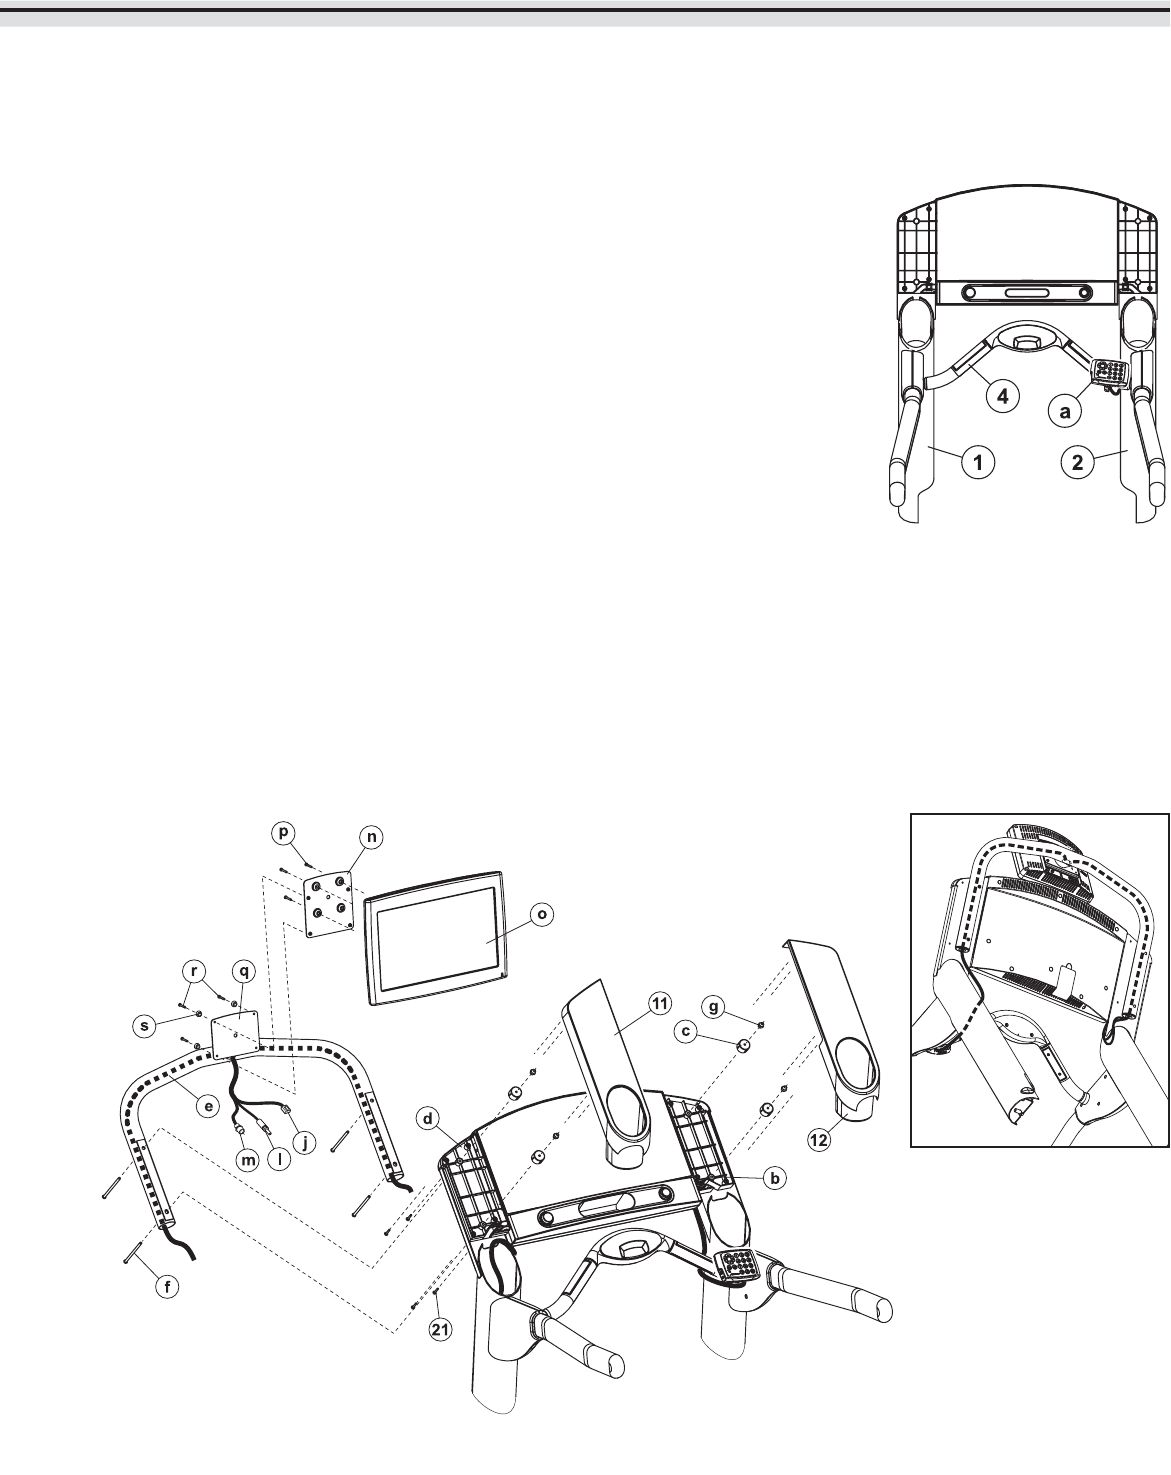
1. Locate the REMOTE CONTROL (a). Configure the REMOTE CONTROL for a VERTI-
CAL installation. Secure the REMOTE CONTROL to the right end of the ERGO CROSS-
BAR (4) as shown.
2. If through-holes in the four CONSOLE BOSSES (b) are not present, use a 5/16” drill
from the top center of the four CONSOLE BOSSES to create through-holes.
NOTE: Be careful not to damage the threads of the BRASS INSERTS when drilling the
through-holes in the CONSOLE BOSSES (b).
CAUTION: Wear eye safety equipment when drilling the through-holes in the CONSOLE
BOSSES.
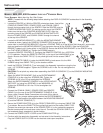
3. Locate the four RETAINING SPACERS (c). Position the RETAINING SPACERS over the
CONSOLE BOSSES (b) as shown. Be sure the RETAINING SPACERS are fully nested
over the structural ribs inside the REAR CONSOLE (d).
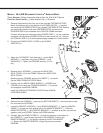
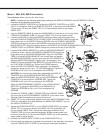
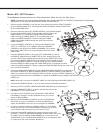
4. Position the BRACKET TUBE (e) with the MOUNTING PLATE facing upward as shown. Position two SCREWS (f) on
either side throught the CONSOLE BOSSES (b). Install four NYLOCK NUTS (g) onto the installed SCREWS (f) securing
the RETAINING SPACERS (c) and BRACKET TUBE to the REAR CONSOLE. Tighten the NYLOCK NUTS securely. Do
not over-tighten the NYLOCK NUTS.
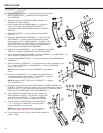
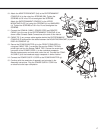
5. Route the REMOTE CABLE (j) along the inside of the RIGHT UPRIGHT (2), up through the BRACKET TUBE (d) and out
the ACCESS HOLE (k) at the top of the BRACKET TUBE (e). Carefully pull the REMOTE CABLE through the ACCESS
HOLE removing any slack.
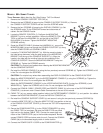
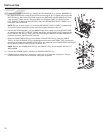
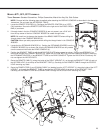
6. Route the POWER CORD (l) and COAXIAL CABLE (m) leading from the LEFT UPRIGHT (1) along the inside of the LEFT
UPRIGHT, up through the BRACKET TUBE (e) and out the ACCESS HOLE (k) at the top of the BRACKET TUBE.
Carefully pull the POWER CORD and COAXIAL CABLE through the ACCESS HOLE removing any slack.


