


INTRODUCTION
IMPORTANT
PRECAUTIONS
ASSEMBLY
BEFORE
YOU BEGIN
TREADMILL
OPERATION
LIMITED
WARRANTY
5
TROUBLESHOOTING
& MAINTENANCE
CONDITIONING
GUIDELINES
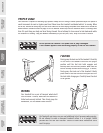
A S S E M B LY
IMPORTANT: READ THESE SAFETY INSTRUCTIONS BEFORE USE!
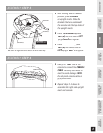
During the assembly process of a the treadmill there are several areas that special attention must be
paid. It is very important to follow the assembly instructions correctly and to make sure all parts are firmly
tightened. If the assembly instructions are not followed correctly, the treadmill could have frame parts that
are not tightened and will seem loose and may cause irritating noises. There should be no side-to-side play
in the console masts or any forward and back play in the console assembly or handlebars. If there is any
play in these areas, the treadmill has not been properly assembled. To prevent damage to the treadmill, the
assembly instructions must be reviewed and corrective actions should be taken.
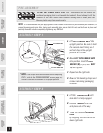
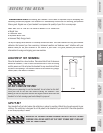
UNPACKING
Place the treadmill carton on a level flat surface. It is recommended that you place a protective covering on
your floor. Take CAUTION when handling and transporting this unit. Never open box when it is on its side.
Once the banding straps have been removed, do not lift or transport this unit unless it is fully assembled
and in the upright folded position, with the lock latch secure. NOTE: The console assembly is located under
the treadmill deck and should ONLY be removed after STEP 1 of the assembly instructions have been fully
completed! FAILURE TO DO SO MAY RESULT IN SERIOUS INJURY! Unpack the unit where it will be used. The
enclosed treadmill is equipped with high-pressure shocks and may spring open if mishandled. Never grab
hold of any portion of the incline frame and attempt to lift or move the treadmill. FAILURE TO FOLLOW THESE
INSTRUCTIONS COULD RESULT IN INJURY!
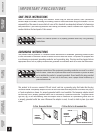
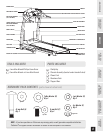
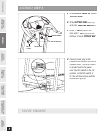
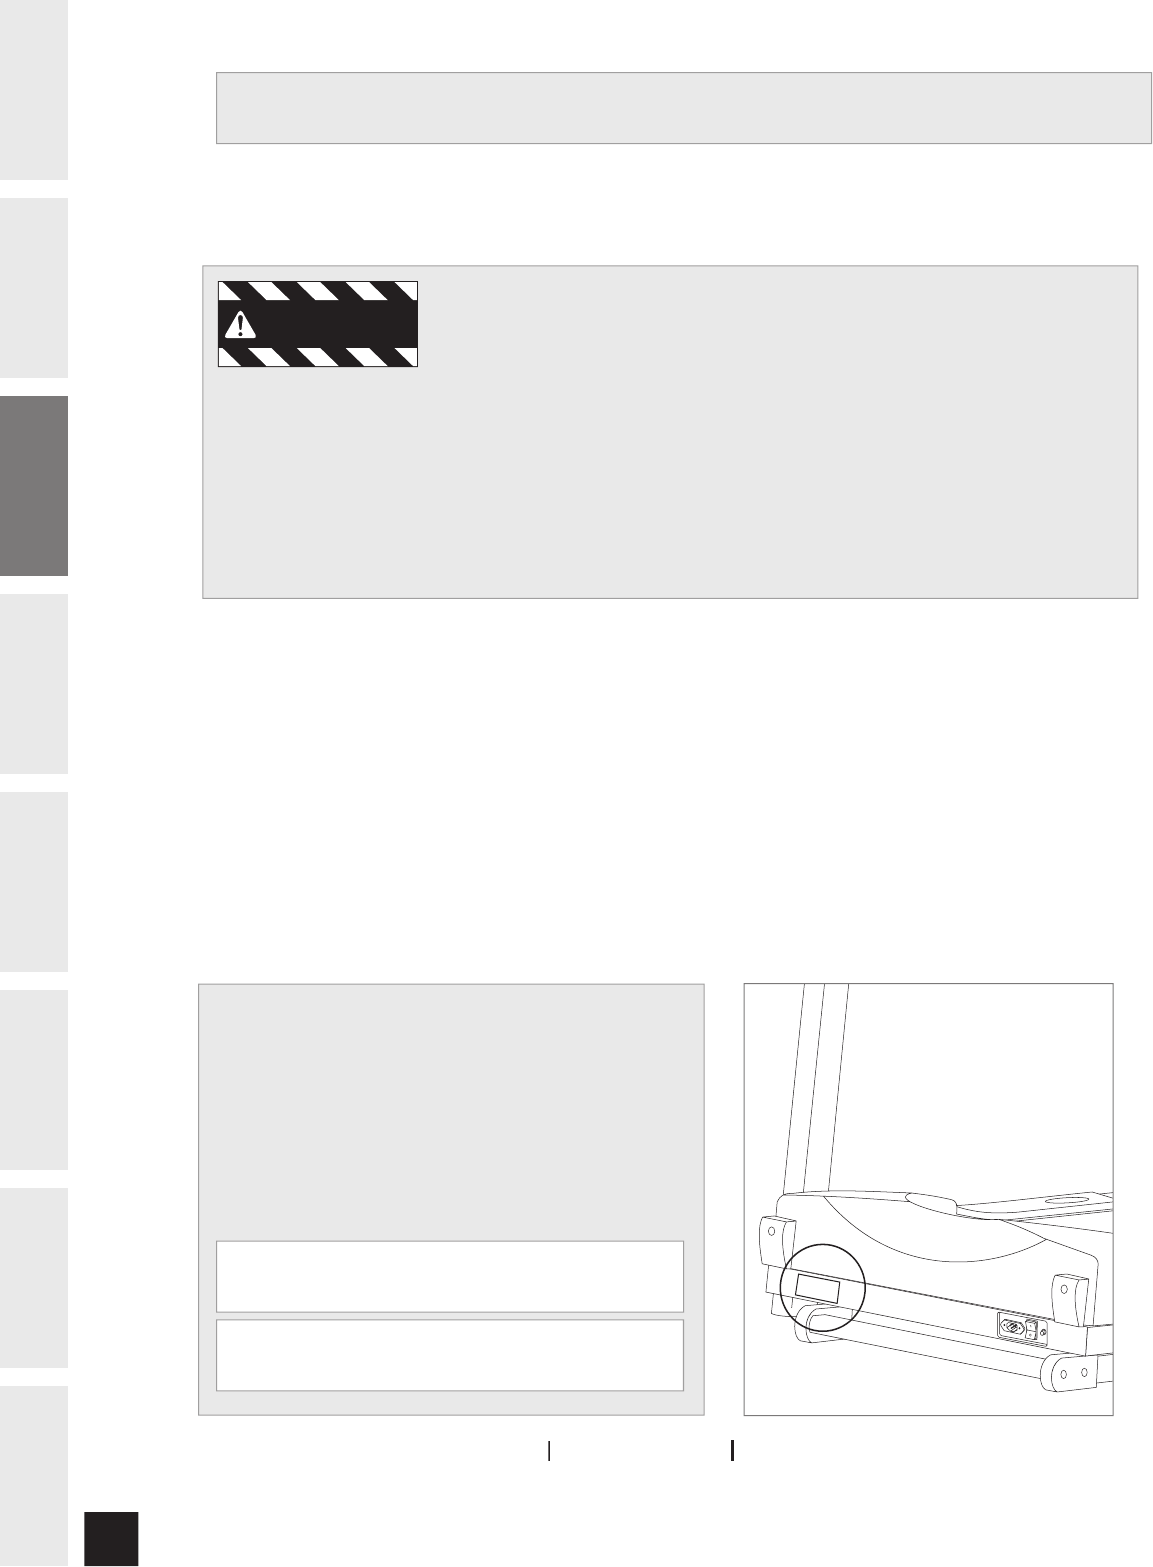
Before proceeding, find your treadmill’s serial number
and model name located to the left of the on/off
power switch and power cord and enter it in the space
provided below.
ENTER YOUR SERIAL NUMBER AND
MODEL NAME IN THE BOXES BELOW:
SERIAL NUMBER :
MODEL NAME:
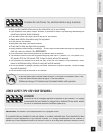
* Refer to the
SERIAL NUMBER
and
SERIAL NUMBER and SERIAL NUMBER
MODEL NAME
when calling for service.
MODEL NAME when calling for service.MODEL NAME
* Also enter this serial number on your Warranty Card.
WARNING