12
Inspect and tighten all parts of the recumbent cycle
regularly. The recumbent cycle can be cleaned with a
soft, damp cloth. To prevent damage to the console,
keep liquids away from the console and keep the con-
sole out of direct sunlight.
BATTERY REPLACEMENT
If the console does not function properly, the batteries
should be replaced. To replace the batteries, the
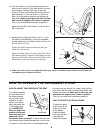
handlebar must be removed. See assembly step 4 on
page 7 to remove the handlebar. Next, refer to
assembly step 5 to install batteries.
PULSE SENSOR TROUBLE-SHOOTING
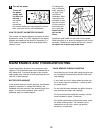
¥ Avoid moving your hands while using the pulse sen-
sor. Excessive movement may interfere with heart
rate readings.
¥ If your heart rate is not shown when the pulse sen-
sor is used, press the resistance Ð button to reset
the pulse sensor.
¥ Do not hold the metal contacts too tightly; doing so
may interfere with heart rate readings.
¥ For the most accurate heart rate reading, hold the
metal contacts for about 15 seconds.
¥ For optimal performance of the pulse sensor, keep
the metal contacts clean. The contacts can be
cleaned with a soft clothÑnever use alcohol,
abrasives, or chemicals.
MAINTENANCE AND TROUBLESHOOTING
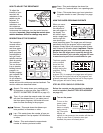
Turn off the power
To turn off
the power,
simply wait
for about six
minutes. If
the pedals
are not
moved and
the console buttons are not pressed for six min-
utes, the power will turn off automatically.
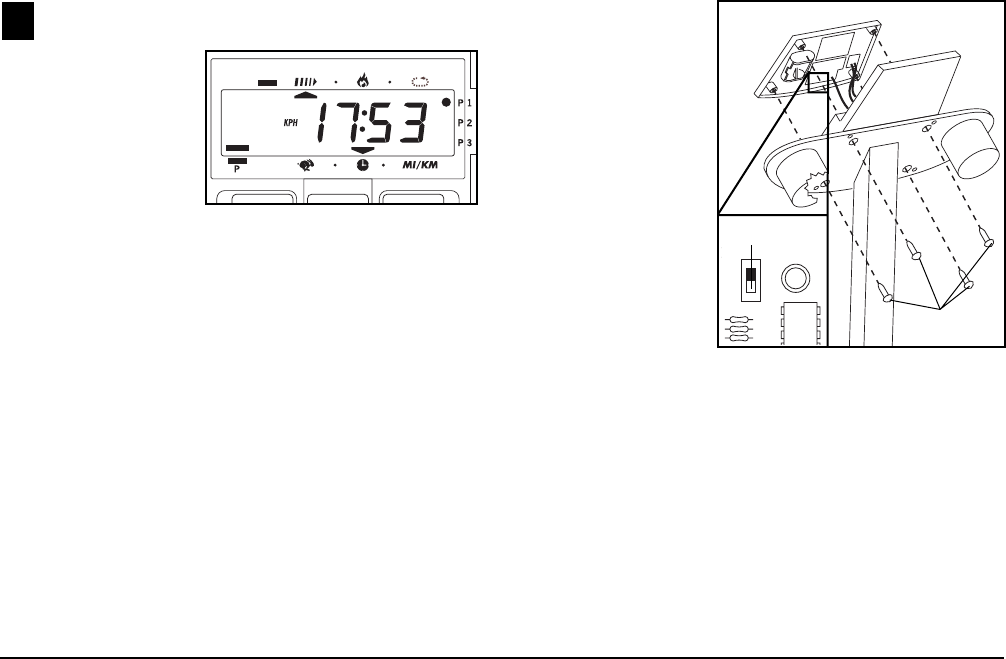
HOW TO SELECT KILOMETERS OR MILES
The console can display distance and speed in either
kilometers or miles. If a ÒKPHÓ appears in the display,
distance and speed will be shown in kilometers; if a
ÒKPHÓ does not appear, distance and speed will be
shown in miles.
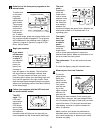
To change the
unit of measure-
ment, see step 5
on page 7 and
remove the
Handlebar. Next,
remove the four
indicated screws
from the console.
Lift the console a
few inches and
turn it over; be
careful not to
pull on the
wires.
Locate the small switch on the back of the console.
Slide the switch up or down to change the unit of mea-
surement. Reattach the console with the four screws;
be careful not to pinch any of the wires.
6
Switch
Screws


