


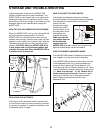
Assembly requires two people. Place all parts of the AEROFLYER in a cleared area and remove the packing
materials. Do not dispose of the packing materials until assembly is completed.
Read through all steps before beginning assembly. As you assemble the AEROFLYER, make sure that all parts
are oriented as shown in the drawings. Tighten all parts as you assemble them, unless instructed to do other-
wise. Refer to the drawings below to identify the small hardware used in assembly. Note: If a part is not found
in the parts bag, check to see if it has been pre-attached.
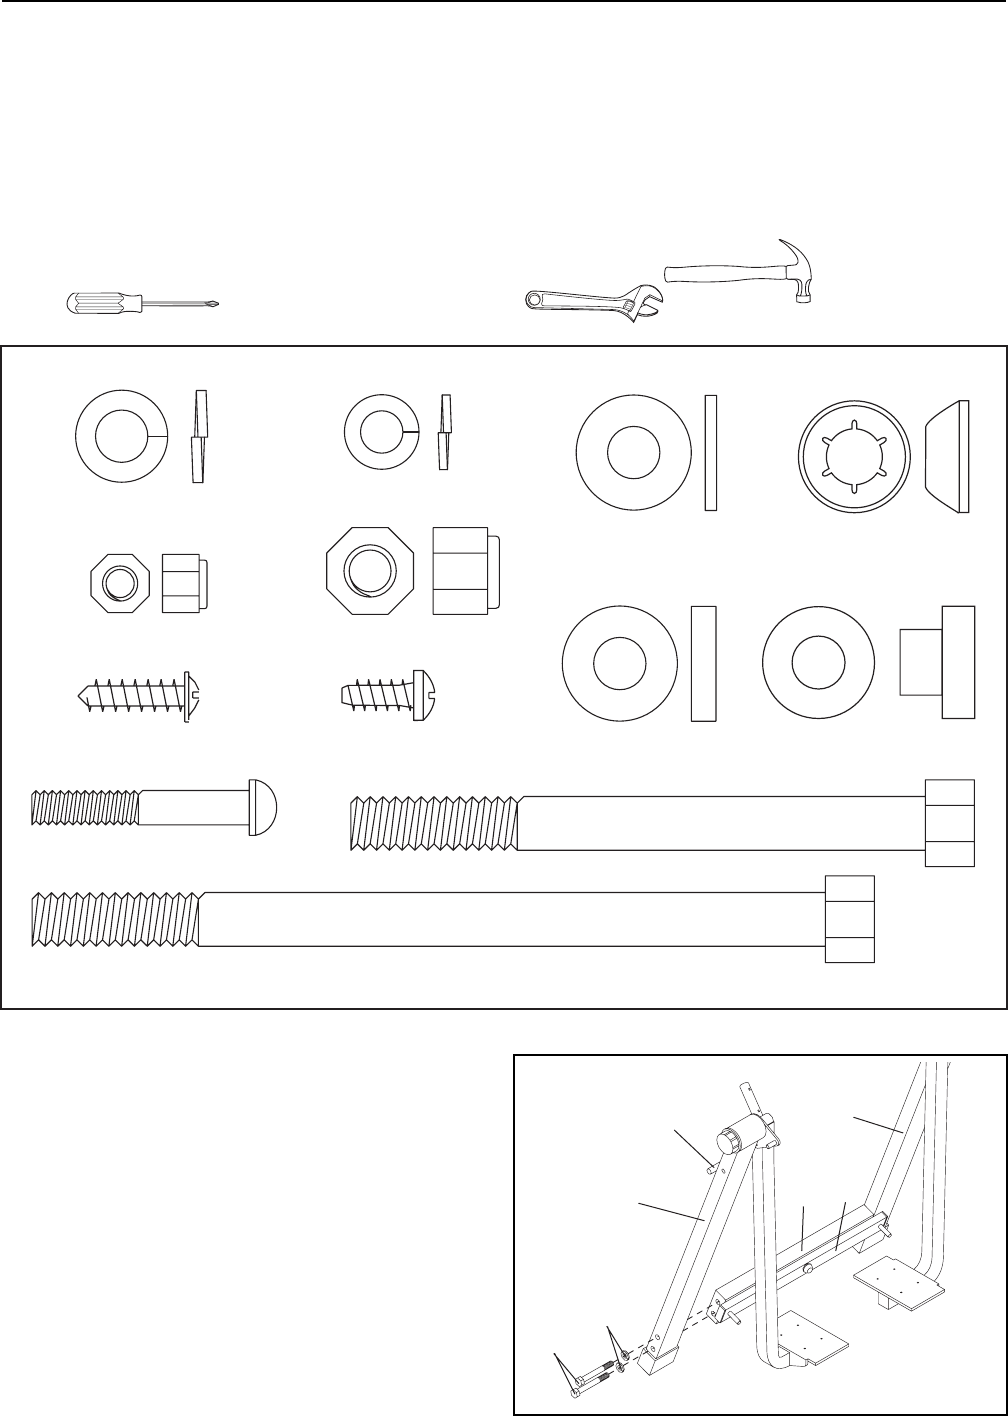
Assembly requires the included allen wrench and your own hammer , phillips screw-
driver , and two adjustable wrenches . .
5
ASSEMBLY
1. Read all instructions at the top of this page
before beginning assembly.
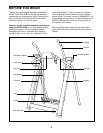
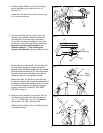
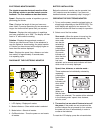
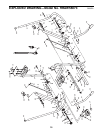
Refer to the drawing at the right and identify the
Left and Right Uprights (1, 2). Note the location of
the stop rods.
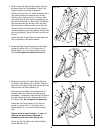
Turn the Crossbar (10) so the Rocker Arm (9) is at
the top. Attach the Crossbar to the Left Upright (1)
with two 3/8Ó x 4Ó Screws (44) and two 3/8Ó Lock
Washers (58). Do not tighten the Screws yet.
Attach the Crossbar to the Right Upright (2) in the
same manner.
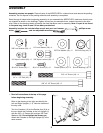
Fig. 1
3/8" Nylon Locknut (43)Ñ2
3/8Ó x 5 1/2Ó Screw (42)Ñ2
3/8" x 4" Screw (44)Ñ4
3/8Ó Lock Washer (58)Ñ6
Bronze Bushing (16)Ñ4
3/8" Axle Cap (40)Ñ4
1/4" Nylon Locknut (62)Ñ4
Plastic Spacer (41)Ñ2
3/8Ó Flat Washer (60)Ñ2
1/4" x 1 1/2" Bolt (63)Ñ4
#8 x 3/4" Screw (23)Ñ1
#8 x 1/2" Screw (21)Ñ8
1/4Ó Lock Washer (39)Ñ4
1
Stop
Rod
44
58
10
9
2