


4
ASSEMBLY
Before beginning assembly, carefully read the
following information and instructions:
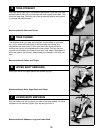
• Place all parts in a cleared area and remove the
packing materials; do not dispose of the packing
materials until assembly is completed.
• Read each assembly step before you begin.
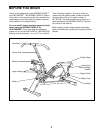
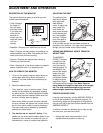
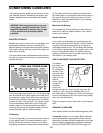
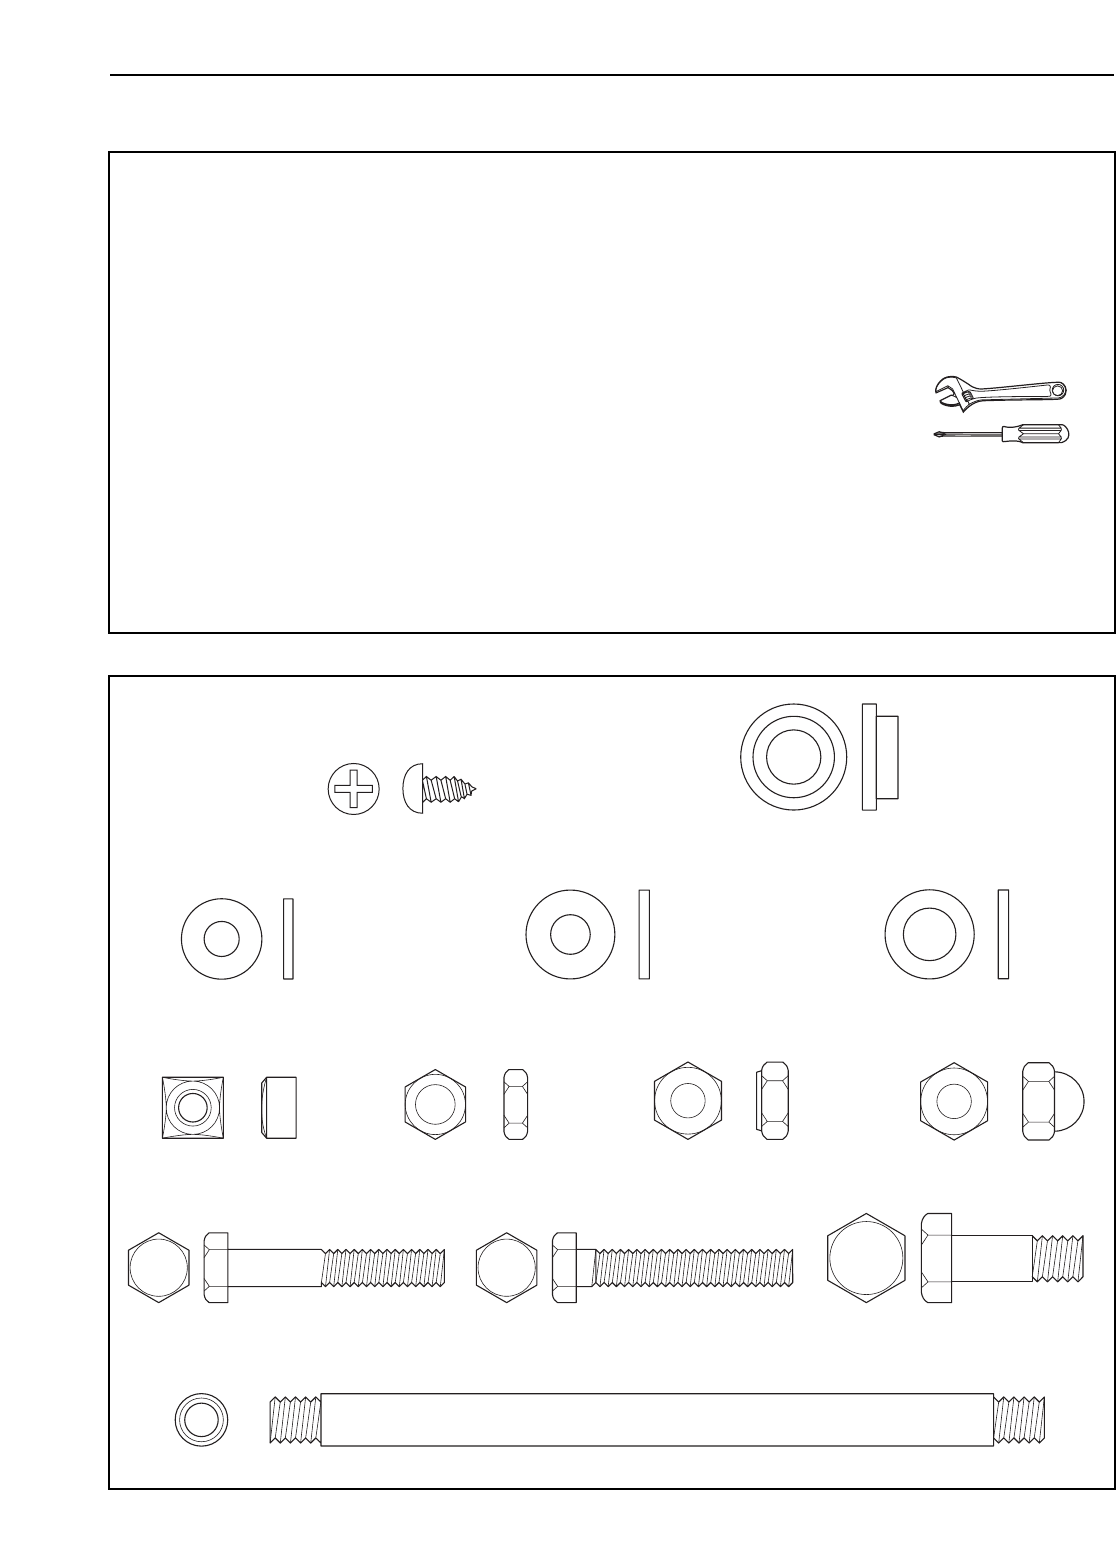
• For help identifying the small parts used in
assembly, use the part identification chart
below. The number in parenthesis below each
part refers to the key number of the part. The
second number refers to the quantity needed for
assembly. Note: Some small parts may have
been pre-attached for shipping purposes. If a
part is not in the parts bag, check to see if it
has been pre-attached.
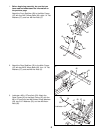
• Tighten all parts as you assemble them, unless
instructed to do otherwise.
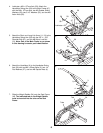
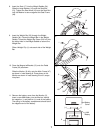
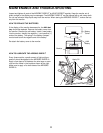
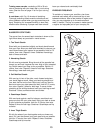
• During assembly, make sure that all parts are ori-
ented as shown in the drawings.
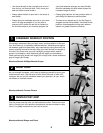
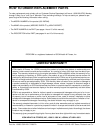
THE FOLLOWING TOOLS (NOT INCLUDED)
ARE REQUIRED FOR ASSEMBLY:
• Two (2) adjustable wrenches
• One (1) phillips screwdriver
• You will also need some lubricant, such as
petroleum jelly or grease.
Assembly will be more convenient if you have the
following tools: A socket set, a set of open-end or
closed-end wrenches, or a set of ratchet wrenches.
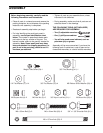
M8 Acorn Nut (56)–4
1/4” Flat Washer (57)–14 M9 Rubber Sheild Washer (58)–4
M8 x 157mm Axle (59)–2
3/8” Pivot Bushing (41)–1
M6 Square Nut (4)–2
M6 Hex Nut (2)–6
3/8” Nylon Lock Nut (31)–1
3/8” Flat Washer (55)–4
Weight Tube Screw (54)–1
M6 x 35mm Bolt (3)–2 M6 x 40mm Bolt (60)–6
3/8” x 1 3/8” Shoulder Bolt (61)–1