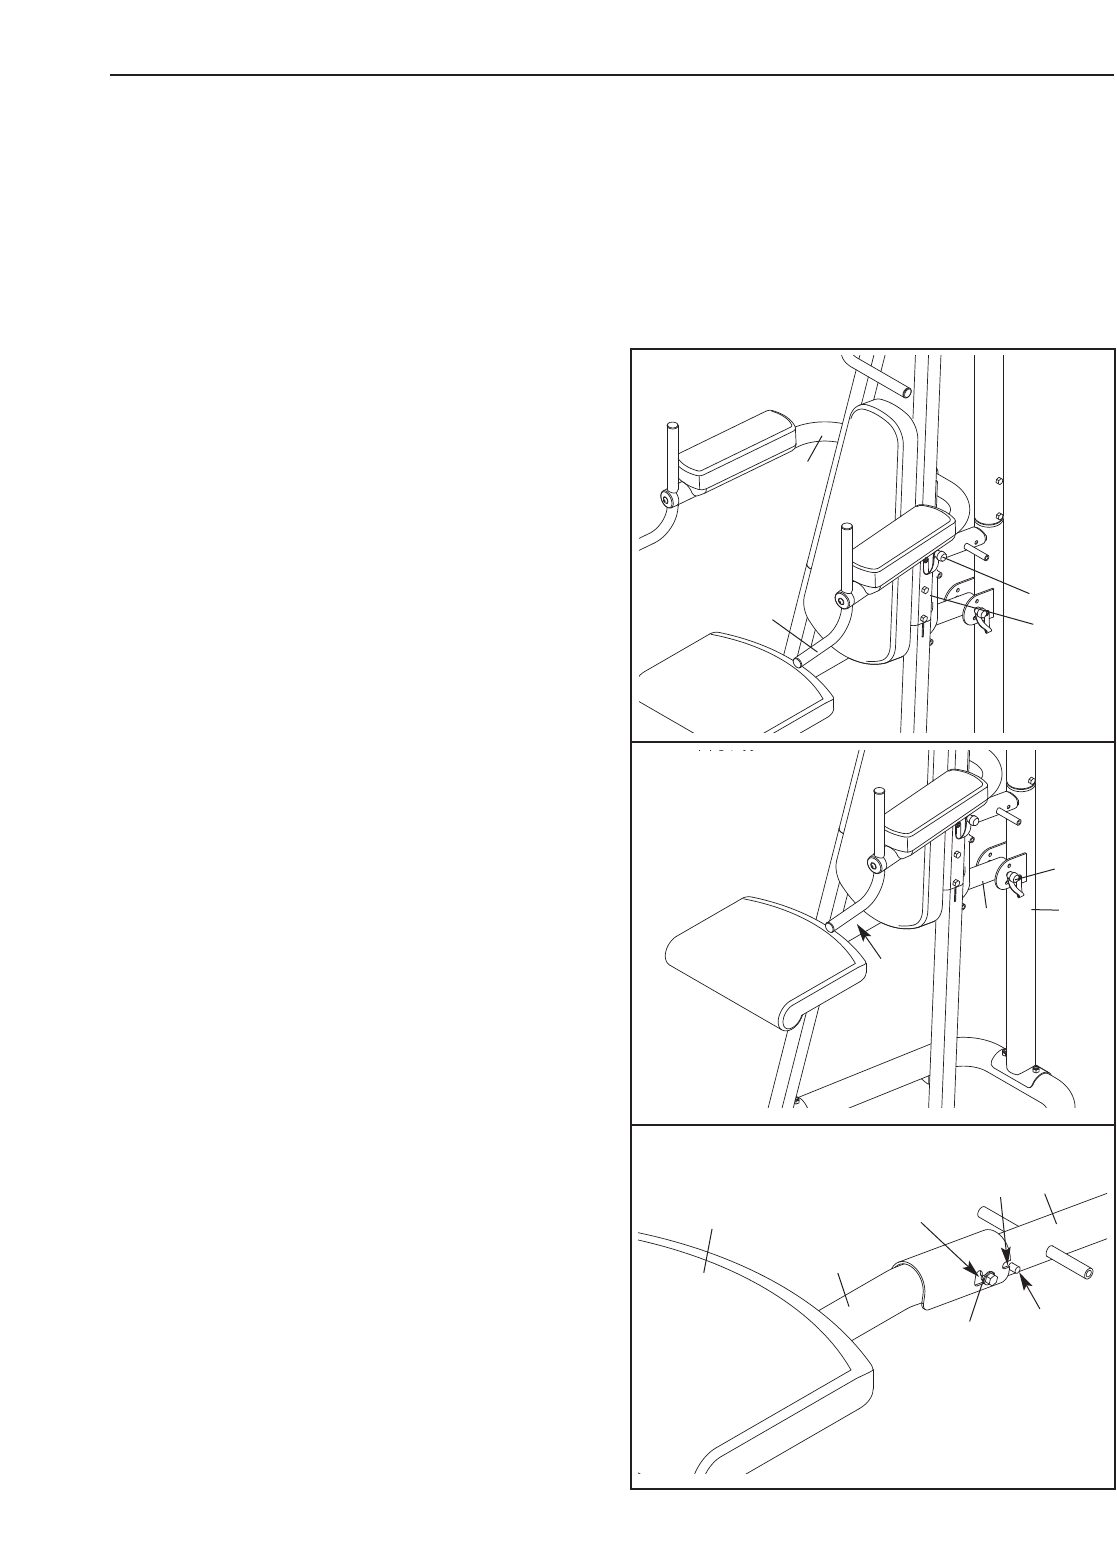
This section explains how to adjust the exercise rack. See the EXERCISE GUIDELINES on page 14 for impor-
tant information about how to get the most benefit from your exercise program. Also, refer to the accompanying
exercise guide to see the correct form for each exercise.
M
ake sure all parts are properly tightened each time the exercise rack is used. Replace any worn parts immediate-
ly. The exercise rack can be cleaned with a damp cloth and a mild, non-abrasive detergent. Do not use solvents.
12
11
9
Hold
Here
3
18
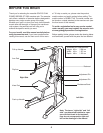
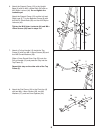
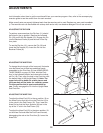
ADJUSTING THE DIP ARM
To perform some exercises, the Dip Arm (11) should
be locked in the up position. Remove the indicated
Pin (18) and lift the Dip Handle (12). Engage the Pin
into the Backrest Frame (8) and the hole in the Dip
Arm plate.
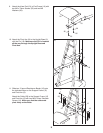
To use the Dip Arm (11), remove the Pin (18) and
lower the Dip Handle (12). Insert the Pin into the
Backrest Frame (8).
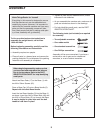
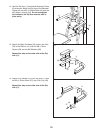
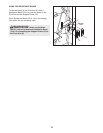
ADJUSTING THE KNEE PAD
To change the pivot angle of the knee pad, first make
sure that there are at least two resistance bands
assembled on the Pivot Arm (9) (see USING RESIS-
TANCE BANDS on page 13). Next, hold the Pivot
Arm in the indicated location and remove the indicat-
ed Pin (18). Then, align the hole in the Pivot Arm with
the desired hole in the Upright Base (3).
Note: The
upper hole will be better for a taller person and
the lower hole will be better for a shorter person.
Find the position that is most comfortable for
you. Finally, reengage the Pin into the Upright Base
and Pivot Arm.
12
18
8
ADJUSTMENTS
21
34
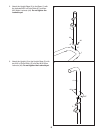
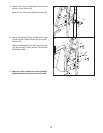
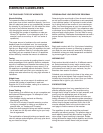
ADJUSTING THE KNEE PAD
To adjust the Knee Pad (21) to the up position, lift on
the Knee Pad so that the rod on the Pivot Arm (9) is
in the notch in the Pad Frame (10).
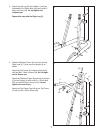
Then, lower the
Knee Pad so that the 5mm Spacers (34) are in the
top of the “L”-slot in the Pad Frame (10).
T
o adjust the Knee Pad (21) to the down position, lift
on the Knee Pad and slide the Pad Frame forward,
disengaging the rod on the Pivot Arm (9). Lower the
Knee Pad.
10
9
Rod
“L”-slot
Notch


