


17
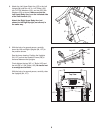
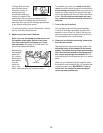
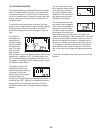
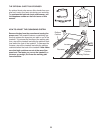
4. Perform the first strength exercise when
prompted.
W
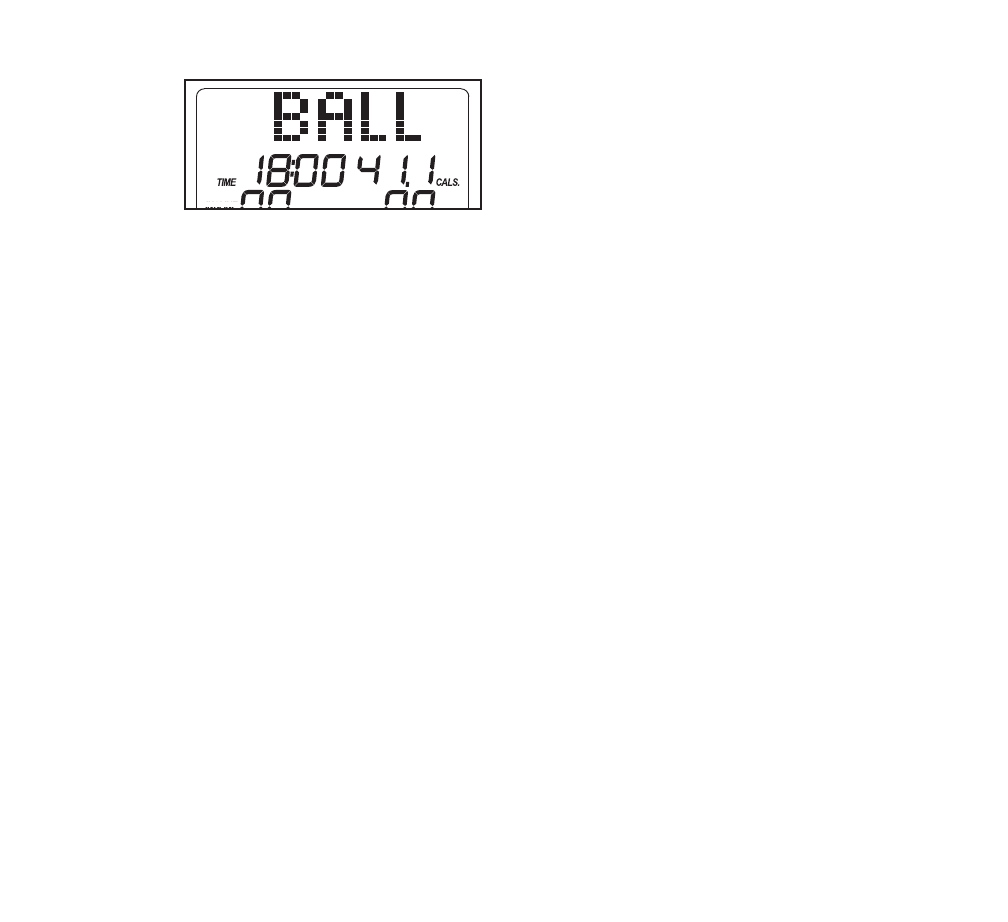
hen the
first strength
e
xercise
segment be-
gins (only
one indicator
will flash in
the Current Segment column), the walking belt will
slow to a stop and the name of the first strength
exercise will appear in the display for a few sec-
onds.
Next, the personal trainer will tell you the recom-
mended number of repetitions for the first strength
exercise.
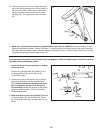
Remove the clip from the waistband of your
clothes, step off the treadmill, and prepare to begin
the first strength exercise. The personal trainer and
the display will count the repetitions; perform one
repetition of the exercise on each count. Exercise
with a slow, steady motion; do not perform more
than one repetition for each count.
Note: Refer to the accompanying exercise chart to
see the correct form for each exercise. When per-
forming lunges, alternate legs with each repetition.
When performing dumbbell rows, perform half the
repetitions with your right arm and half the repeti-
tions with your left arm. The strength exercises re-
quire the use of dumbbells and an inflatable exer-
cise ball (not included). To purchase dumbbells
or an exercise ball, call the telephone number
on the front cover of this manual.
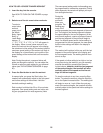
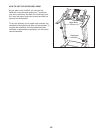
5. Continue the cross trainer workout.
When you have performed the recommended num-
b
er of repetitions, the words PRESS START will
appear in the display. To continue the cross trainer
w
orkout, step onto the treadmill, slide the clip
back onto the waistband of your clothes, and
press the Start button. The treadmill will automati-
cally adjust to the speed and incline settings for the
next segment.
The workout will continue in this way until the last
segment ends. The walking belt will then slow to a
stop.
6.
Follow your progress with the display.
See step 5 on pages 14 and 15.
7.
Measure your heart rate if desired.
See step 6 on page 15.
8.
Turn on the fan if desired.
See step 7 on page 15.
9.
When you are finished exercising, remove the
key from the console.
See step 8 on page 15.