


25
|
GARY FISHER SERVICE INFORMATION
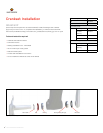
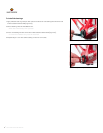
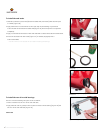
To install the non-drive side crankarm
1. Align the non-drive crank arm with the groove on the axle and slide the crank onto
the axle.
+ The non-drive crank arm should point 180 degrees opposite of the drive-side crank arm.
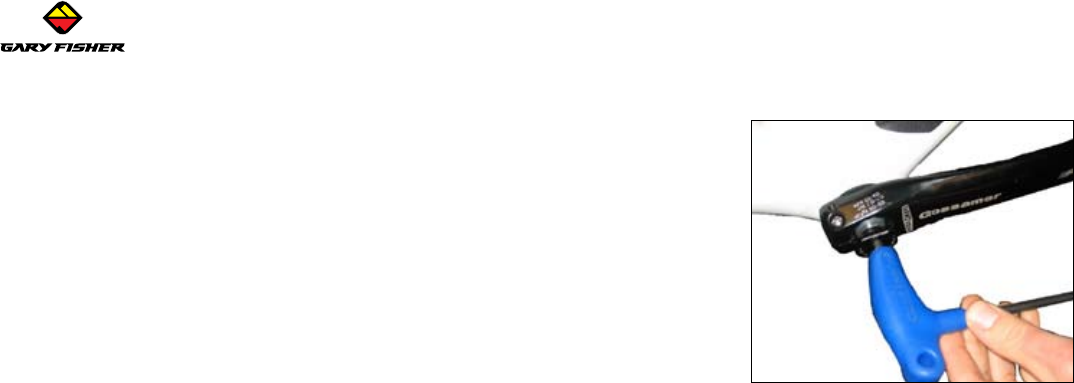
2. Install the FSA crank bolt and tighten to their torque specications (Figure 52).
3. Follow the FSA instructions to complete the installation.
4. Follow the steps in “Inspecting the bottom bracket.”
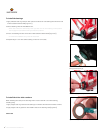
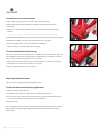
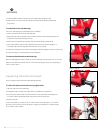
To remove the bottom bracket bearings
The Cronus bottom bracket bearing system is designed to be a slip t. However, after
the rst installation some bearings might be tight. If the bearings do not easily come
out by hand, you may use the following method to remove them.
1. Slide the crank axle into the bearing so that the bearing is over the non-drive side
of the axle, about 1 inch (25 mm) from the non-drive end.
2. Gently rock the axle while you pull the axle out.
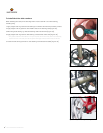
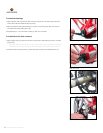
Inspecting the bottom bracket
Every 3 months check the bottom bracket adjustment.
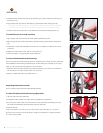
To check the bottom bracket bearing adjustment
1. Lift the chain from the chainrings.
2. Rotate the crank so that one of the arms is parallel to the seat tube.
3. Put one hand on the crank arm and one hand on the seat tube, and attempt to
move the crank arm laterally toward and away from the seat tube.
4. Spin the cranks.
If the crank feels or sounds loose, or if the motion stops abruptly or you hear a
grinding noise coming from the bearings, readjust the bearings or take the bike
to your Gary Fisher dealer.