


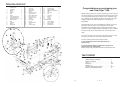
— 11 —
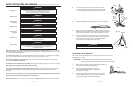
SET UP
Your product comes with:
• Safety Hitch Pin located at the bottom of the Vertical Column, which must be removed prior to unfolding.
• One (1) Spring Loaded Pin locked into the base of the left rail by the height adjustment tube. Left side is determined
by standing behind the unit facing the Vertical Column.
IMPORTANT: To Prevent Injury – Be sure the spring-loaded pin is locked securely into place in the left
rail before using unit. This will prevent the height adjustment column from falling forward.
• One Large Hitch Pin for Leg Pulley Bracket is located in the Leg Pulley Accessory Kit as well as two Large Hitch Pins
for the Multi Function Attachment.
IMPORTANT: Before using the Multi Function Attachment or Leg Pulley Accessory be sure the Hitch Pins are
securely inserted (see page 8, 9 & 11 of this manual for directions).
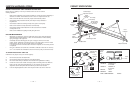
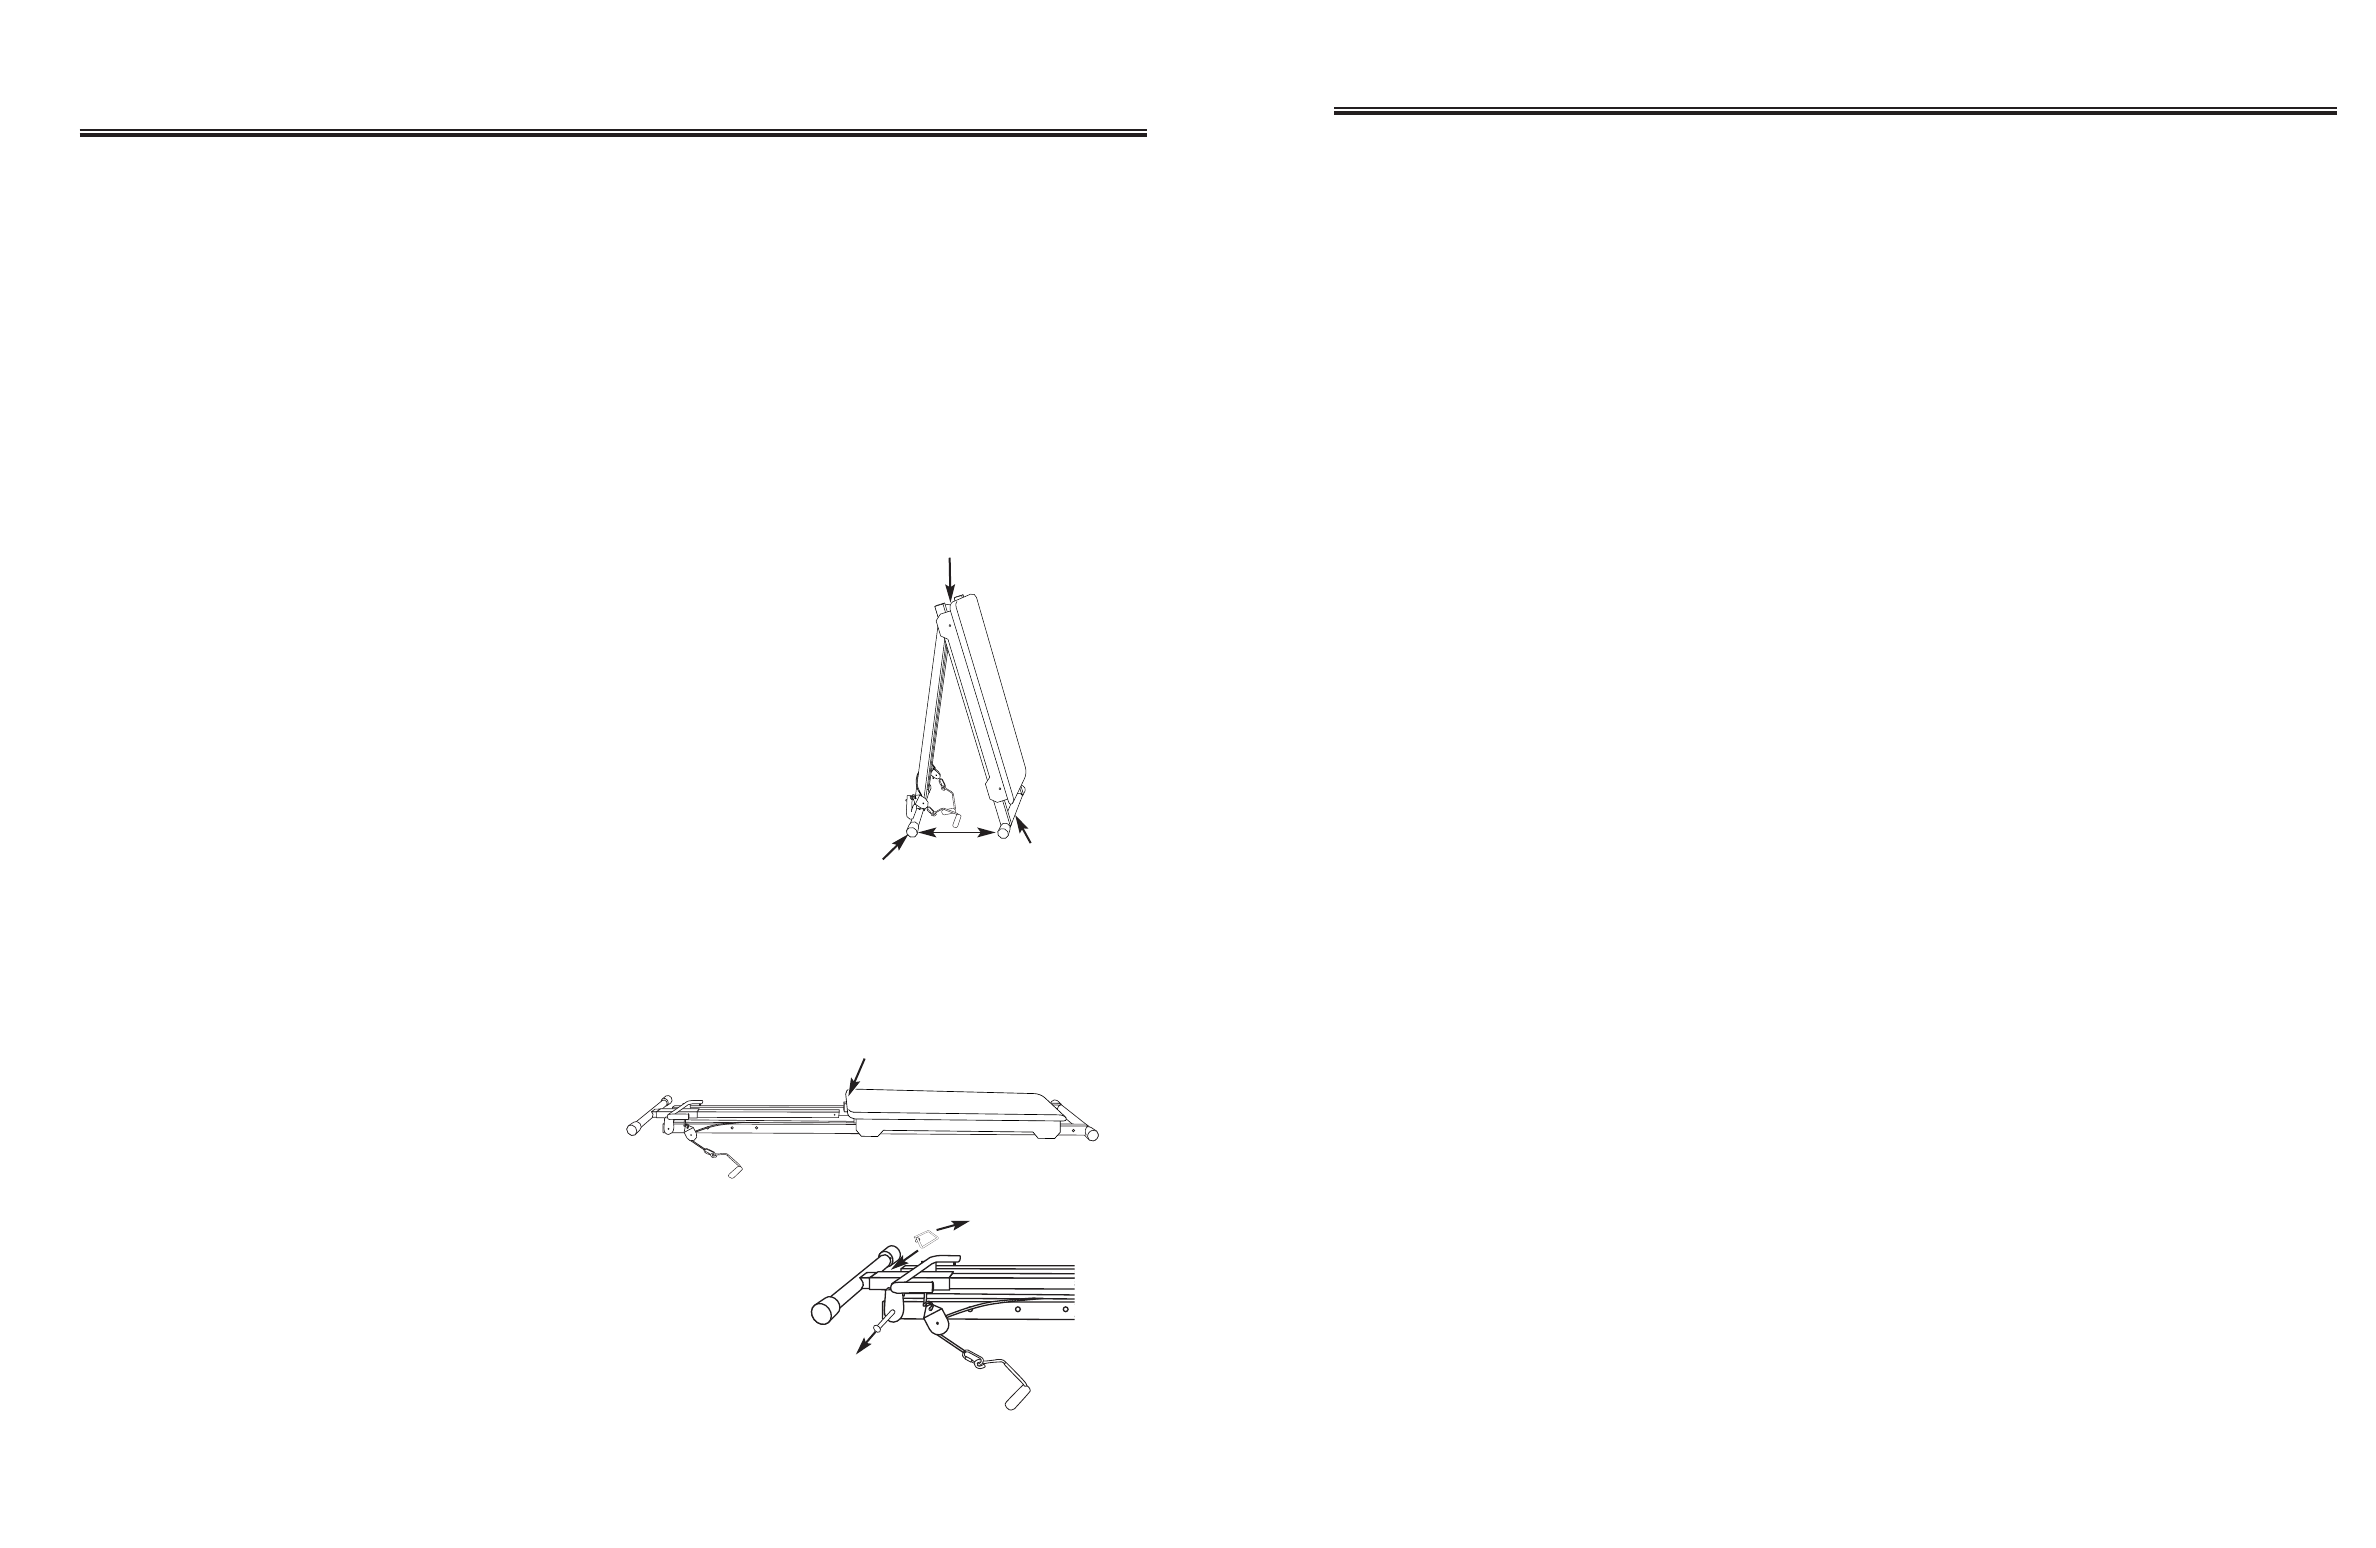
1. Pull the product out of the shipping box. Remove all packaging
materials, including tape and cardboard inserts, from your unit.
2. Lay product on the floor with glideboard side up. Make sure you have
plenty of space on both ends of the product. Slide the glideboard as far
as it will go towards the Front Crossbar before you begin lifting unit.
3. Lift the exerciser up by holding it at the top of the rails. Using your foot,
slowly spread the unit open at the bottom approximately 12 inches so
that it rests firmly on the Front and Back Crossbars not allowing it to go
too far.
4. Make sure the handles are out to the sides before
you begin to unfold your unit. Keep hands and
fingers away from pulley. Hold onto the top center
of glideboard and begin rolling rear rollers. Spread
the unit out until it is flat on the floor. Be careful to
do this slowly.
Be sure to support the frame in the center to
avoid having the product drop suddenly onto
the floor or pinch fingers.
5. (a) Remove Safety Hitch Pin from bottom of Vertical
Column. Remove plastic packing ties from the top
and bottom of the Vertical Column. Pull out the
Spring Loaded Pin Knob located at the left rail
(NOTE - pin shown in picture is on right side) to
release Spring Loaded Pin. Continue to hold pin out
while performing the next step.
— 6 —
3.
12”
5a.
4.
Back
Crossbar
Front
Crossbar
Safety
Hitch Pin
Spring
Loaded
Pin
Lift Here
Hold Here While Lowering
To The Ground
STARTING OUT
Wear athletic shoes and comfortable light clothing when exercising on the Total Gym 1100. Do
not exercise barefoot. Check your exerciser before using to ensure that all the parts are in place
and working properly (see page 12 & 13 for details on inspection, maintenance and storage).
Adult supervision is required at all times.
NOTE: The Rails and Glideboard can be raised to any desired level on the Height
Adjustment Column depending upon your degree of fitness. Please note, however,
that the Rails
cannot be raised to the highest position on the Height Adjustment Column when
the
Leg Pulley Bracket is attached to the column.
Be sure you have plenty of free space around the exerciser so that performing on
the Total Gym 1100, as well as getting on and off, is convenient and safe.
Each time you raise or lower the Adjustment Column, be sure you hold it to keep it from
dropping to the floor.
Begin using the product at a low incline. As your fitness level progresses, increase the incline to
increase the intensity and improve your muscle strength. Don’t be in a hurry to exercise at a high
intensity level; start out easily and build gradually. The Total Gym 1100 is as easy as 1-2-3
to use, so read on.
1. Important Things to Remember When Using the Total Gym 1100
• Always have control of the glideboard before getting on and off the exerciser.
• Keep your feet on the floor when getting on and off the exerciser. Only remove
them from the floor for the duration of the exercise.
• If you are using the handles, hold onto them as you get on and off the glideboard.
2. Exercising with the Handles Only
Grasp the handles which are attached to the cable and slide the glideboard to a position
in which you can comfortably sit or lay down when performing the desired exercise (see
Exercise Booklet). Be sure to keep your feet on the floor until you are in the correct
position for the specific exercise. Then, if the exercise calls for your feet to be off the
floor, place your feet as specified in the instructions.
3. Exercising with the Multi Function Attachment Only
Slide the glideboard to a position in which you can comfortably sit or lay down on when
performing the desired exercise (see your Exercise Booklet). Keep your feet on the
ground until you are in the correct position and feel comfortable. Then, place your feet in
the proper position and begin to exercise.
When starting your exercise program, begin with the basic exercises shown in the Exercise
Booklet included with your Total Gym 1100 to familiarize yourself with the movements. Use the
lowest incline level to start with – you can work up to a higher incline level in the weeks and
months to come.
For the specific Total Gym 1100 exercises and programs, study and follow the
instructions in the Exercise Booklet included with your product.