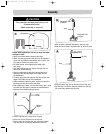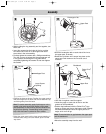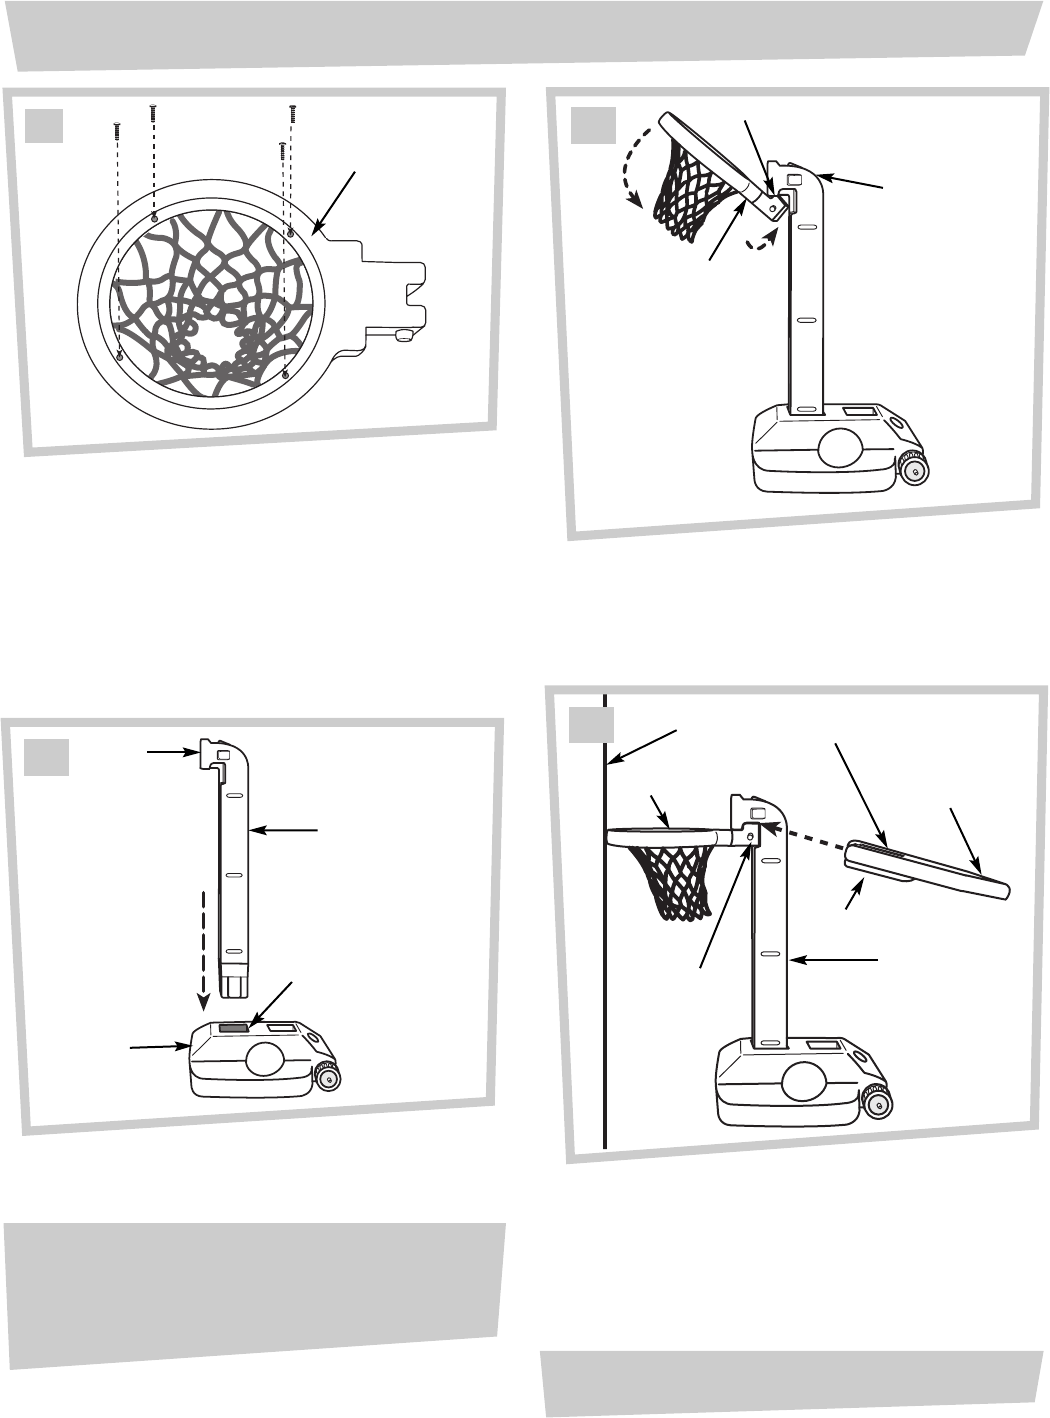
• Position the base as shown. Position the upper post so
that the straight end is down and the curved end is up
and facing away from the base.
• Insert the upper post into the large square opening in
the base and, using a circular motion, push it all the
way down.
4
5
6
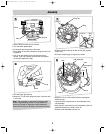
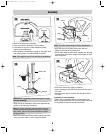
• While holding the ring assembly and rim together, turn
them over.
• Insert four screws into the holes in the rim, making
sure each hole in the rim is still aligned with each
screw hole in the net assembly.
• Partially tighten the screws with a Phillips screwdriver.
Turn the rim over to ensure that the net loops are still
in the grooves and through the ring tabs before
completely tightening the screws. Do not over-tighten
the screws.
4
5
6
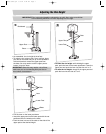
• Hook the rectangular tab on each side of the rim to
the upper post, as shown.
• Rotate the rim down until it snaps into place on the
upper post. Push down on the rim to be sure it
is secure.
Rectangular Tab
4
5
6
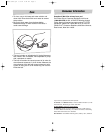
• Lean the rim against a wall for support.
• Locate the pegs on each side of the rim and the
grooves on the backboard.
• Position the backboard with the Fisher-Price
®
logo
facing up. Place your foot on the base to hold it steady
and slide the backboard onto the upper post at an
angle, as far as it will go.
• Move the assembly away from the wall.
Backboard
Fisher-Price
®
Logo
Peg
Groove
Wall
Rim
Rim
Upper Post
Rim
Upper Post
Assembly
9
10
11
12
5
Curved
End
Upper Post
Large Square
Opening
Base
Hint: For easier assembly, apply liquid soap or rub a
candle or bar soap around the bottom of the upper
post (especially on the corners) and the inside of the
large square opening. If assembling inside, place a
tarp under the base to protect the floor surface.
Note: There should be no gap between the upper post
and the backboard.
72408c-0920.qrk 5/2/02 4:44 PM Page 5


