


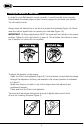
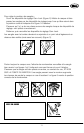
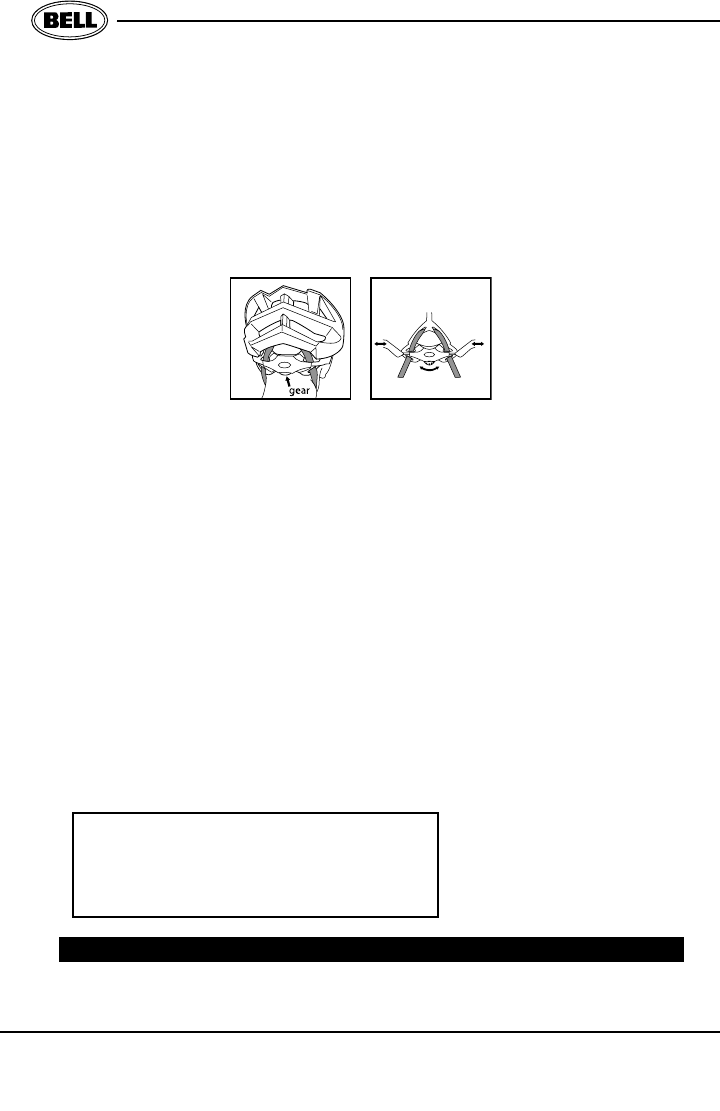
C. Geared Positioning System (GPS) Fit System
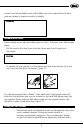
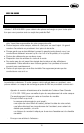
Follow steps 1-3 above. Next, find the GPS gear located at the back of your
head at your occipital lobe (Figure 10). With your thumb, press the GPS dial
upward and turn clockwise to tighten the fit. To loosen the fit, simply press
the GPS dial upward with your thumb and turn counterclockwise (Figure 11).
The fit system should be snug, but not uncomfortably tight.
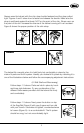
STEP 5: Checking the Fit and Adjustments
Before using the helmet, make sure it fits correctly, the straps are correctly
adjusted, and the chin strap is tight enough. Put the helmet on in the correct
position. Fasten the chin strap and pull it tight. Stand in front of the mirror.
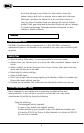
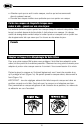
A. Check the fit. Grab the helmet with both hands and twist it to the left and
to the right. If the helmet fits correctly, the skin on the forehead will move as
the helmet moves. If it does not, the helmet is too loose. Return to Step 4.
B. Check the straps. Grab the helmet with both hands and try to remove it by
rolling the helmet forward and backward as far as you can. Make a seri-
ous effort. THIS IS IMPORTANT. If you can roll it off the head completely
in either direction, by rolling it forward so far that it blocks your vision,
or backward far enough to expose the forehead, it doesn’t fit correctly.
Repeat Steps 2 and 3 until helmet movement is minimal.
WARNING! If you cannot adjust the
helmet to fit properly according to Step
5, DO NOT USE THIS HELMET. Replace it
with a different size or model.
Take a Test Ride
Once you are satisfied that the helmet fits correctly and that all straps are
properly adjusted and tightened, take a short test ride. Pay attention to overall
4
ENGLISH
Figure 11
Figure 10