4.5.2 DF type
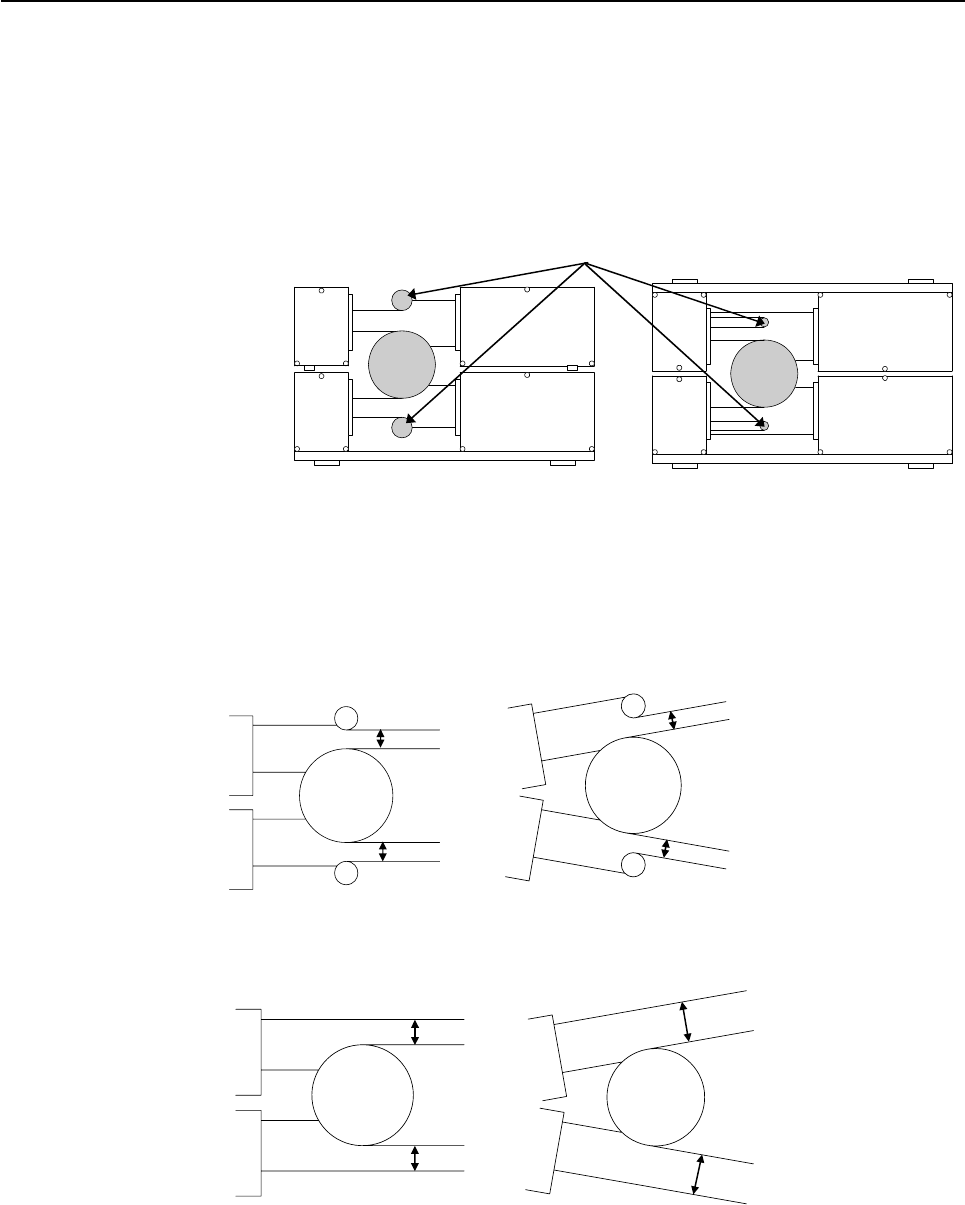
In a DF-type setup shown below, a workpiece of a larger diameter can be measured by
measuring the gap between two measuring units 1 and 2 and referring to the
predetermined offset value of the reference gage.
(1) Improvement of the measurement accuracy
・ To ensure better measuring accuracy of gap measurement, use reference pins or
knife-edges as located at the focal point.
・ The reference pin will help reduce the effect of possible fluctuation of the emission
unit being subject to a force.
In a setup without reference pins, the fluctuation of the emission unit due to some
external force will produce a significant difference between the measurements B
and B’ as shown in (c) and (d) below.
Reference
ins
(b) Example of setup for facing of two
units Segment (1 + 5)
(a) Example of setup for stack of two
units Segment (1 + 5)
Measuring
unit 2
Measuring
unit 2
Measuring
unit 1
Measuring
unit 1
(a) Initial state incorporated with
reference pins
(b) Effect of fluctuation of the
emission unit in a setup
incorporating reference
Difference of A and A’ : Small
A’
B’
B
Difference of B and B’ : Large
(c)
Initial state without
reference pins
(d) Effect of fluctuation of the
emission unit in a setup
without reference pins.
No. 99MBC094A
4-8
