11
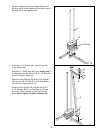
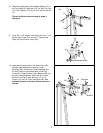
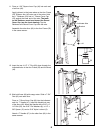
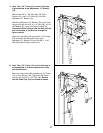
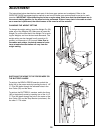
19. Note: The 4 1/2Ó Pulley (81) shown in this step
is pre-attached to the Adjustment ÒUÓ Bracket
(75).
Remove the 3/8Ó x 1 3/4Ó Bolt (48), 3/8Ó Nylon
Locknut (21), and 4 1/2Ó Pulley (81) from the
Adjustment ÒUÓ Bracket (75).
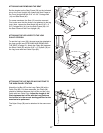
Attach the Adjustment ÒUÓ Bracket (75) to the Front
Upright (42) with the 5/16Ó x 3 1/4Ó Bolt (35), a 5/16Ó
Flat Washer (8), and a 5/16Ó Nylon Locknut (3).
Thread the Nylon Locknut onto the Bolt until the
first two threads of the Bolt are through the
Nylon Locknut.
Wrap the Long Cable (66) around the 4 1/2Ó Pulley
(81) as shown. Re-attach the Pulley to the
Adjustment ÒUÓ Bracket (75) with the 3/8Ó x 1 3/4Ó
Bolt (48) and 3/8Ó Nylon Locknut (21).
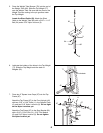
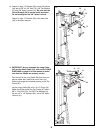
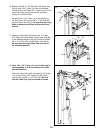
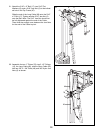
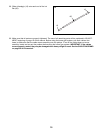
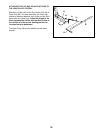
20. Note: The 3 1/2Ó Pulley (15) used in this step is
pre-assembled. It is shown removed for easier
part identification.
Route the Long Cable (66) around the 3 1/2Ó Pulley
(15) on the right Arm (46). Tighten the 3/8Ó Nylon
Jam Nut (5) and 3/8Ó x 1 3/4Ó Bolt (48). Be sure
that the Cable Trap (59) is oriented as shown.
19
20
66
42
35
48
21
75
8
3
81
66
15
48
59
5
46


