


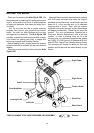
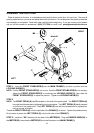
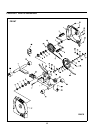
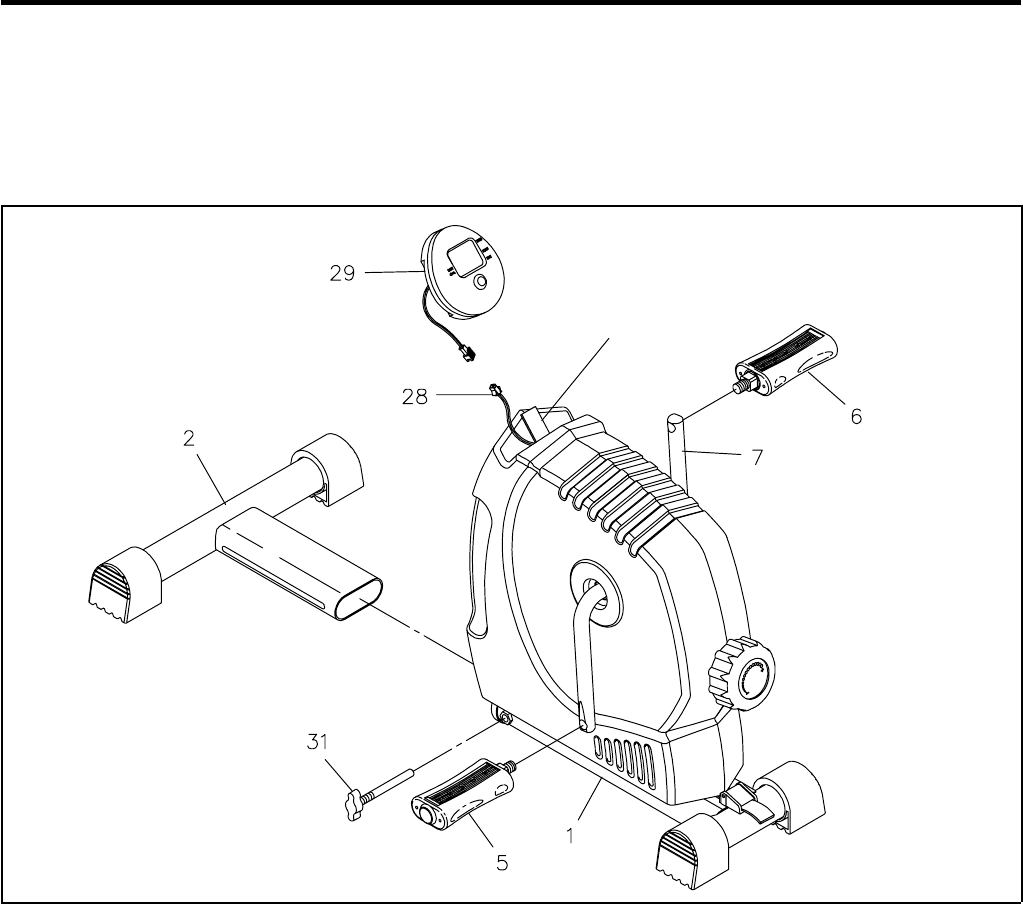
STEP 1: Insert the FRONT STABILIZER(2) into the MAIN FRAME(1) and lock in position with the
LOCKING KNOB(31).
NOTE:
STEP 2
NOTE:
Thread the
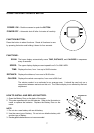
RIGHT PEDAL(6) onto the right side of the CRANK(7) as shown. Tighten the pedal securely.
Do the same to attach the
LEFT PEDAL(5) onto the left side of the CRANK(7).
STEP 3: Install two "AA" batteries into the back of the METER(29). Plug the SENSOR WIRE(28) to
the
METER(29), then slide the METER(29) onto the Bracket on the MAIN FRAME(1).
ASSEMBLY INSTRUCTIONS
6
Place all parts from the box in a cleared area and position them on the floor in front of you. Remove all
packing materials from your area and place them back into the box. Do not dispose of the packing materials
until assembly is completed. Read each step carefully before beginning. If you are missing a part please
call our toll-free number for assistance 1 (800) 375-7520 or e-mail us at: parts@staminaproducts.com
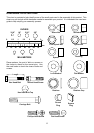
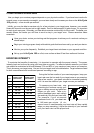
The
RIGHT PEDAL(6) has R stamped on the end of the pedal shaft. The RIGHT PEDAL(6)
has right hand threads and is tightened by turning clockwise. The LEFT PEDAL(5) has L stamped
on the end of the pedal shaft. The
LEFT PEDAL(5) has left hand threads and is tightened by
turning counter clockwise.
RIGHT
BRACKET
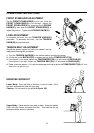
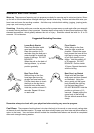
Pull the FRONT STABILIZER(2) out for use. Push the FRONT STABILIZER(2) in for storage.
Adjust the
FRONT STABILIZER(2) by loosening the LOCKING KNOB(31), then slide the
FRONT STABILIZER(2) to adjust the position. Tighten the LOCKING KNOB(31).
LEFT