


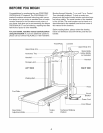

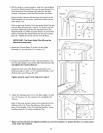
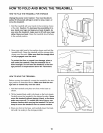
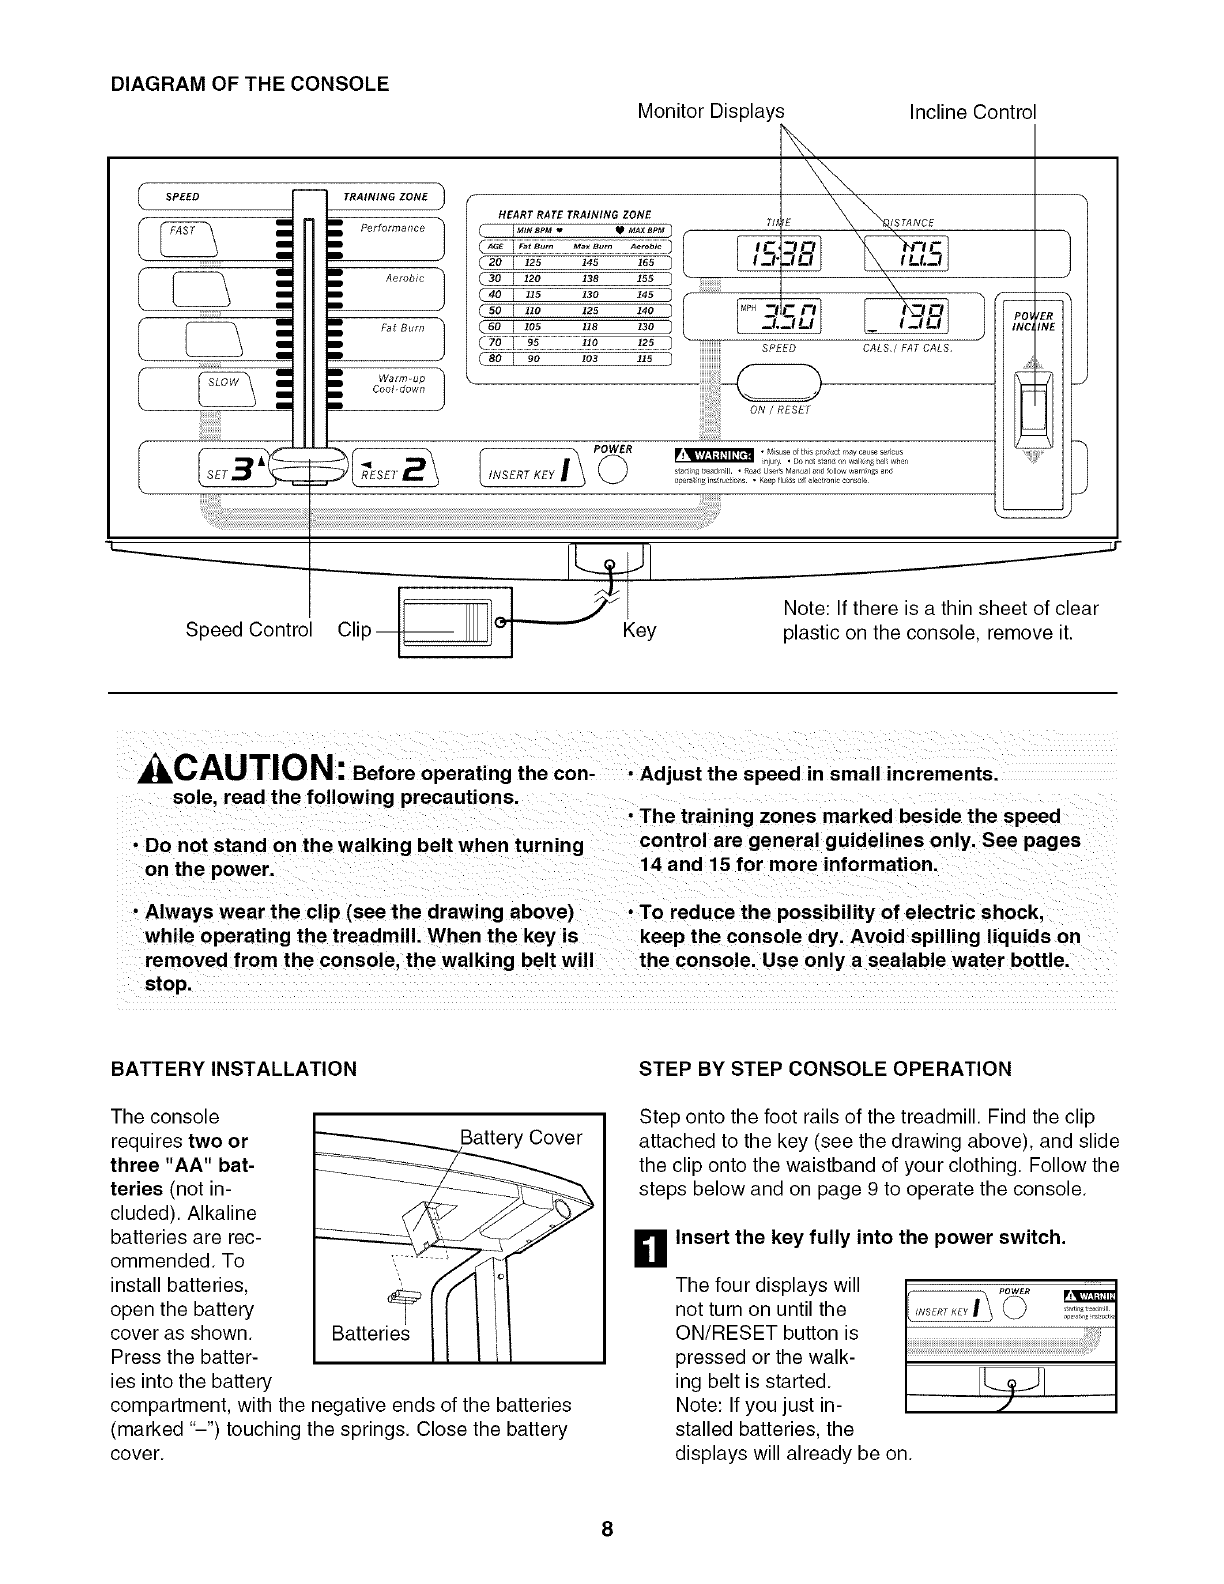
DIAGRAMOFTHECONSOLE
MonitorDisplays
InclineControl
"1._.
SPEED TRAINING ZONE 1
I Aerobic
I _ l-at Burn
HEART RATE TRAINING ZONE
C IM_N_PM. _ M_XB_MI
¢2o I 125 145 162)
(3o I 12o 138 155 /
(4o I 11s z3o i,_5 1 ...............
(so I _1o 125 14o j
C6o/ io5 118 _3o /
( 80 I _,o 10._ 115 I
TI_ E
I .-,-.-i?
i_-1.3Qj
SPEED
\\
CALS,/ FAT CALS,
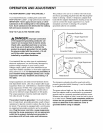
o_rat rig ir,str_ct o s . Kee_ tluSs df elec_o_flcconsole
PO_ 'ERINCi INE
/ \
Speed Control Clip_le'_ j_Key
Note: If there is a thin sheet of clear
plastic on the console, remove it.
CAUTION: Before operating the con- ° Adjust the speed in small increments.
sole, read the following precautions.
• The training zones marked beside the speed
• Do not stand on the walking belt when turning control are general guidelines only. See pages
on the power. 14 and 15 for more information.
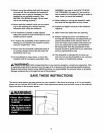
• Always wear the clip (see the drawing above) • To reduce the possibility of electric shock,
while operating the treadmill. When the key is keep the console dry. Avoid spilling liquids on
removed from the console, the walking belt will the console. Use only a sealable water bottle.
stop.
BATTERY INSTALLATION
The console
requires two or
three "AA" bat-
teries (not in-
cluded). Alkaline
batteries are rec-
ommended. To
install batteries, 1',
open the battery
cover as shown. Batteries
Press the batter-
ies into the battery
compartment, with the negative ends of the batteries
(marked "-") touching the springs. Close the battery
cover.
Battery Cover
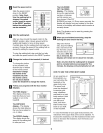
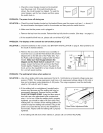
STEP BY STEP CONSOLE OPERATION
Step onto the foot rails of the treadmill. Find the clip
attached to the key (see the drawing above), and slide
the clip onto the waistband of your clothing. Follow the
steps below and on page 9 to operate the console.
Insert the key fully into the power switch.
The four displays will
not turn on until the
ON/RESET button is
pressed or the walk-
ing belt is started.
Note: If you just in-
stalled batteries, the
displays will already be on.