


14
H
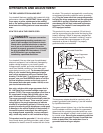
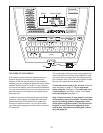
OW TO USE A PERSONAL TRAINER PROGRAM
I
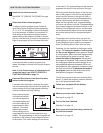
nsert the key into the console.
S
ee HOW TO TURN ON THE POWER on page
12.
S
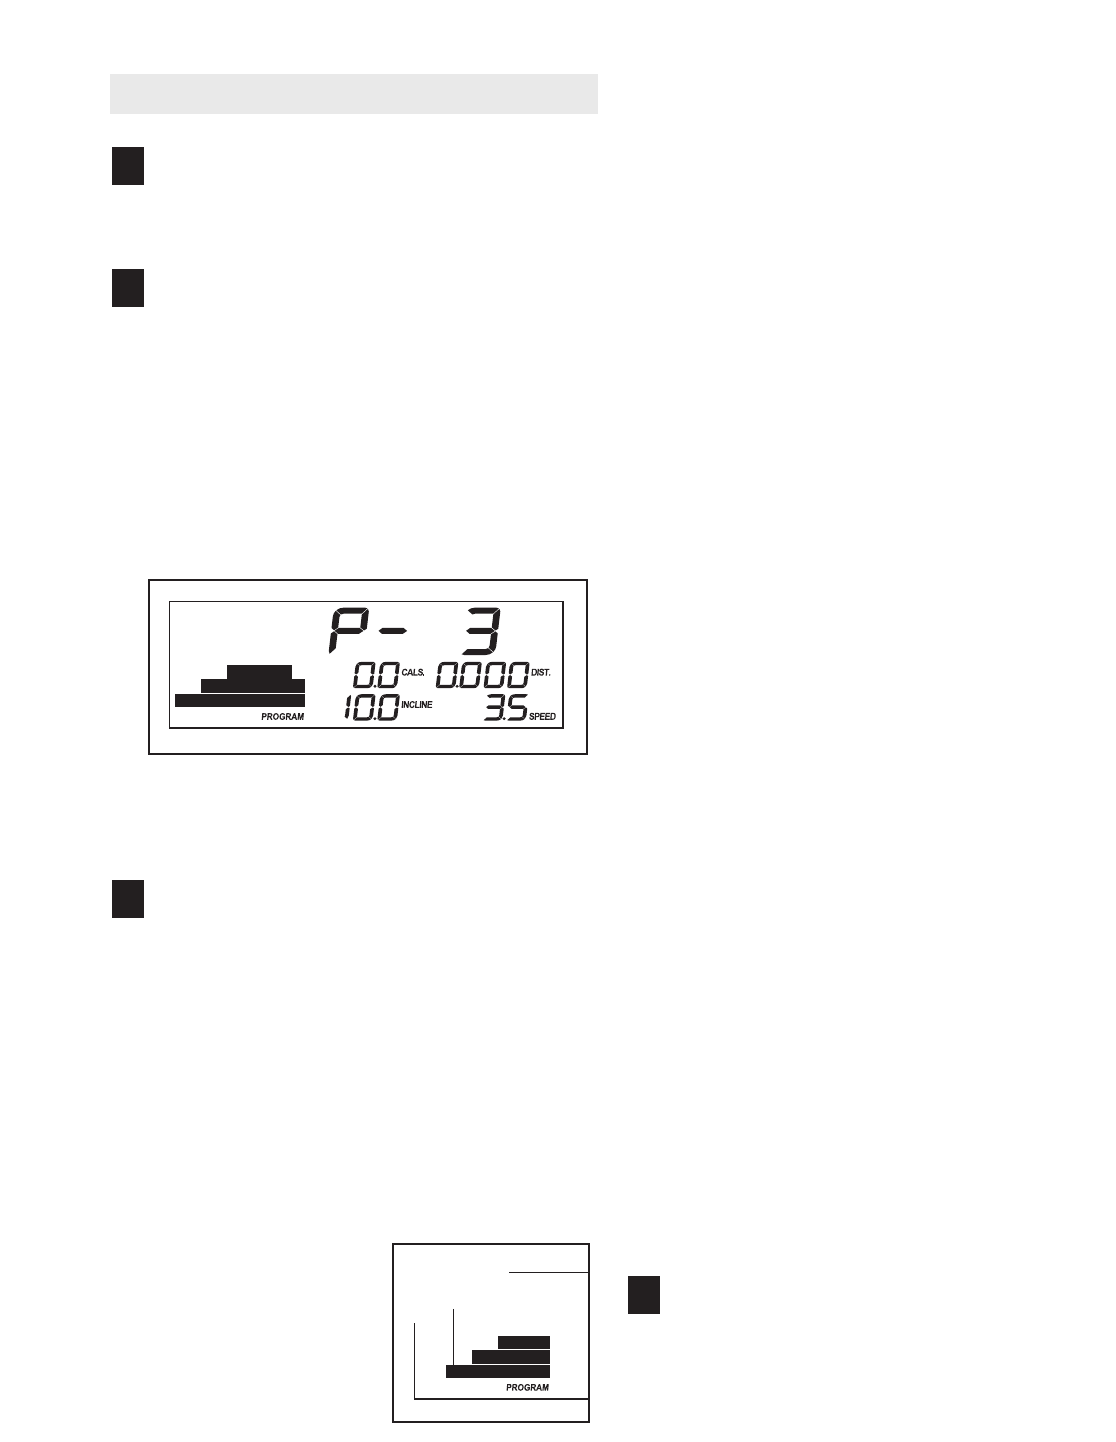
elect one of the personal trainer programs.
To select a personal trainer program, press the
Certified Personal Trainer Programs button re-
peatedly; “P-1,” “P-2,” “P-3,” “P-4,” “P-5,” “P-6,”
“P-7,” “P-8,” “P-9,” or “P-10” will appear in the pri-
ority display for a few seconds. In addition, the
maximum incline setting of the program and the
maximum speed setting of the program will flash
in the display for a few seconds. A profile of the
speed settings of the program will scroll across
the matrix.
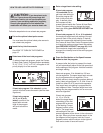
A few seconds after a personal trainer program is
selected, the display will show how long the pro-
gram will last.
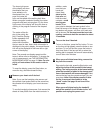
Press the Start button or the Speed increase
button to start the program.
A moment after the button is pressed, the tread-
mill will automatically adjust to the first speed and
incline settings of the program.
Hold the handrails
and begin walking.
Each program is divided into either 30 or 60 one-
minute segments. One speed setting and one in-
cline setting are programmed for each segment.
Note: The same speed setting and/or incline setting
may be programmed for two or more consecutive
segments.
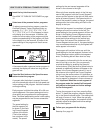
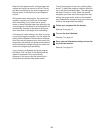
The speed setting for
the first segment will
be shown in the flash-
ing Current Segment
column of the matrix.
(The incline settings
are not shown in the
matrix.) The speed
settings for the next several segments will be
shown in the columns to the right.
When only three seconds remain in the first seg-
m
ent of the program, both the Current Segment
column and the column to the right will flash and a
series of tones will sound. If the speed and/or in-
cline of the treadmill is about to change, the speed
setting and/or the incline setting will flash in the
display to alert you.
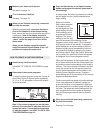
When the first segment is completed,
all speed
settings will move one column to the left
. The
speed setting for the second segment will then be
shown in the flashing Current Segment column,
and the treadmill will automatically adjust to the
speed and incline settings for the second seg-
ment. Note: If all seven of the indicators in the
Current Segment column are lit,
the speed settings
may move downward
so that only the highest indi-
cators appear in the matrix.
The program will continue in this way until the
speed setting for the last segment is shown in the
Current Segment column and the last segment
ends. The walking belt will then slow to a stop.
If the speed or incline setting for the current seg-
ment is too high or too low, you can manually
override the setting by pressing the Speed or
Incline buttons. Every few times a Speed button is
pressed, an additional indicator will appear or dis-
appear in the Current Segment column; if any of
the columns to the right of the Current Segment
column have the same number of lit indicators as
the Current Segment column, an additional indica-
tor may appear or disappear in those columns as
well.
Important: When the current segment of
the program ends, the treadmill will automati-
cally adjust to the speed and incline settings
for the next segment.
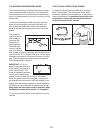
To stop the program at any time, press the Stop
button.
To restart the program, press the Start
but
-
ton or the Speed increase button. The walking belt
will begin to move at 1 mph. When the next seg-
ment of the program begins, the treadmill will auto
-
matically adjust to the speed and incline settings
for the next segment.
Follow your progress with the display.
See step 5 on page 12.
4
3
2
1
Current
Segment