


18
Custom programs 1 and 2 are workout programs that
you create. The programs control both the speed and
incline of the treadmill, and can be up to 40 minutes
long. The programs are stored in memory and can be
changed as many times as desired.
Follow the steps below to create a custom program.
Insert the key into the console.
See HOW TO TURN ON THE POWER on page 12.
Select user 1, 2, or 3.
See step 2 on page 13.
Enter your weight if desired.
If you have not entered your weight, see HOW TO
ENTER USER INFORMATION on page 12.
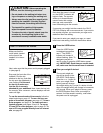
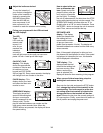
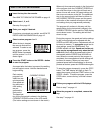
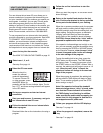
Select custom program 1 or 2.
When the key is inserted,
the manual mode will be
selected. To select a cus-
tom program, press the
MODE button repeatedly
until the custom 1 or 2 in-
dicator lights.
Press the START button or the SPEED + button
to start the program.
A moment after the button is pressed, the walking
belt will begin to move. Hold the handrails and
begin walking.
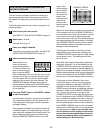
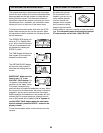
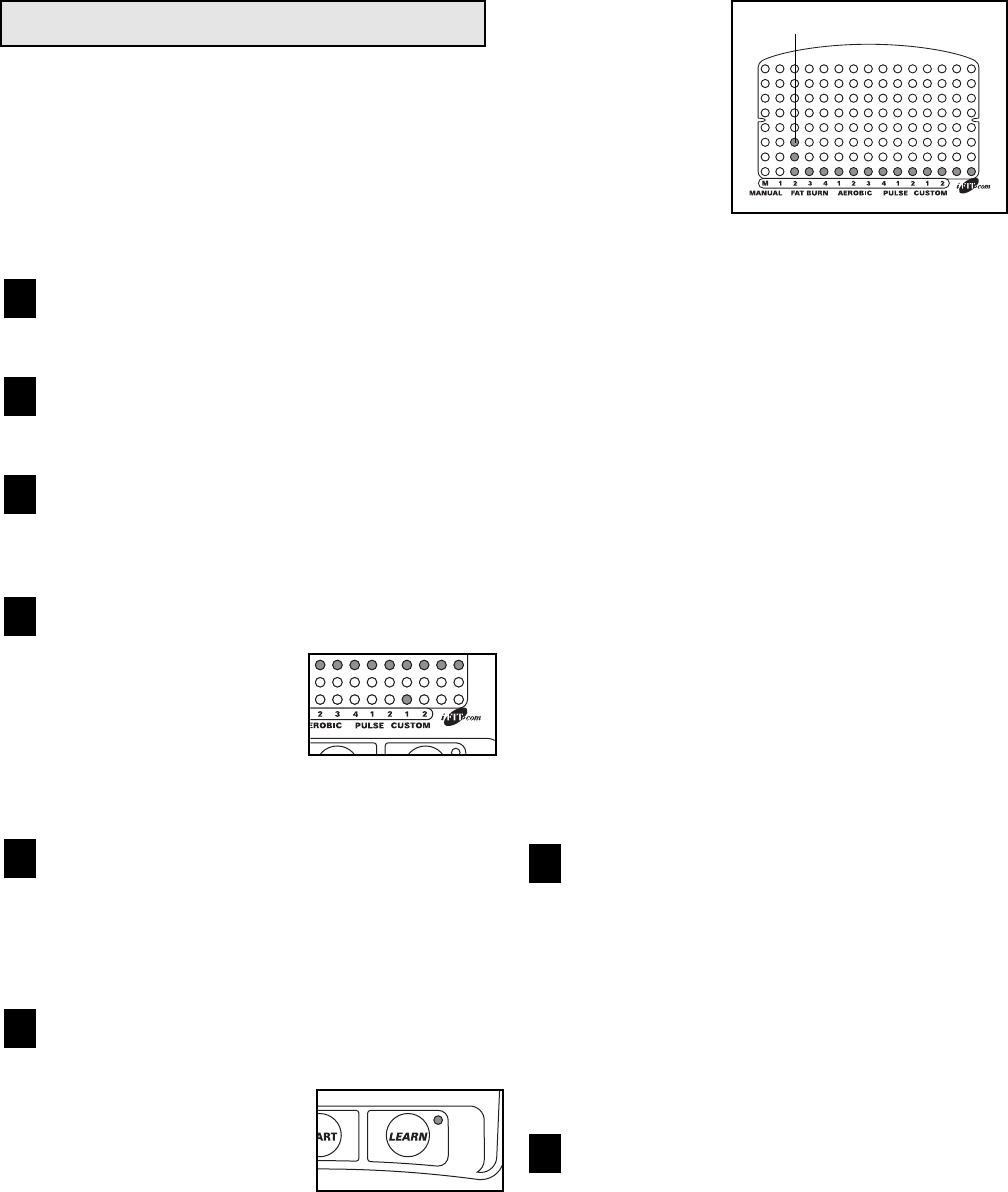
Press the LEARN button and program the
desired speed and incline settings.
When the LEARN button is
pressed, the LEARN indic-
tor will light. Speed and in-
cline settings can be pro-
grammed only when the
indicator is lit.
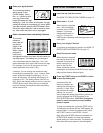
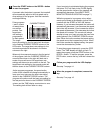
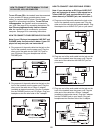
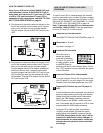
Each program is divided into one-minute periods.
One speed setting and one incline setting can be
programmed for each period. The speed setting for
the first period is shown in the flashing CURRENT
PERIOD col-
umn of the
LED matrix.
(The incline
settings are
not shown in
the matrix.) To
program
speed and in-
cline settings
for the first period, simply adjust the speed and in-
cline of the treadmill to the desired levels with the
SPEED and INCLINE buttons. Every few times the
SPEED buttons are pressed, one additional indica-
tor will light or darken in the CURRENT PERIOD
column.
When the first period of the program is completed,
a series of tones will sound and the current speed
and incline settings will be stored in memory. All
speed settings shown in the LED matrix will then
move one column to the left and the speed setting
for the second period will be shown in the flashing
CURRENT PERIOD column. Program speed and
incline settings for the second period as described
above. Repeat this procedure until you have pro-
grammed speed and incline settings for as many
periods as desired. Programs can have up to forty
periods.
Note: To stop the program for a moment, press the
STOP button. The displays will pause and the
TIME display will begin to flash. To restart the pro-
gram, press the START or SPEED
+
button.
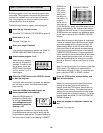
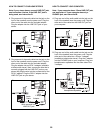
Press the STOP button, remove the key, and
then reinsert the key.
When you have programmed speed and incline
settings for as many one-minute periods as
desired, press the STOP button, remove the key,
and then reinsert the key. The speed and incline
settings that you have programmed and the length
of the program will be stored in memory. To use the
program again, see HOW TO USE CUSTOM PRO-
GRAMS on page 19.
When the program is completed, remove the
key.
See step 7 on page 16.
8
7
6
5
4
3
2
1
CURRENT PERIOD
HOW TO CREATE CUSTOM PROGRAMS