


WARNING:
The brake is capable of
causing the electric motorbike
to skid the tire throwing an
unsuspecting rider. Practice
in an open area free from
obstacles until you are familiar
with the brake function. Avoid
skidding to a stop as this can
cause you to lose control or
damage the rear tire.
5
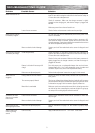
REPAIR AND MAINTENANCE
Check the Razor web site for any updates on the latest repair and maintenance procedures.
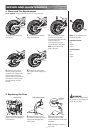
2 If the brake has too much
slack, loosen the rear anchor
bolt with a 5mm L-wrench and
pull the brake wire tighter.
The distance of the brake wire
between the end
of the cable and the anchor
bolt should be between 37mm
and 44 mm.
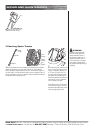
3 If the brake rotor is
dragging on the brake pads,
use your fingers to twist the
caliper adjuster in either
direction until rotor is cen-
tered between pads.
1 To adjust the play, thread the
brake lever adjuster in or out
1/4 to 1/2 turn until the desired
brake adjustment is attained.
Most adjustments are complete
at this step. If brake still needs
further adjustment, proceed to
step 2 for rear brake.
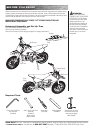
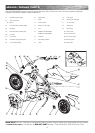
ASSEMBLY AND SET-UP
WARNING:
Failing to properly adjust and
tighten the nuts and bolts that
affix the forks can cause you to
lose control and fall.
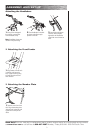
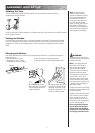
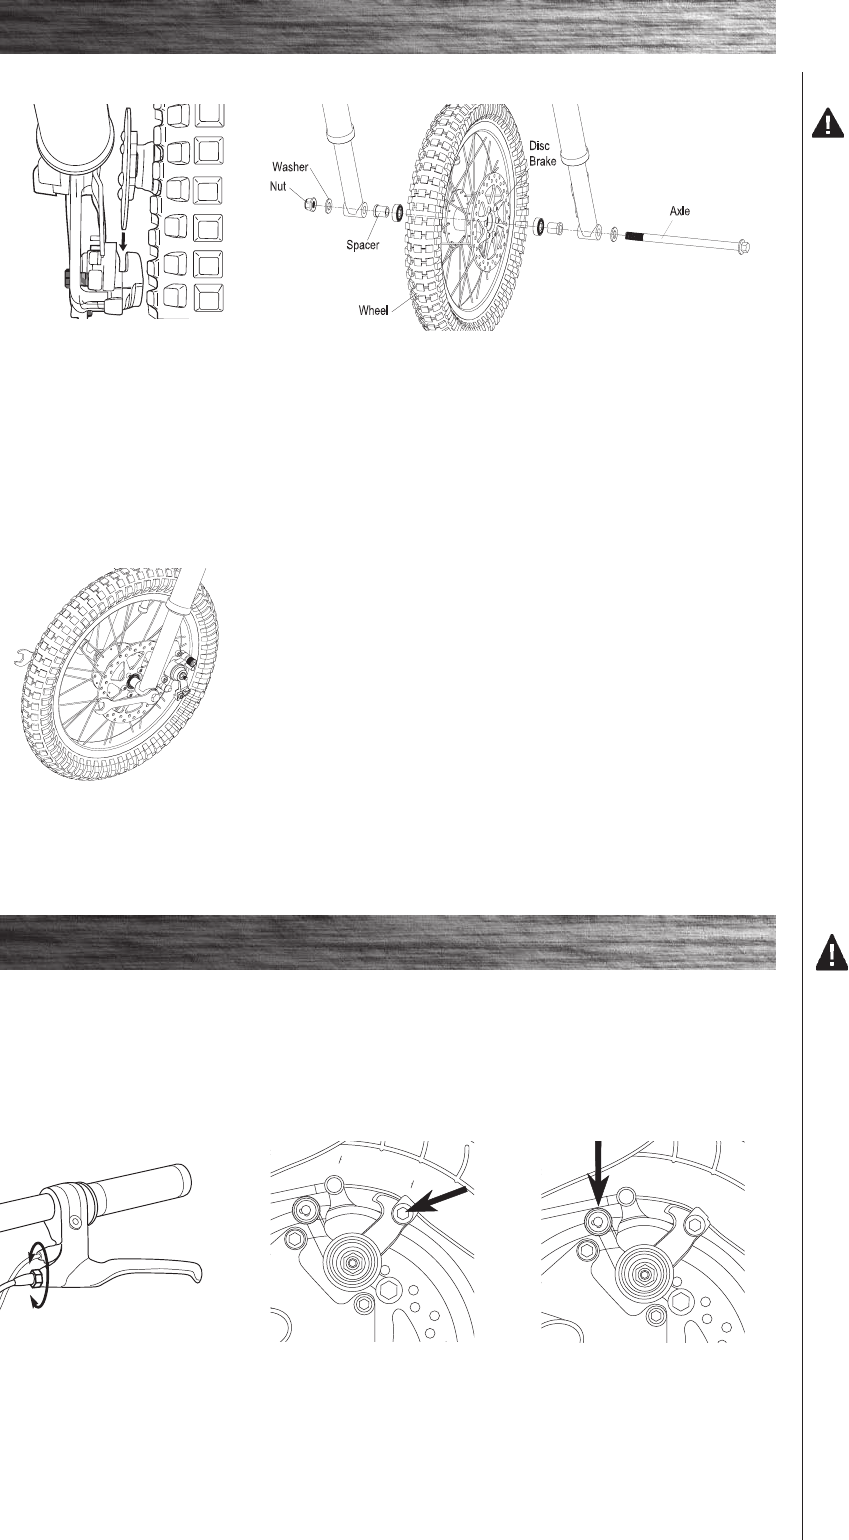
Installing the Front Wheel
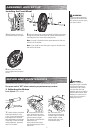
2
Slide axle through fork, spacer and wheel hub. When axle passes
through the other side of the wheel hub, add the other spacer and
slide though the fork. Secure with washer and nut.
Note: Front axle is installed with the spacer between the fork and
wheel for all Dirt Rockets.
Note: If your model has one short spacer, it goes on the side of the
hub with the disc brake.
1 Position wheel in front fork
and slide disk brake into caliper.
Turn power switch “OFF” before conducting any maintenance procedures.
3 With a 14mm and 17mm
wrench tighten the front wheel
screws.
q Adjusting the Brakes
Tools required: 5mm L-wrench